home project // collaboration with color cord pt. 1
B E F O R E & A F T E R


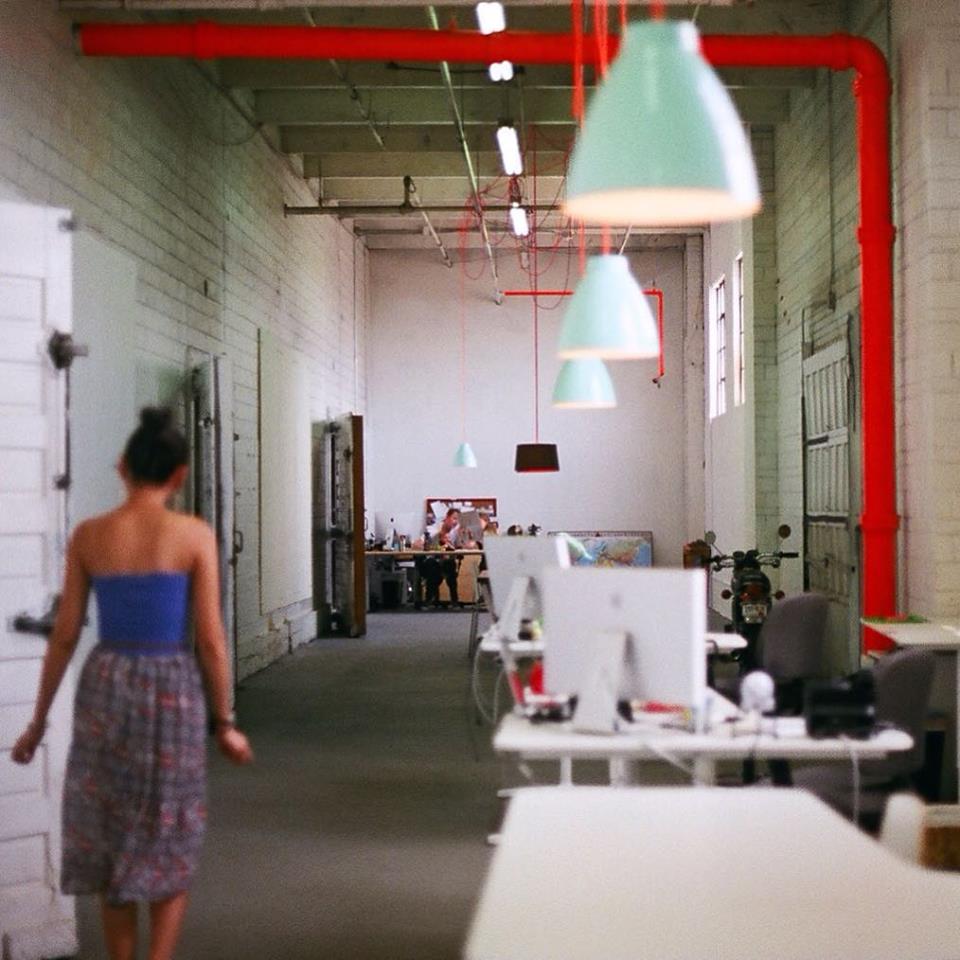
The Color Cord Warehouse. Helen (customer relations) walking towards Meggan & Beau (co-founders).
#jodyfilm photo by Jody Lynn Jackson.
A few months ago, I stumbled upon Color Cord & quickly loved what they had goin' on—particularly the idea that every thing is customizable. I had been wanting to revamp our kitchen & living room lighting, but each option I found would have a thing or two that I wasn't wild about. The variety that Color Cord offered had me hooked.
One of my favorite parts about working with Color Cord was Jody & I getting to see their warehouse & meet their incredible staff, because they just so happened to be based (get this)...10 minutes away from us! Zach (my point of contact) was as friendly & accommodating in person as he was via email. He felt like a friend instantly. Beau & Meggan (husband & wife co-founders) also happened to be around that day, with their (very) cute son. They shared with us how Color Cord began & some behind the scenes details on their design/product selection process. The company is surely founded on creativity, quality design, lasting materials, & perhaps the most striking to me, pure friendliness & fun. The rest of the crew echoed all of these qualities as well.
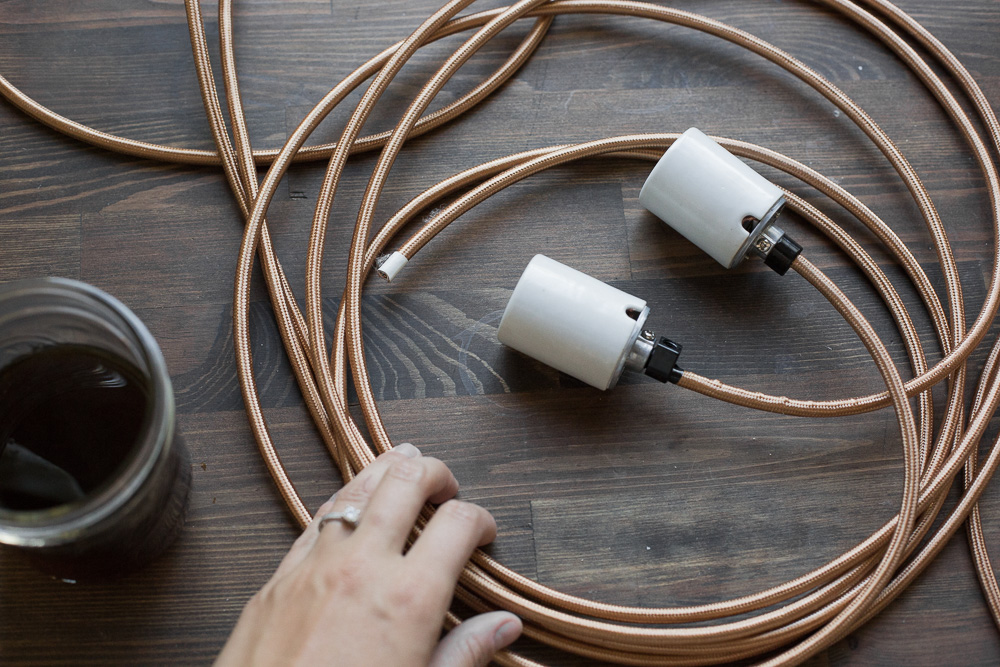
After discussing my vision for the lighting with Zach & Beau, they led me & Jody down different aisles, showing us different components that would fulfill the look I was envisioning. We gathered all the necessary materials & headed home.
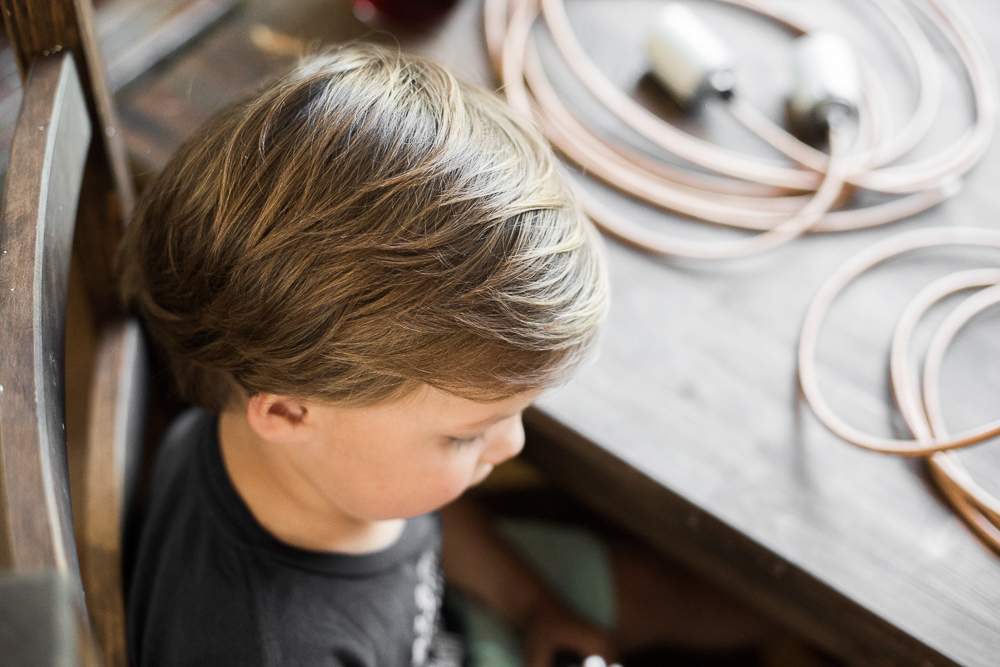
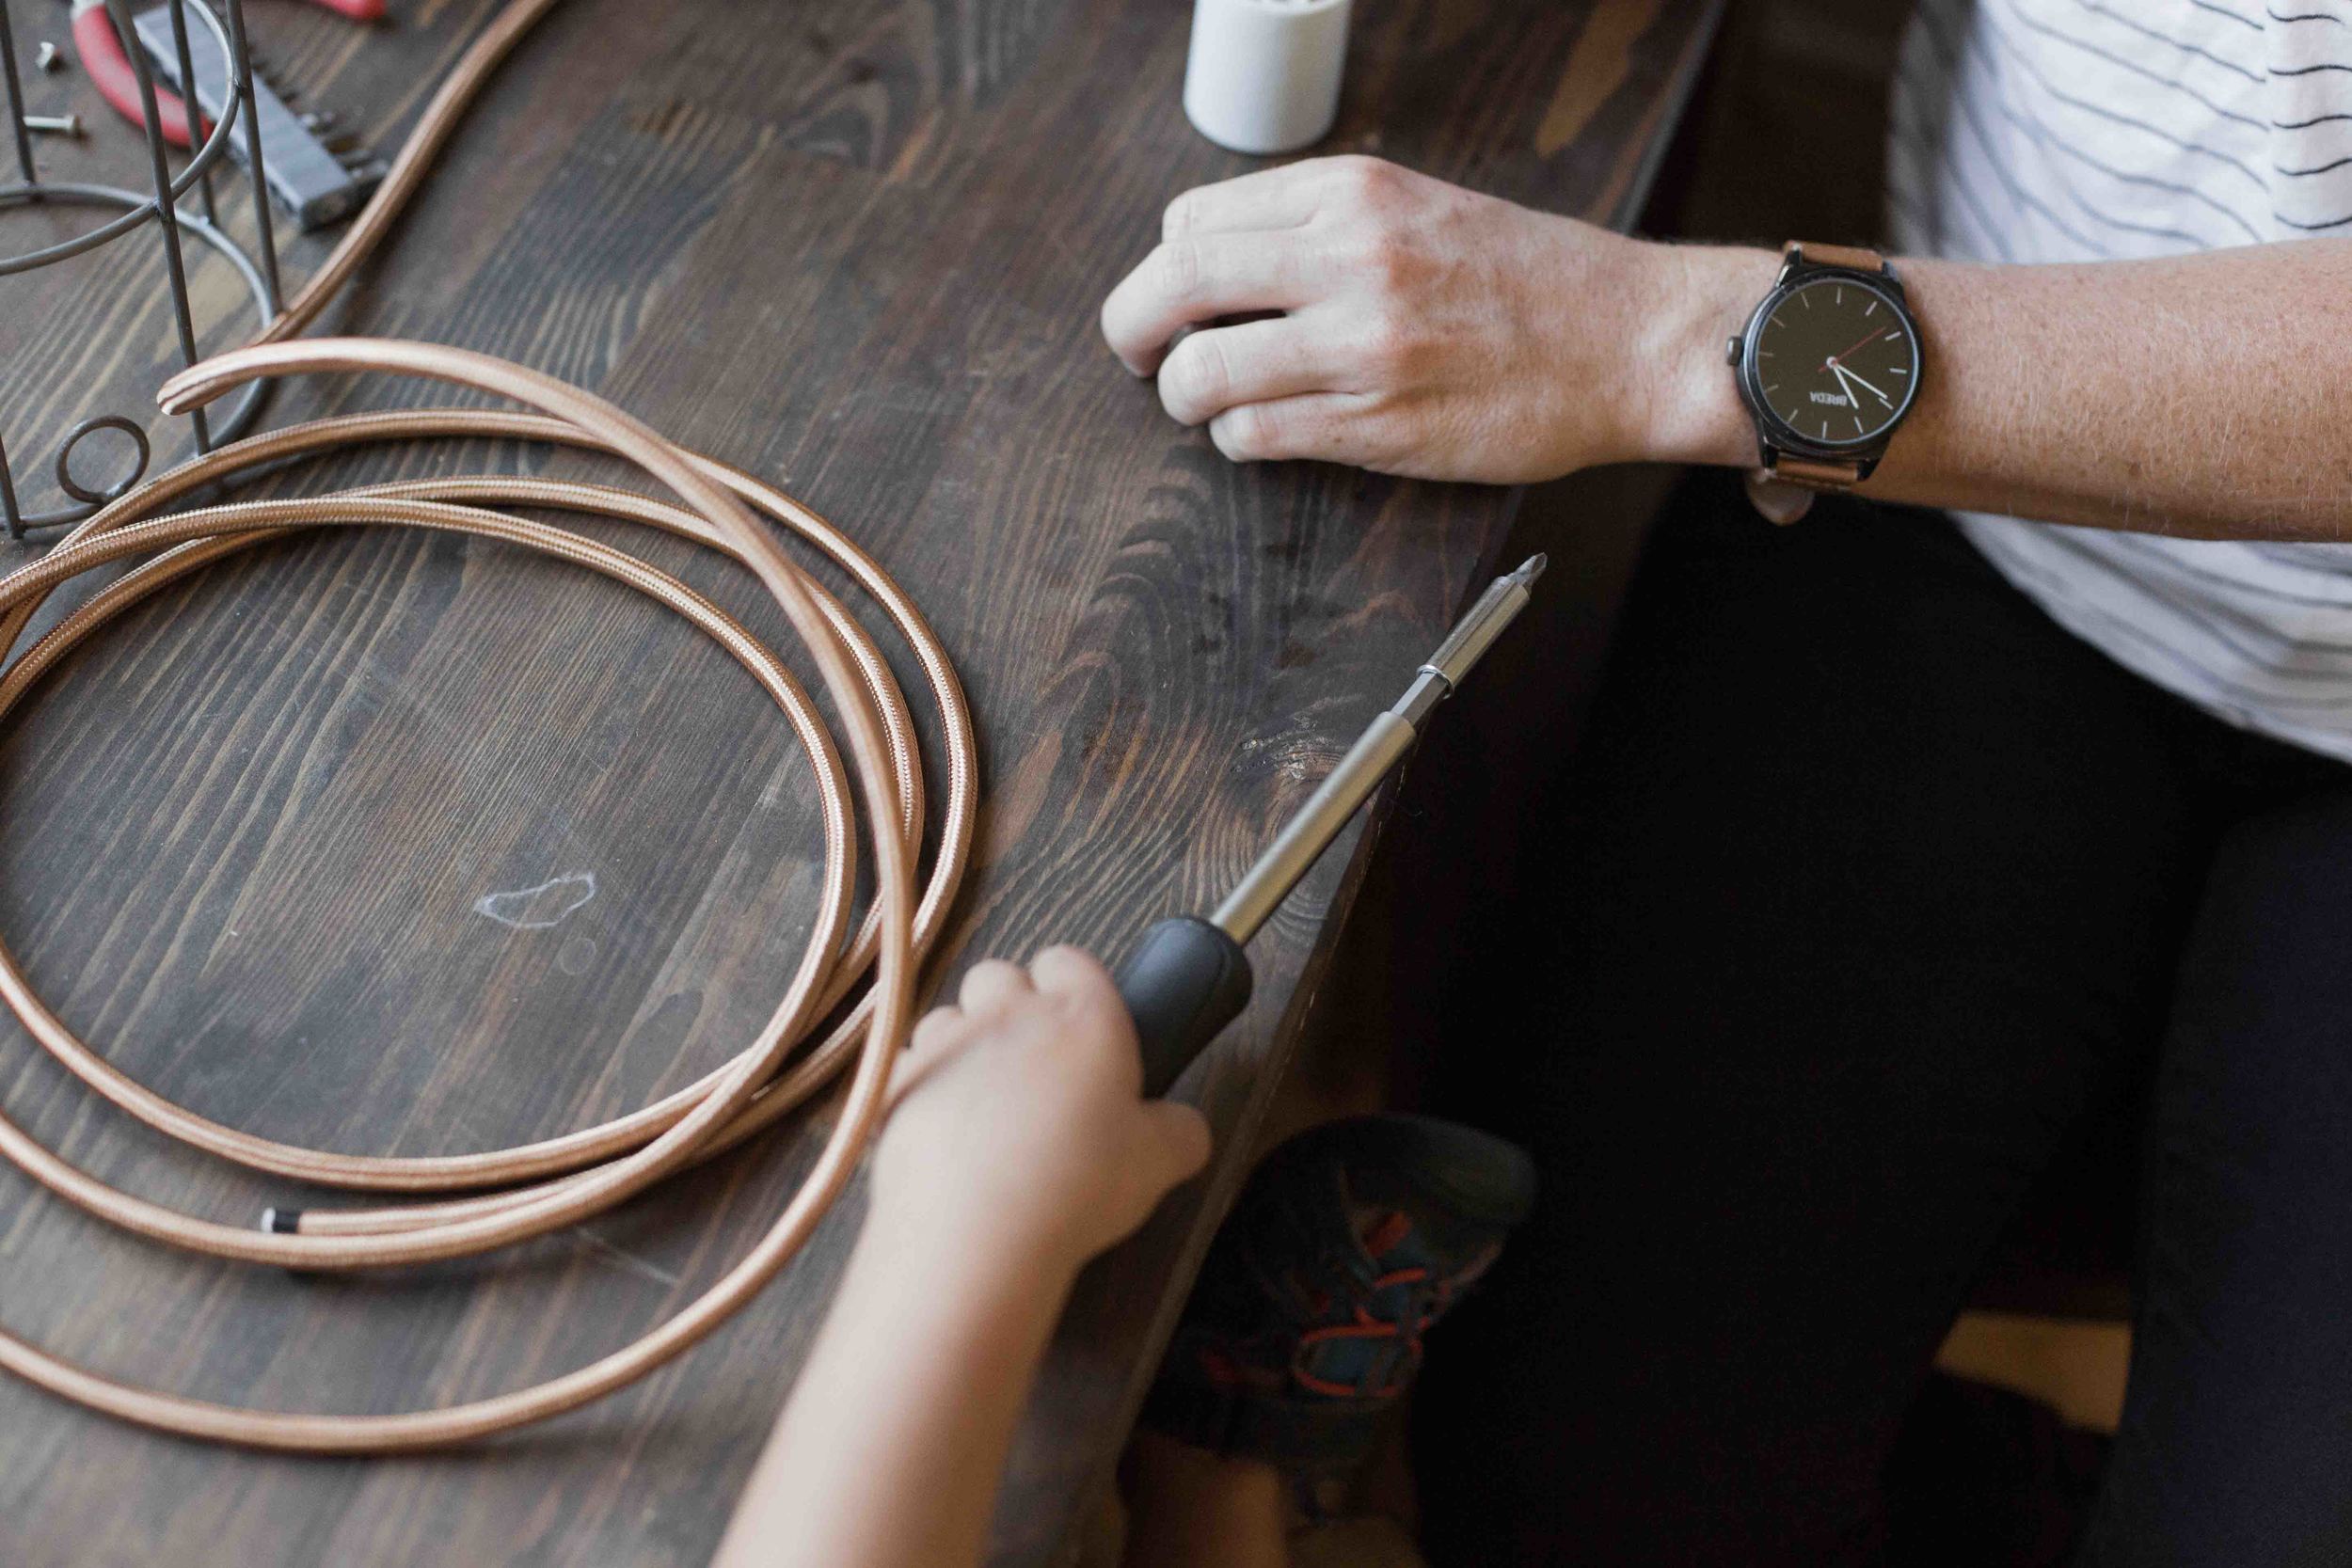
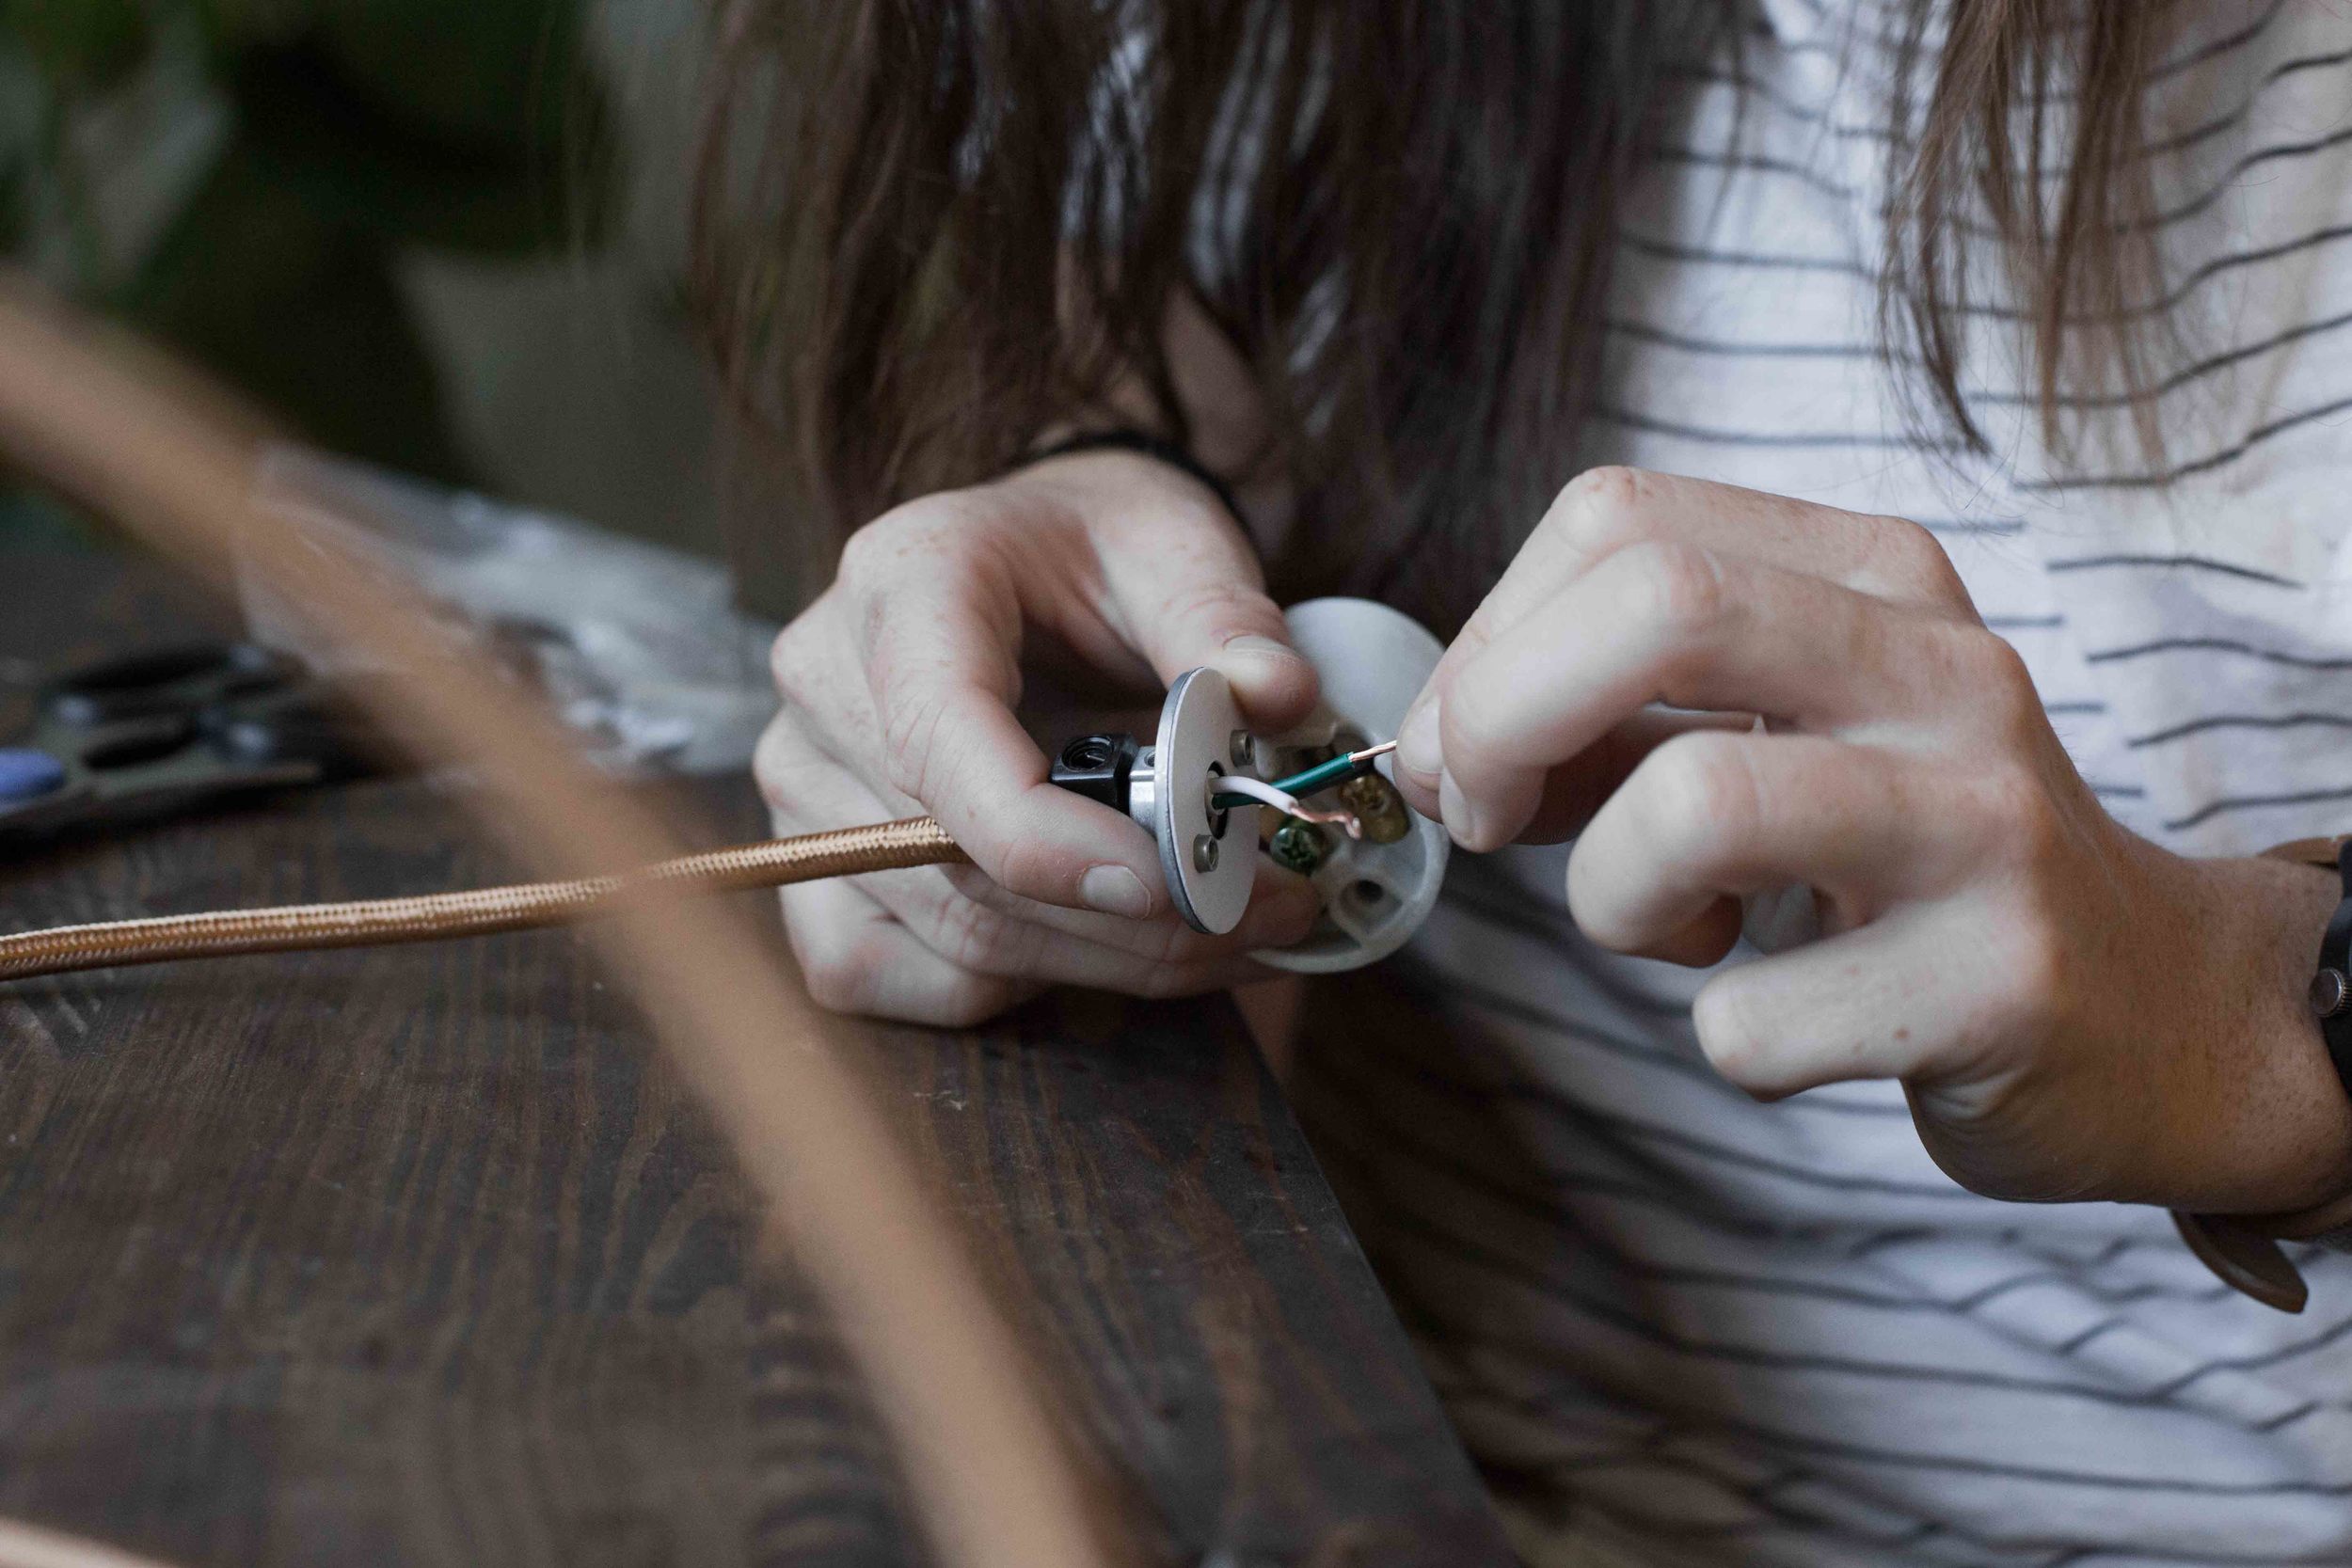
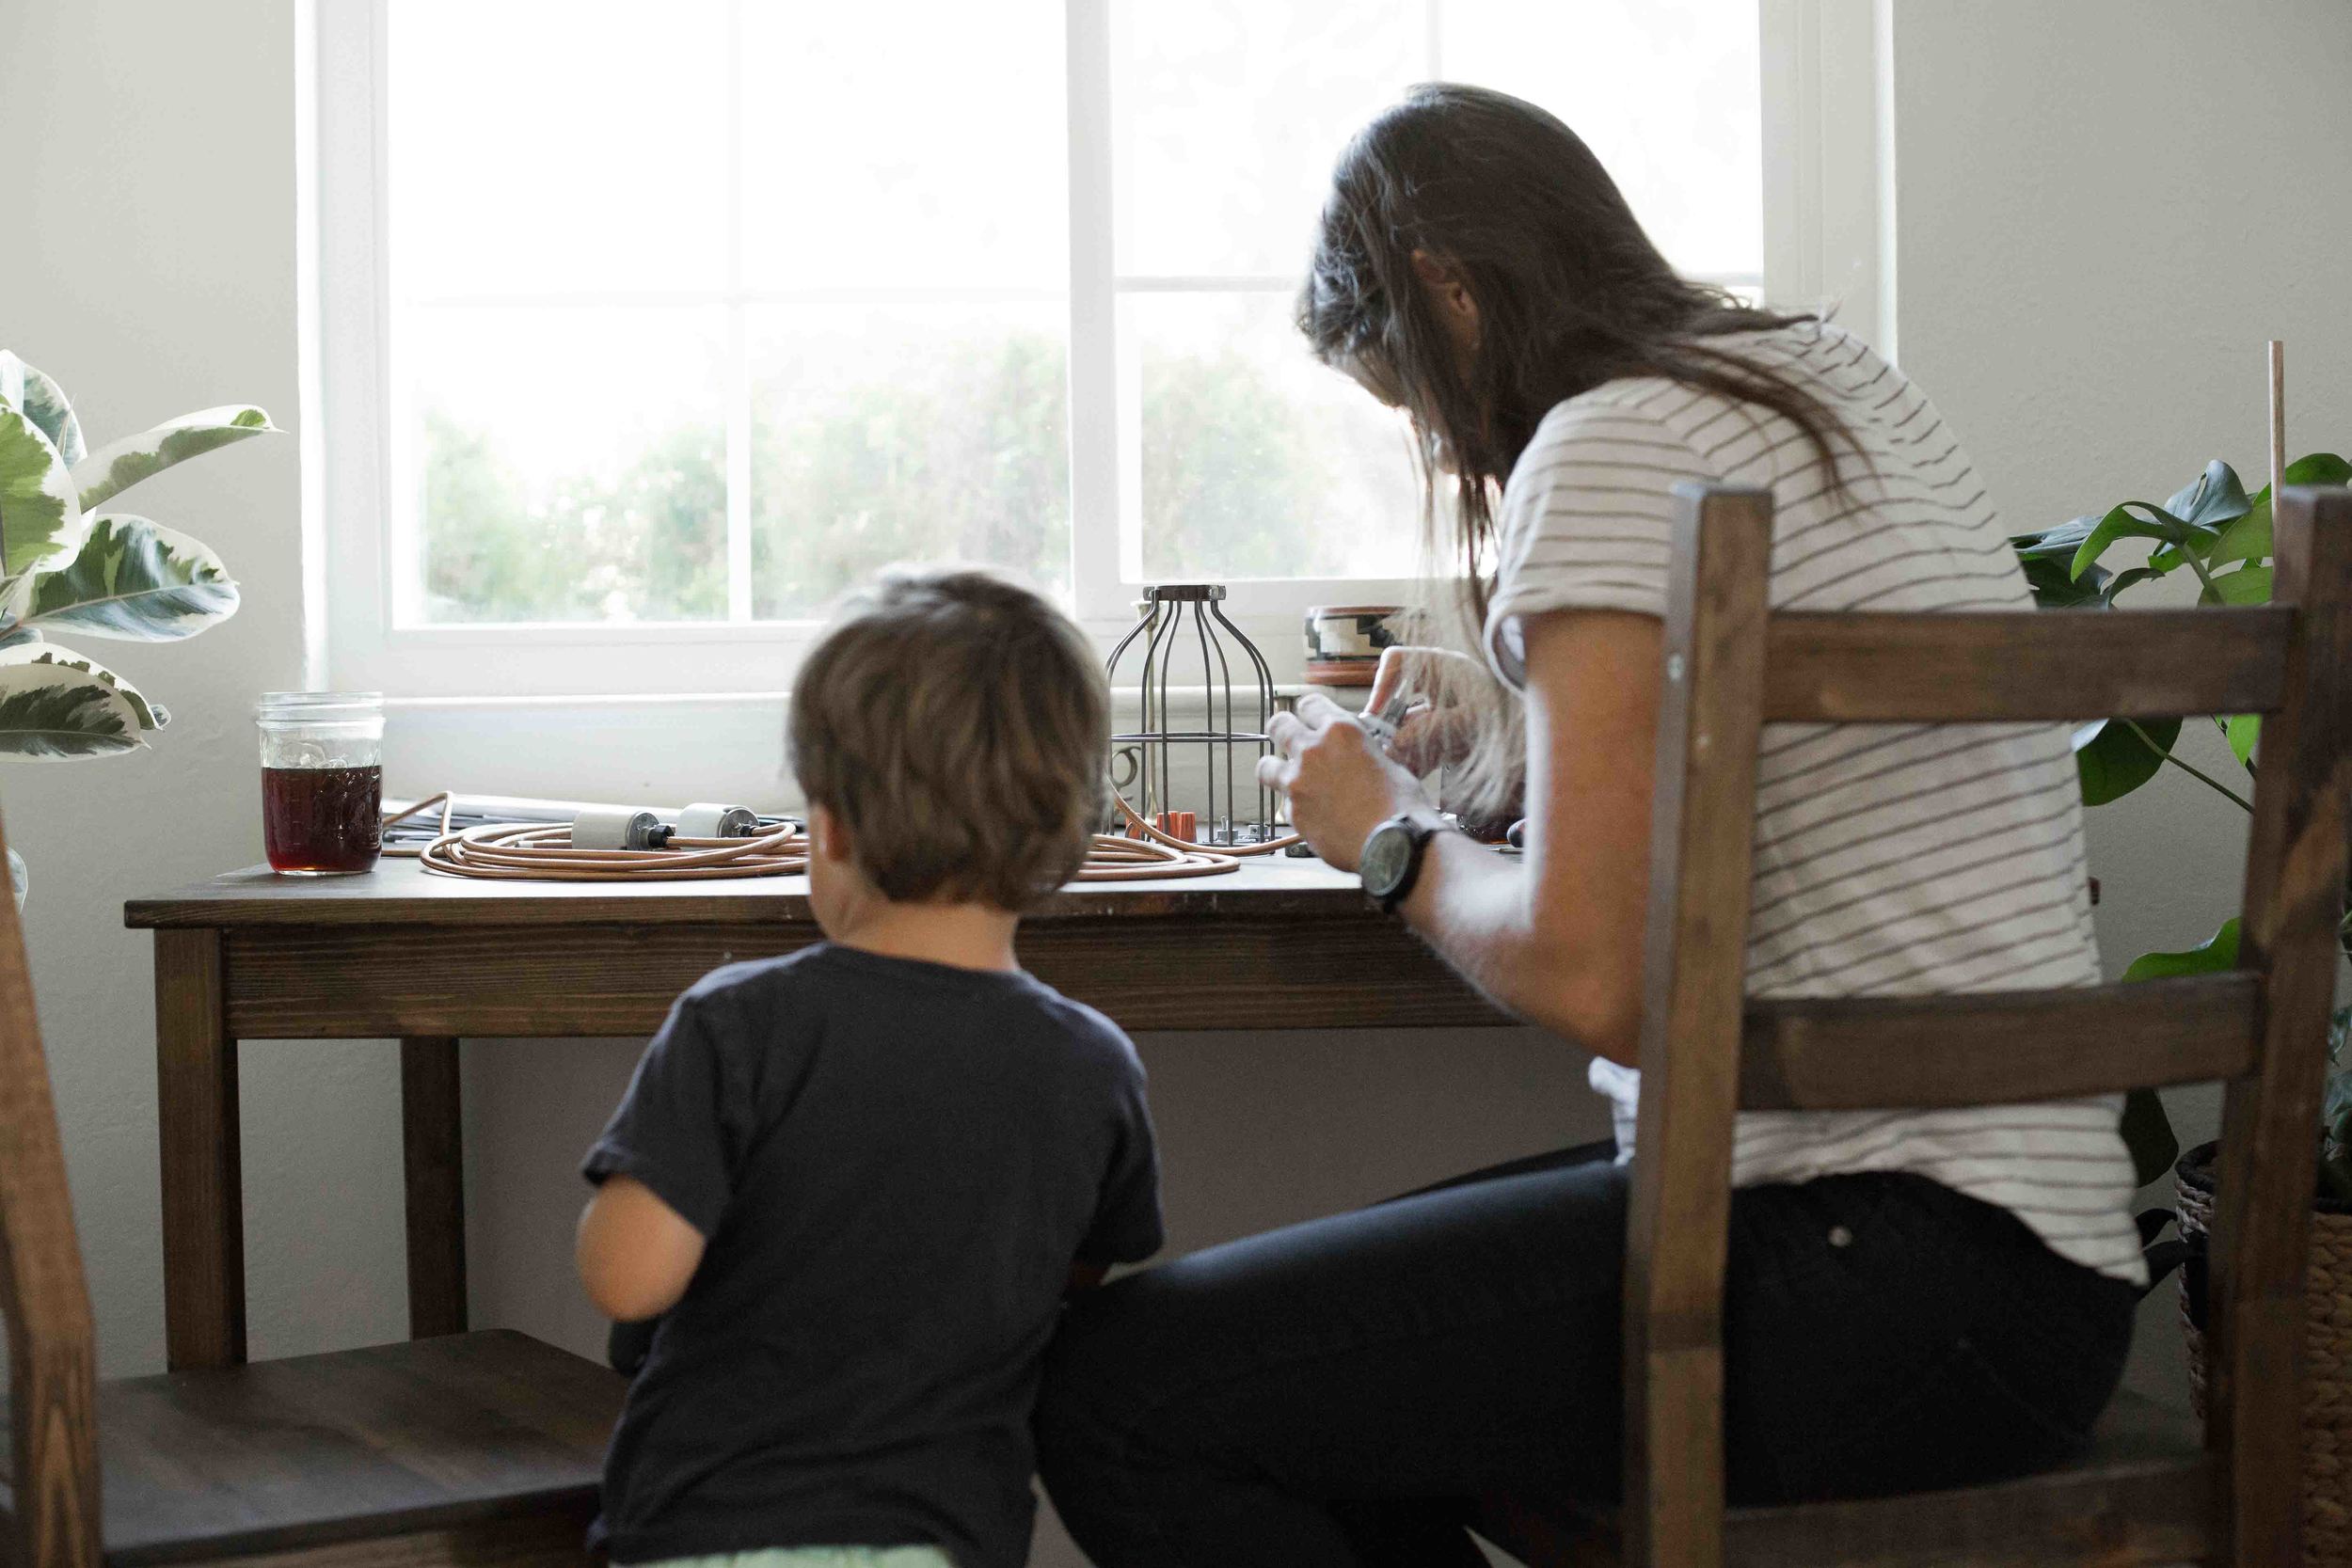
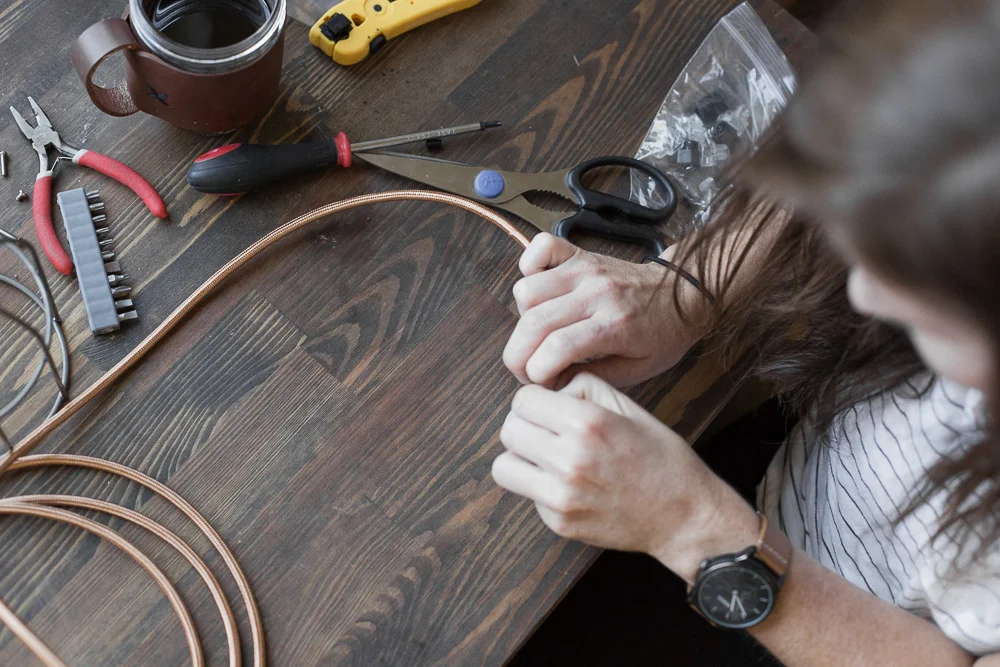
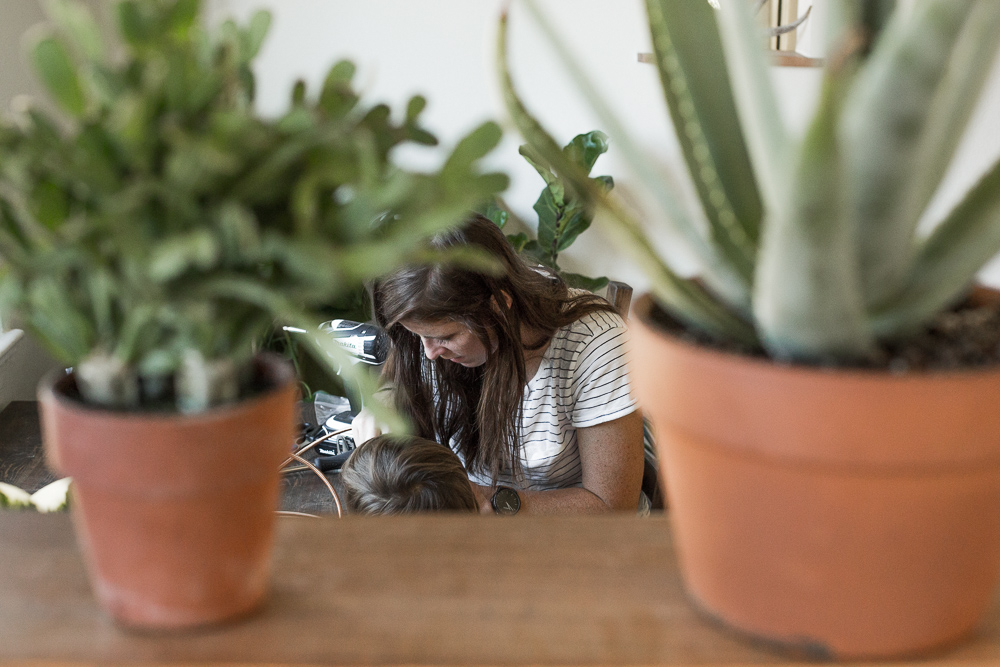
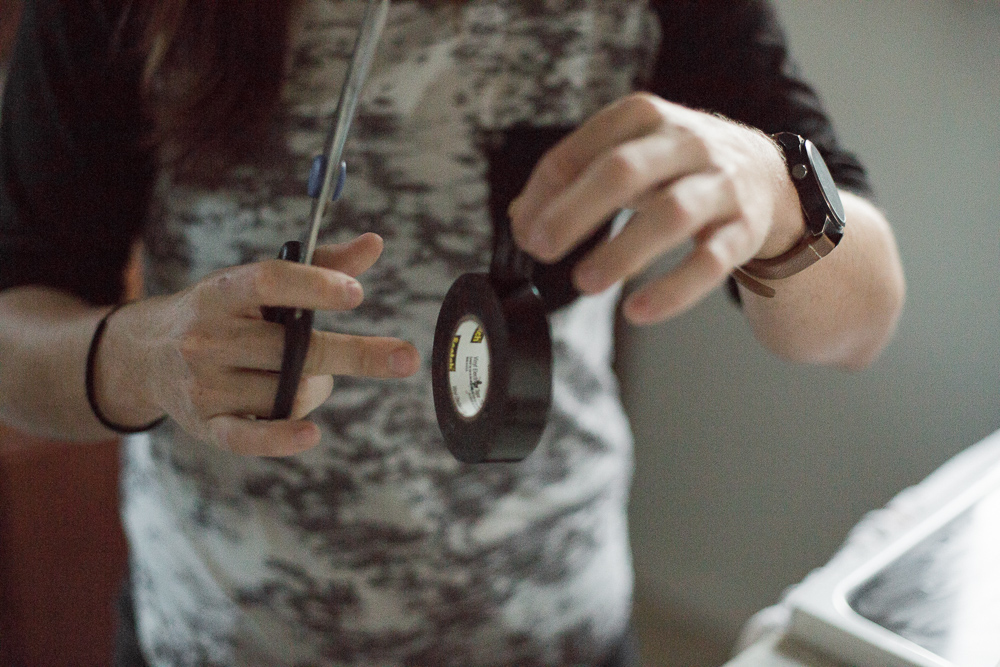
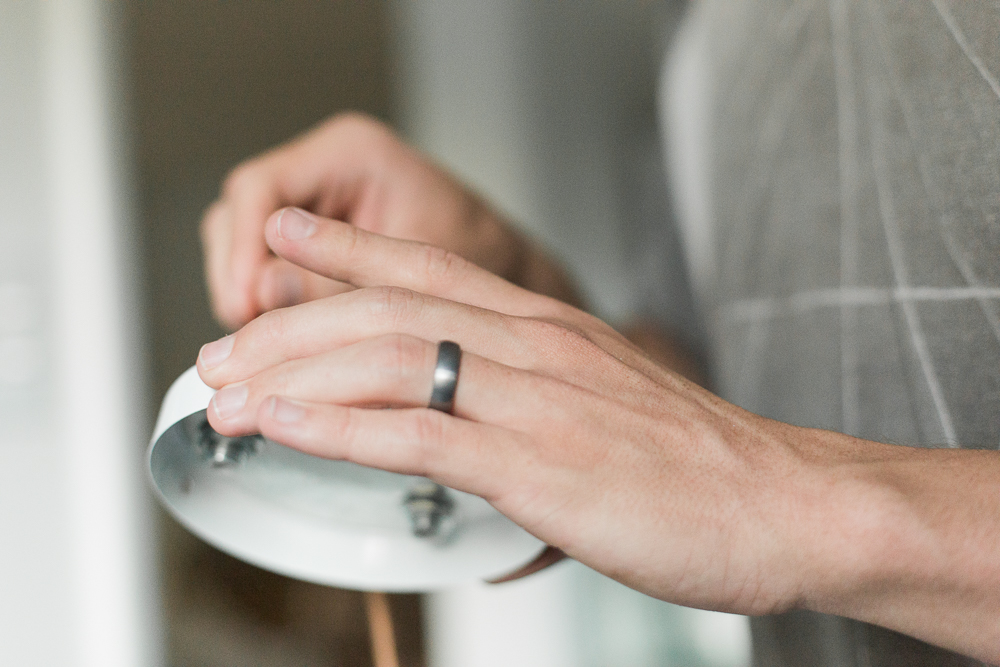
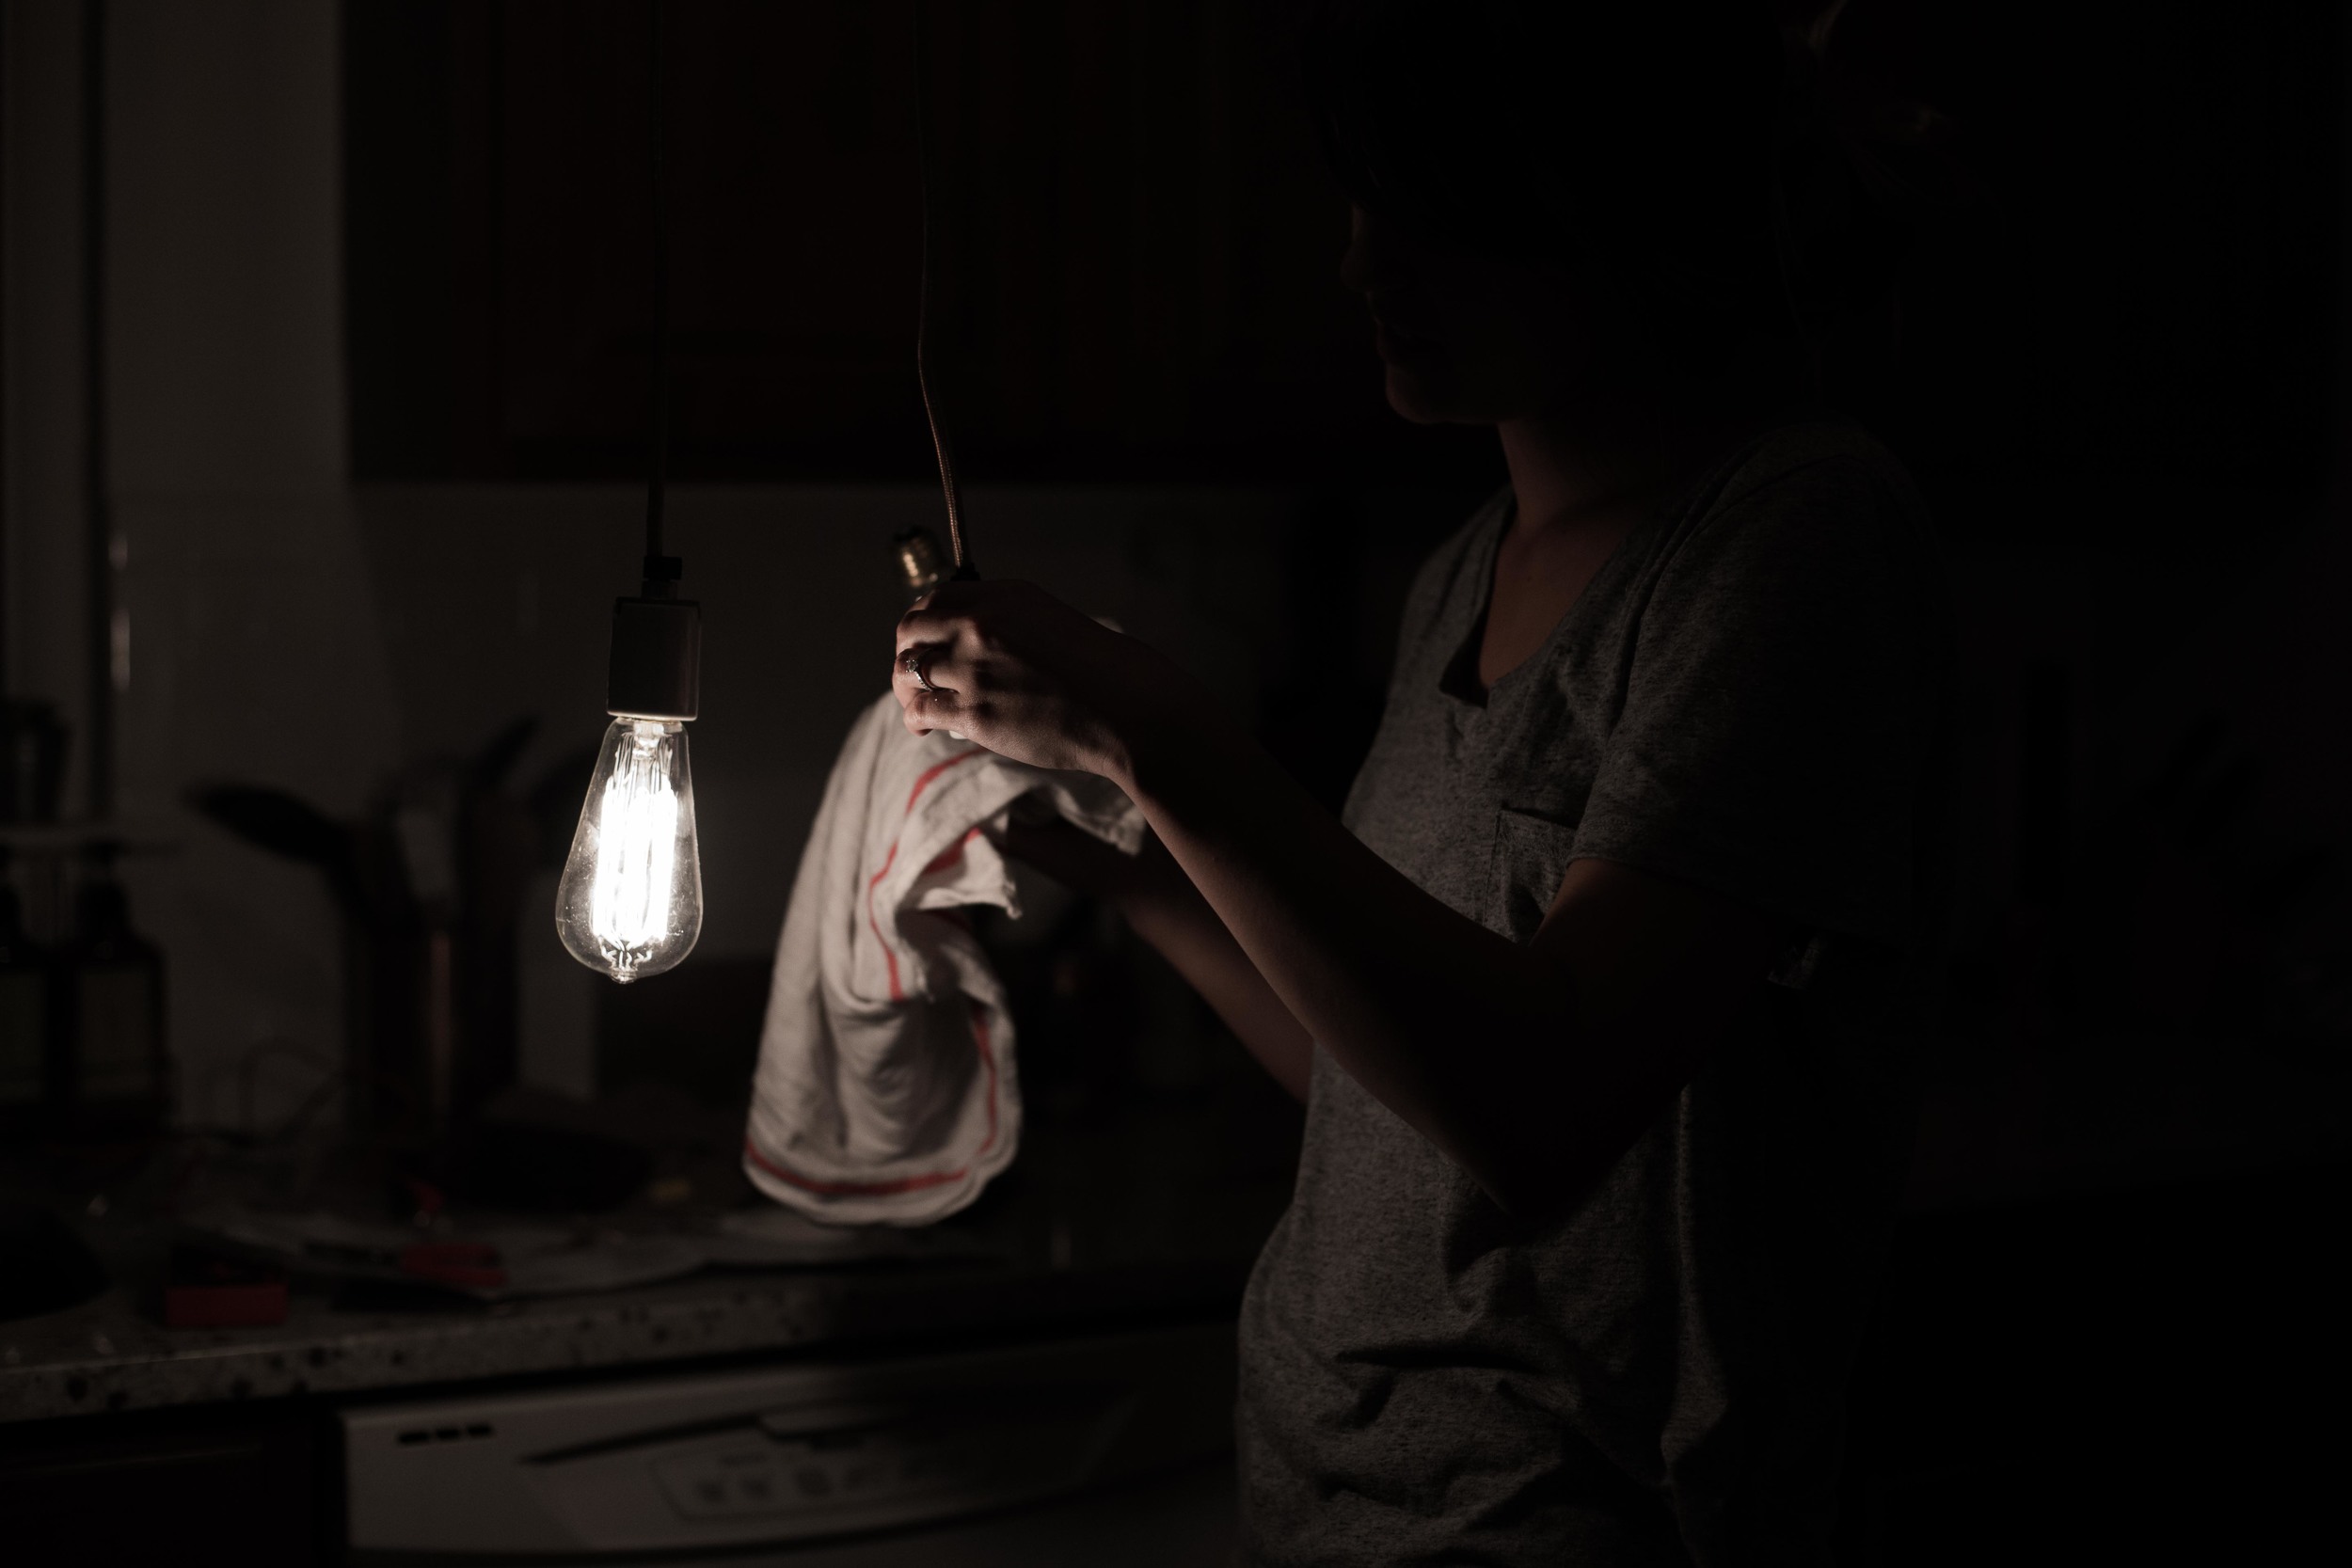
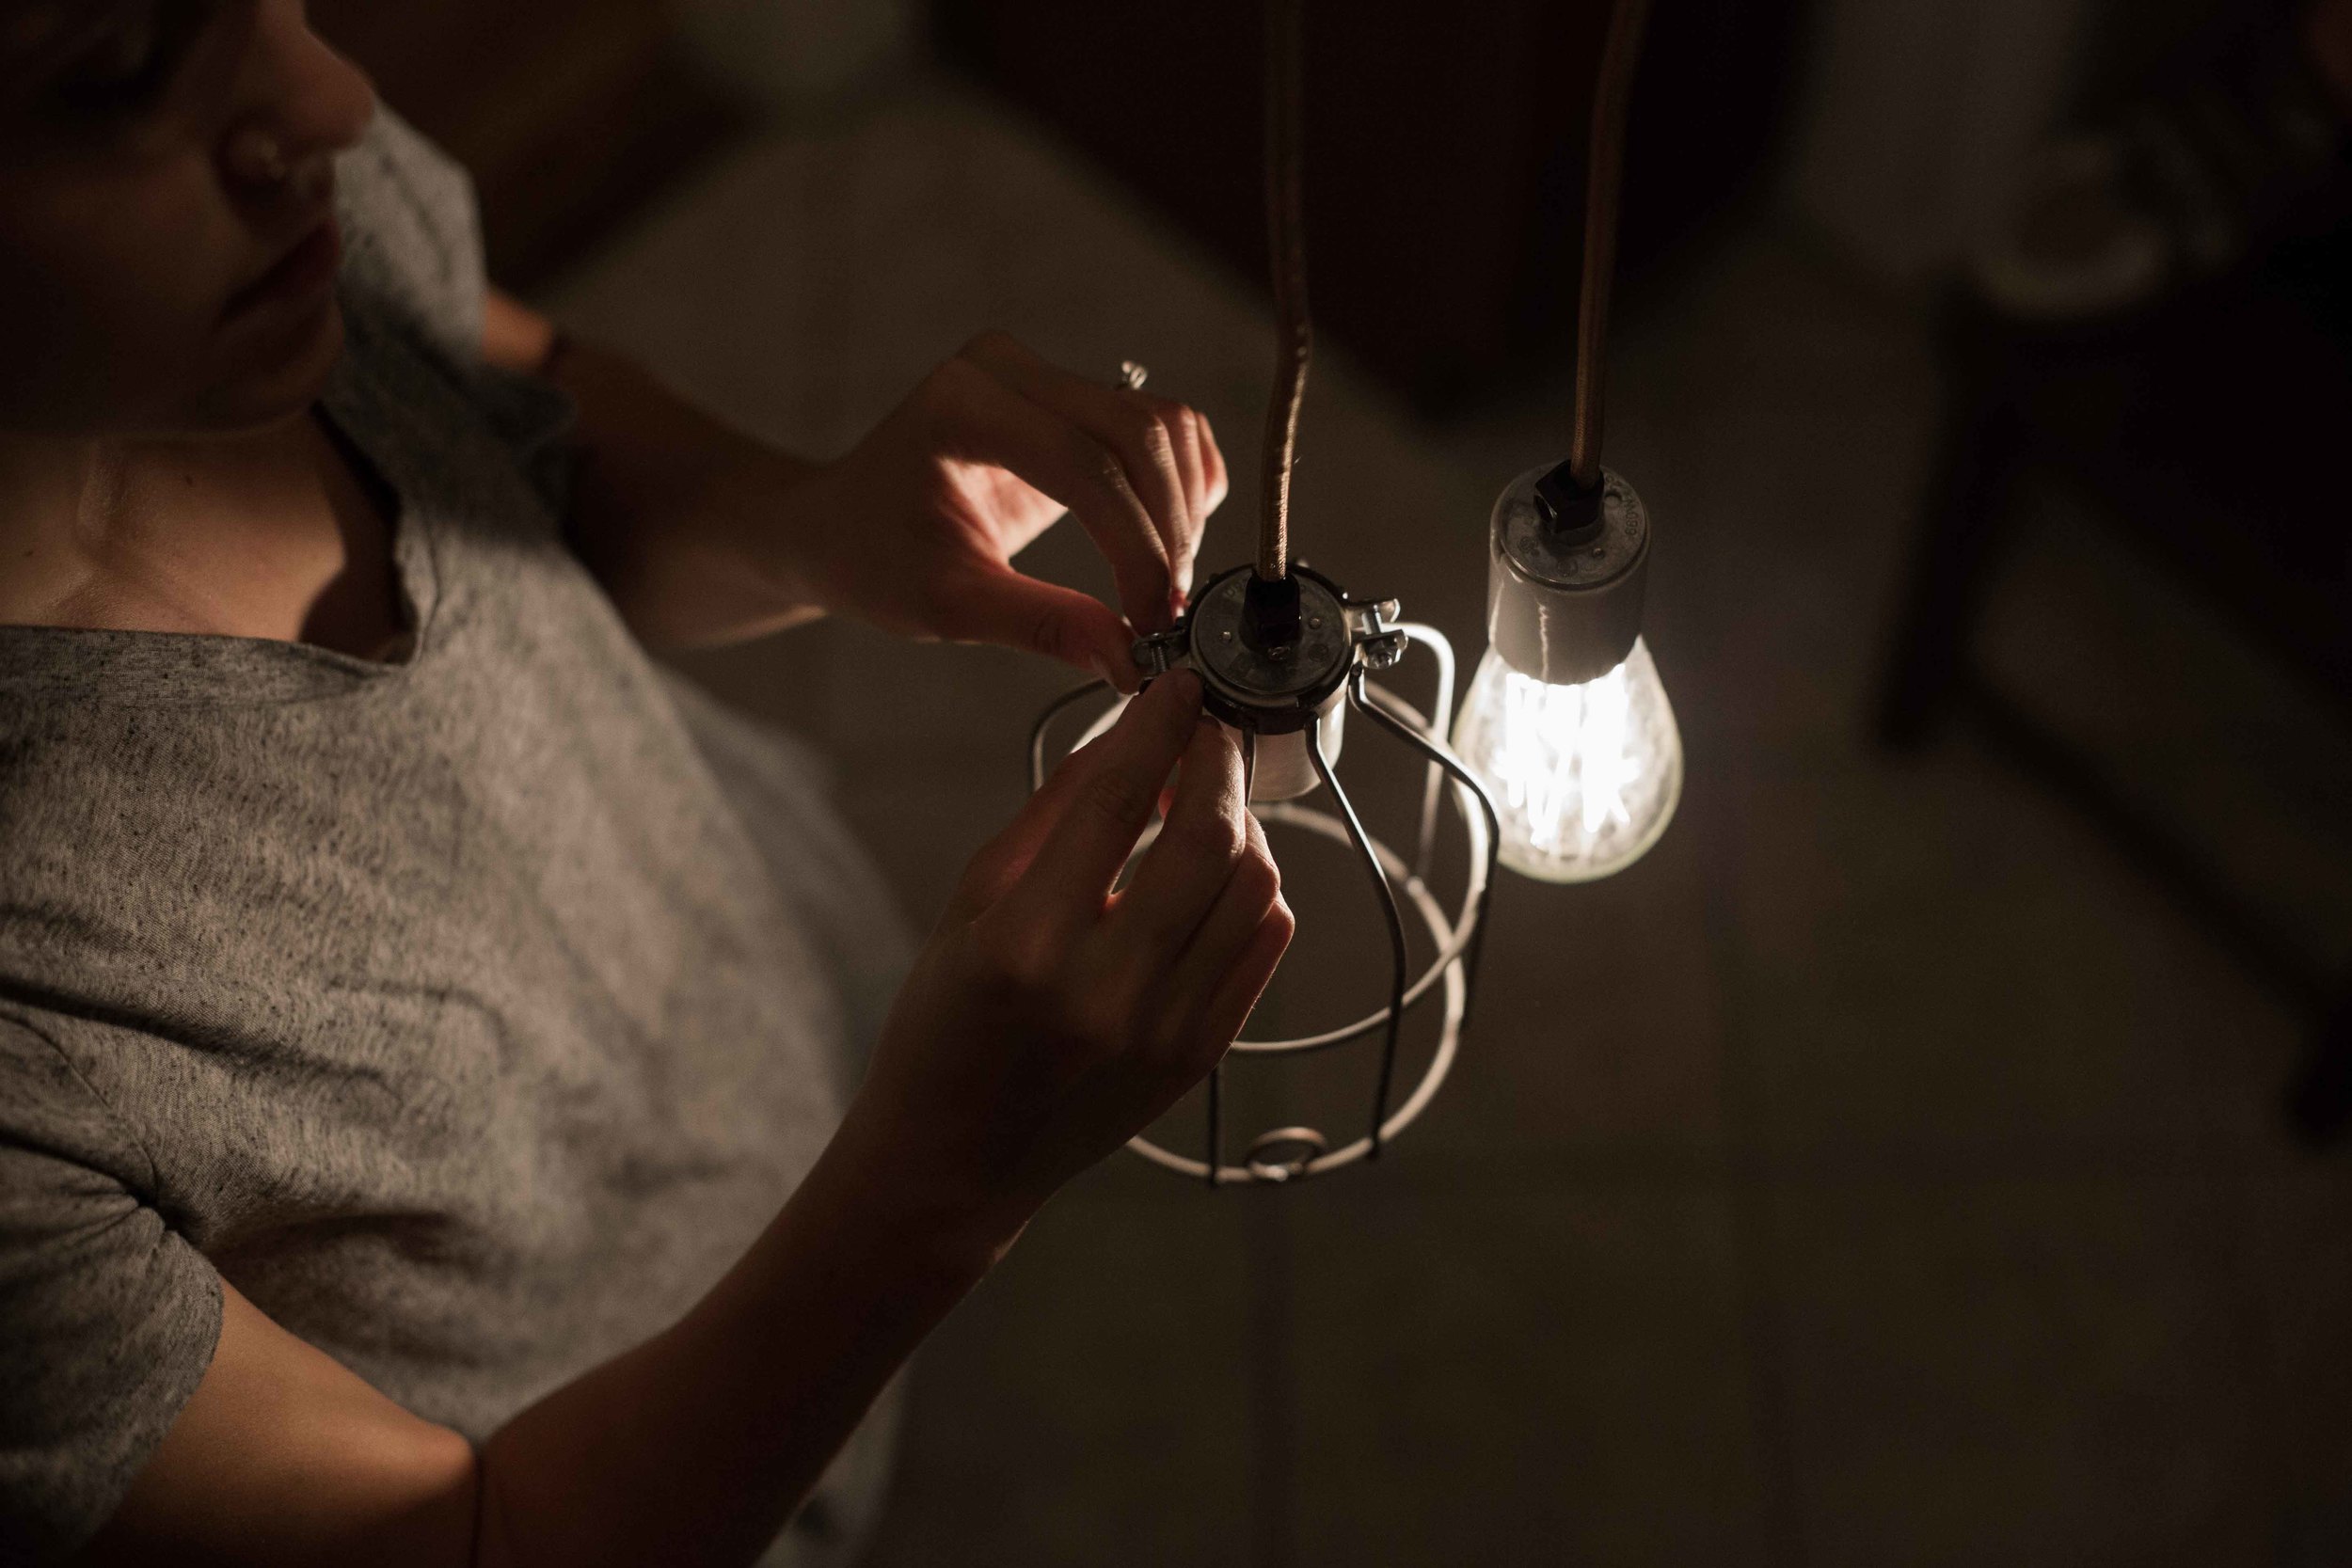
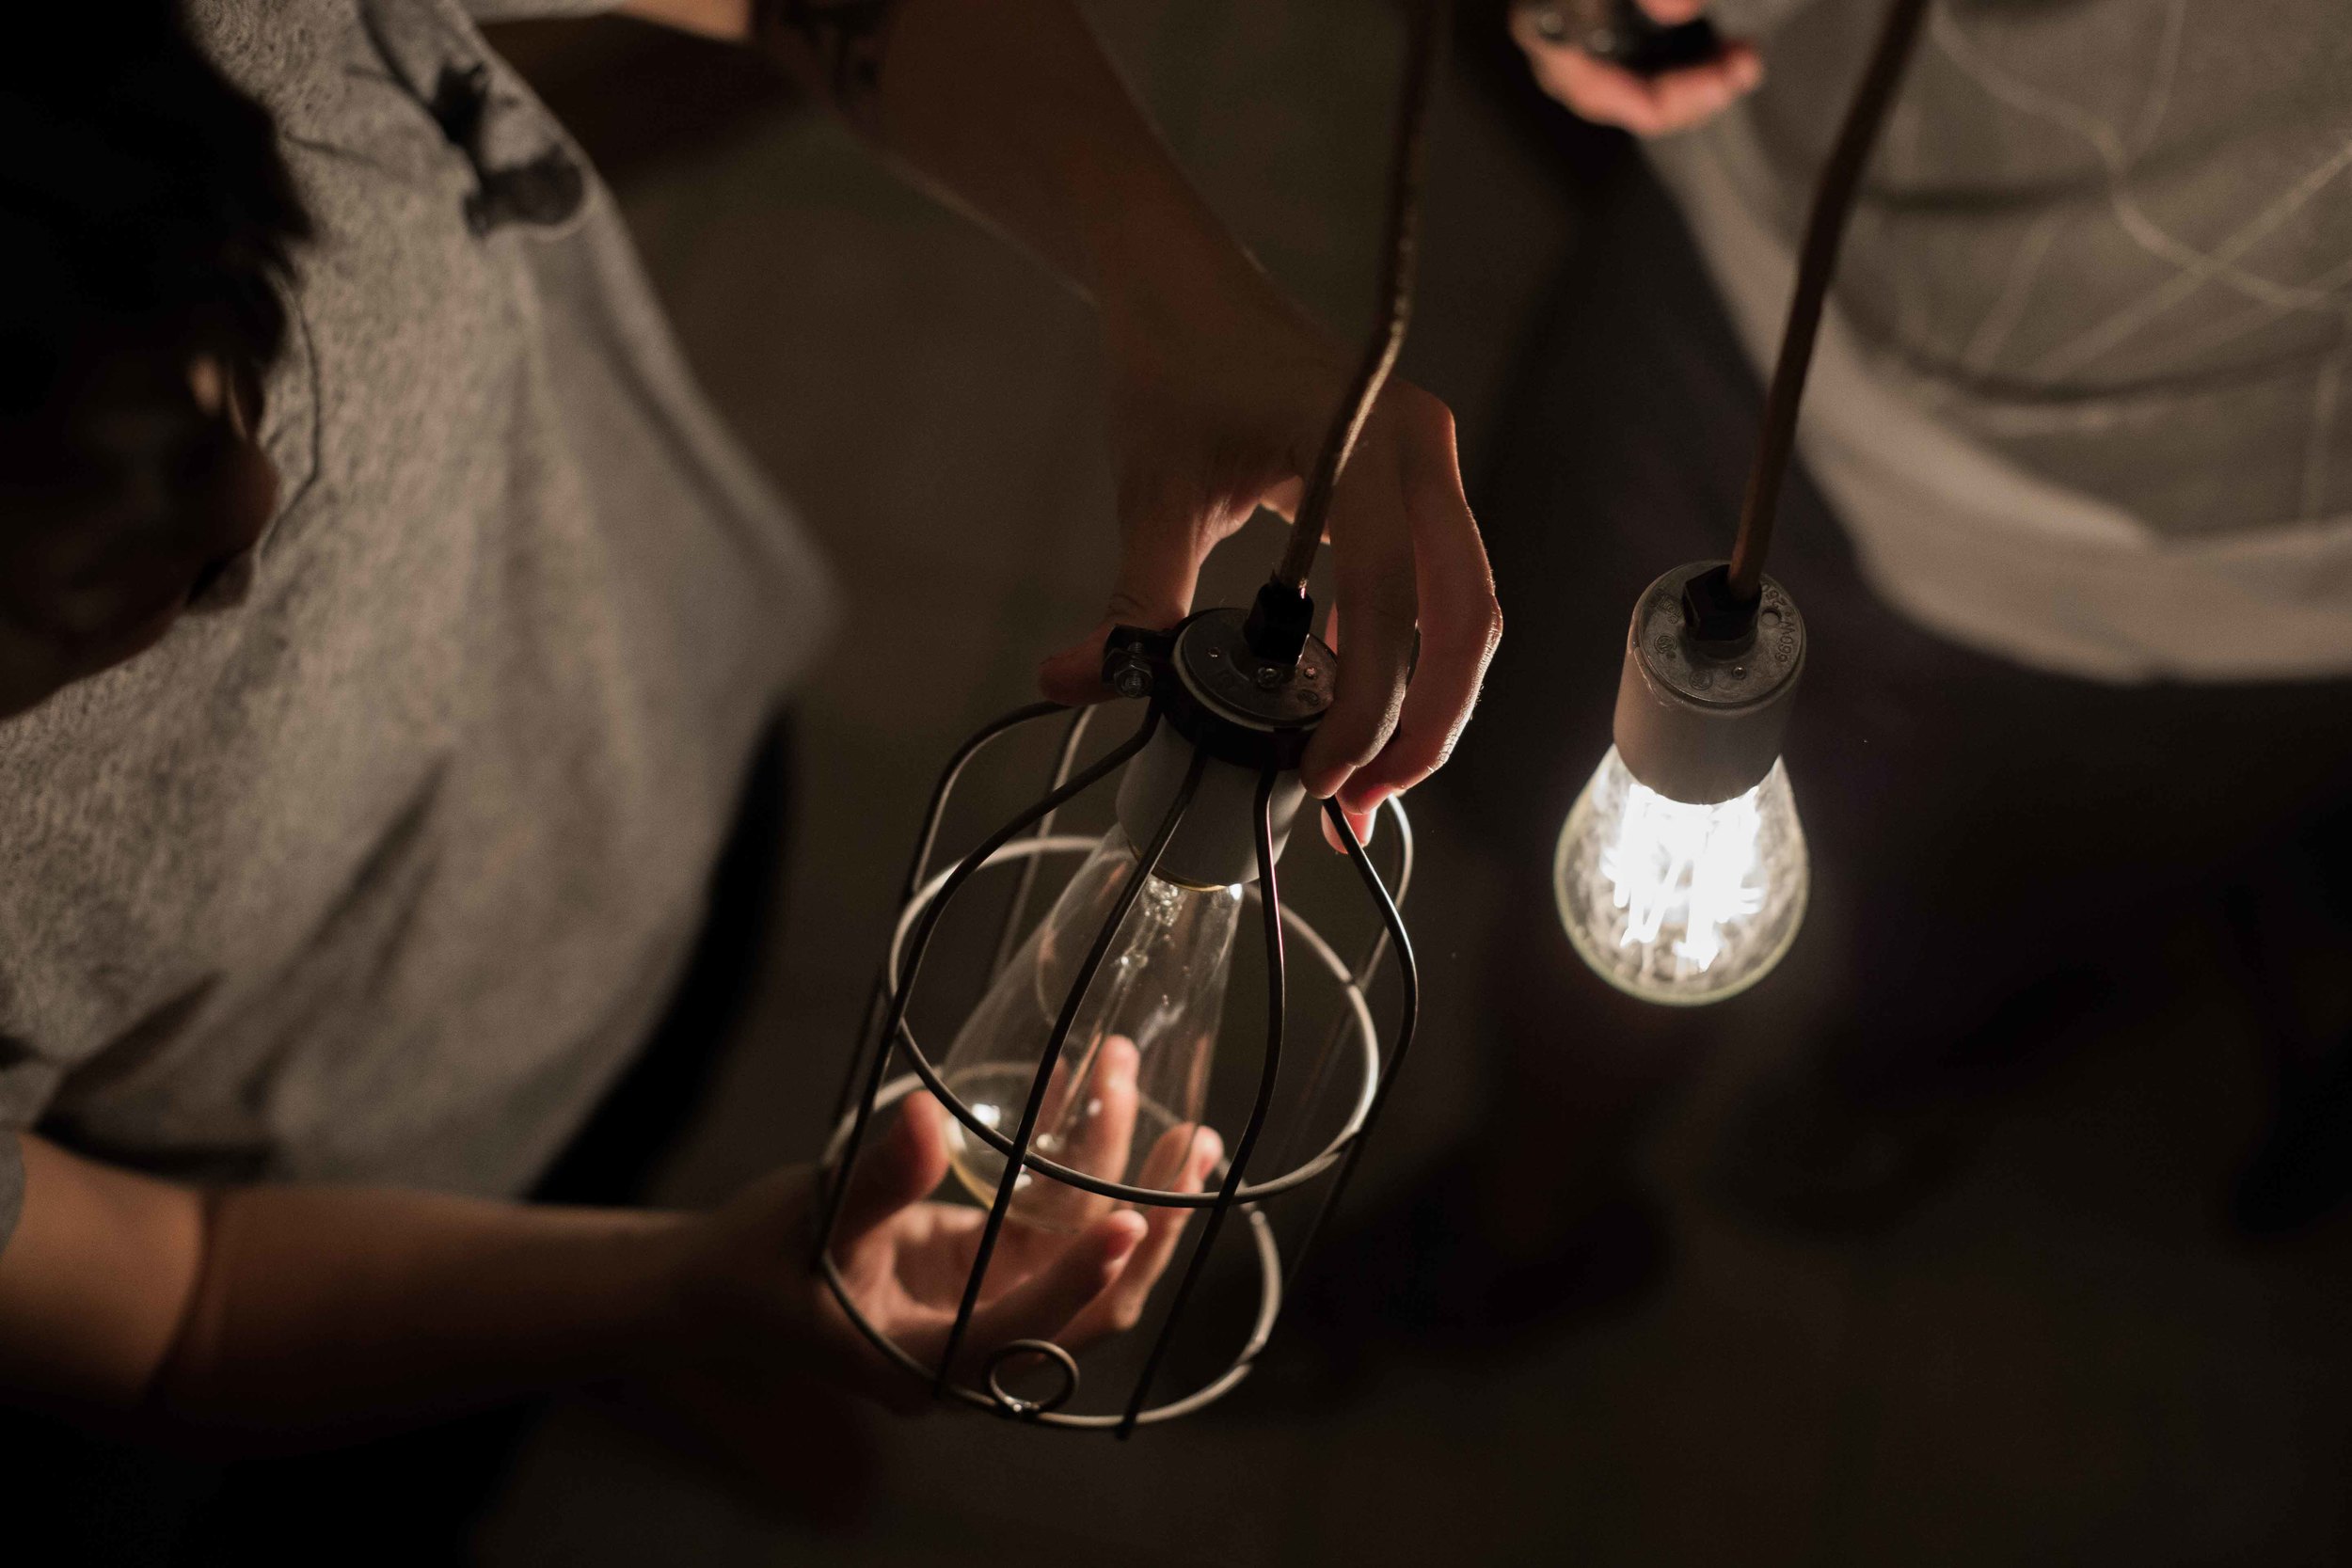
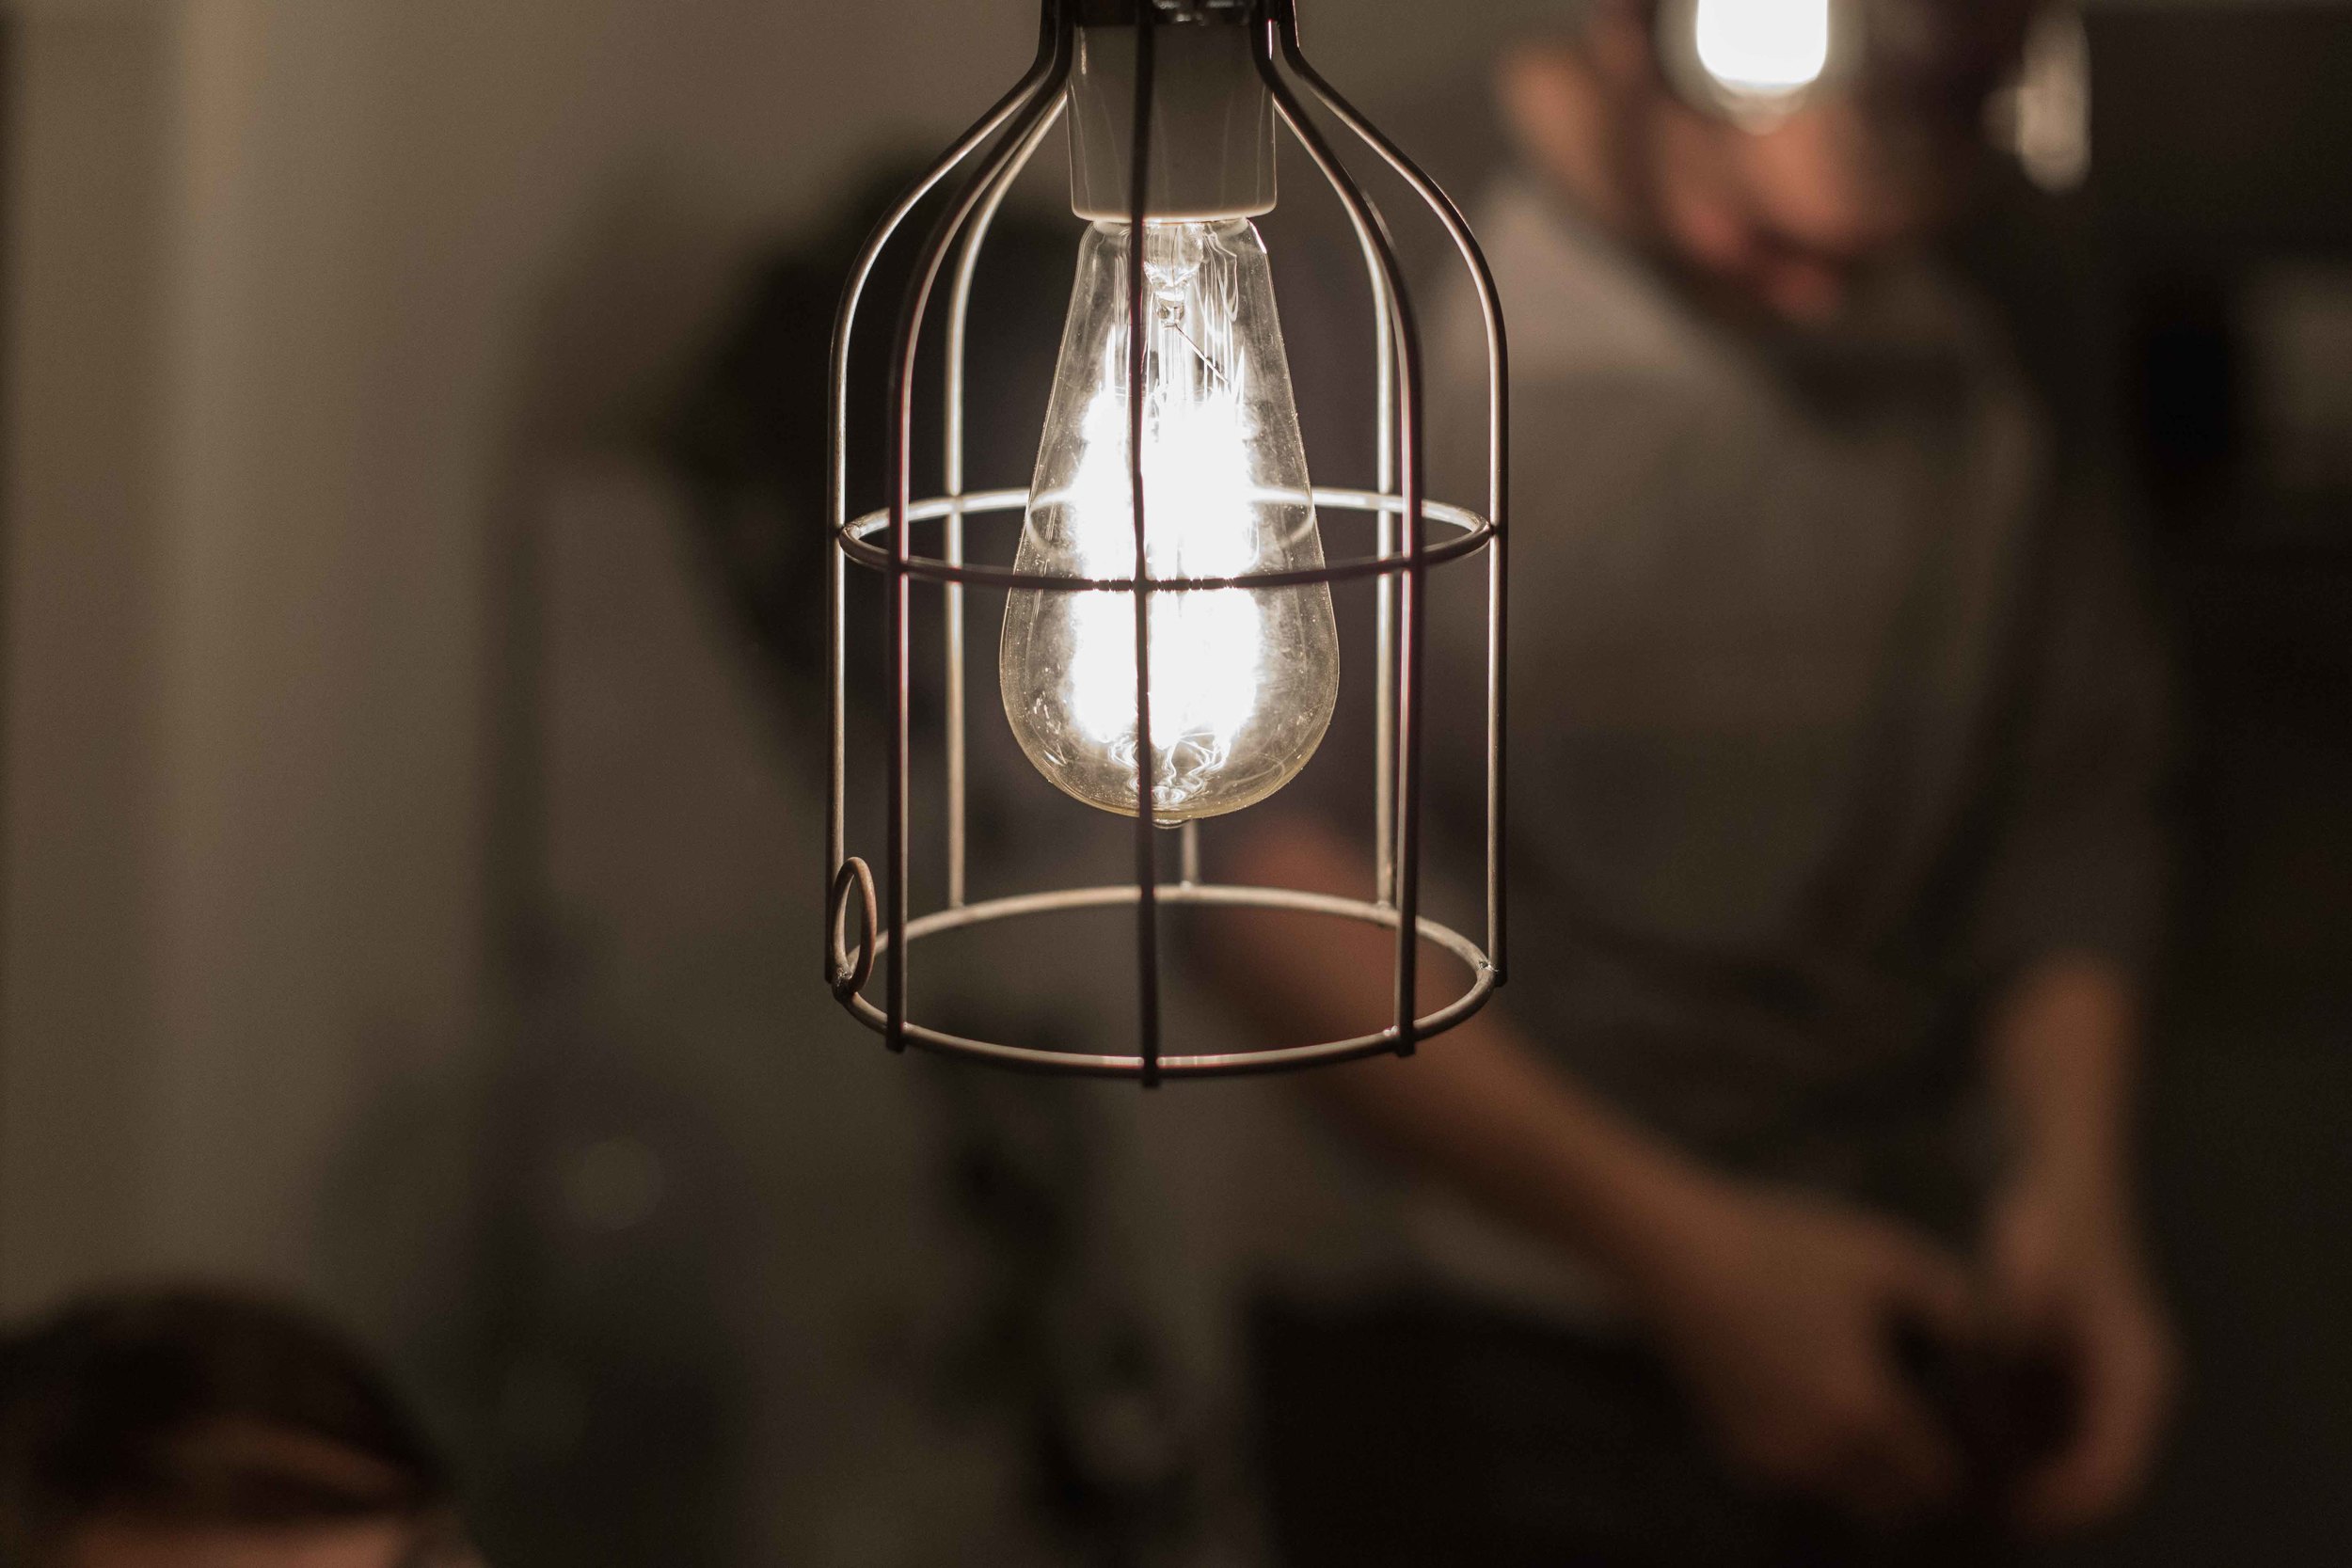
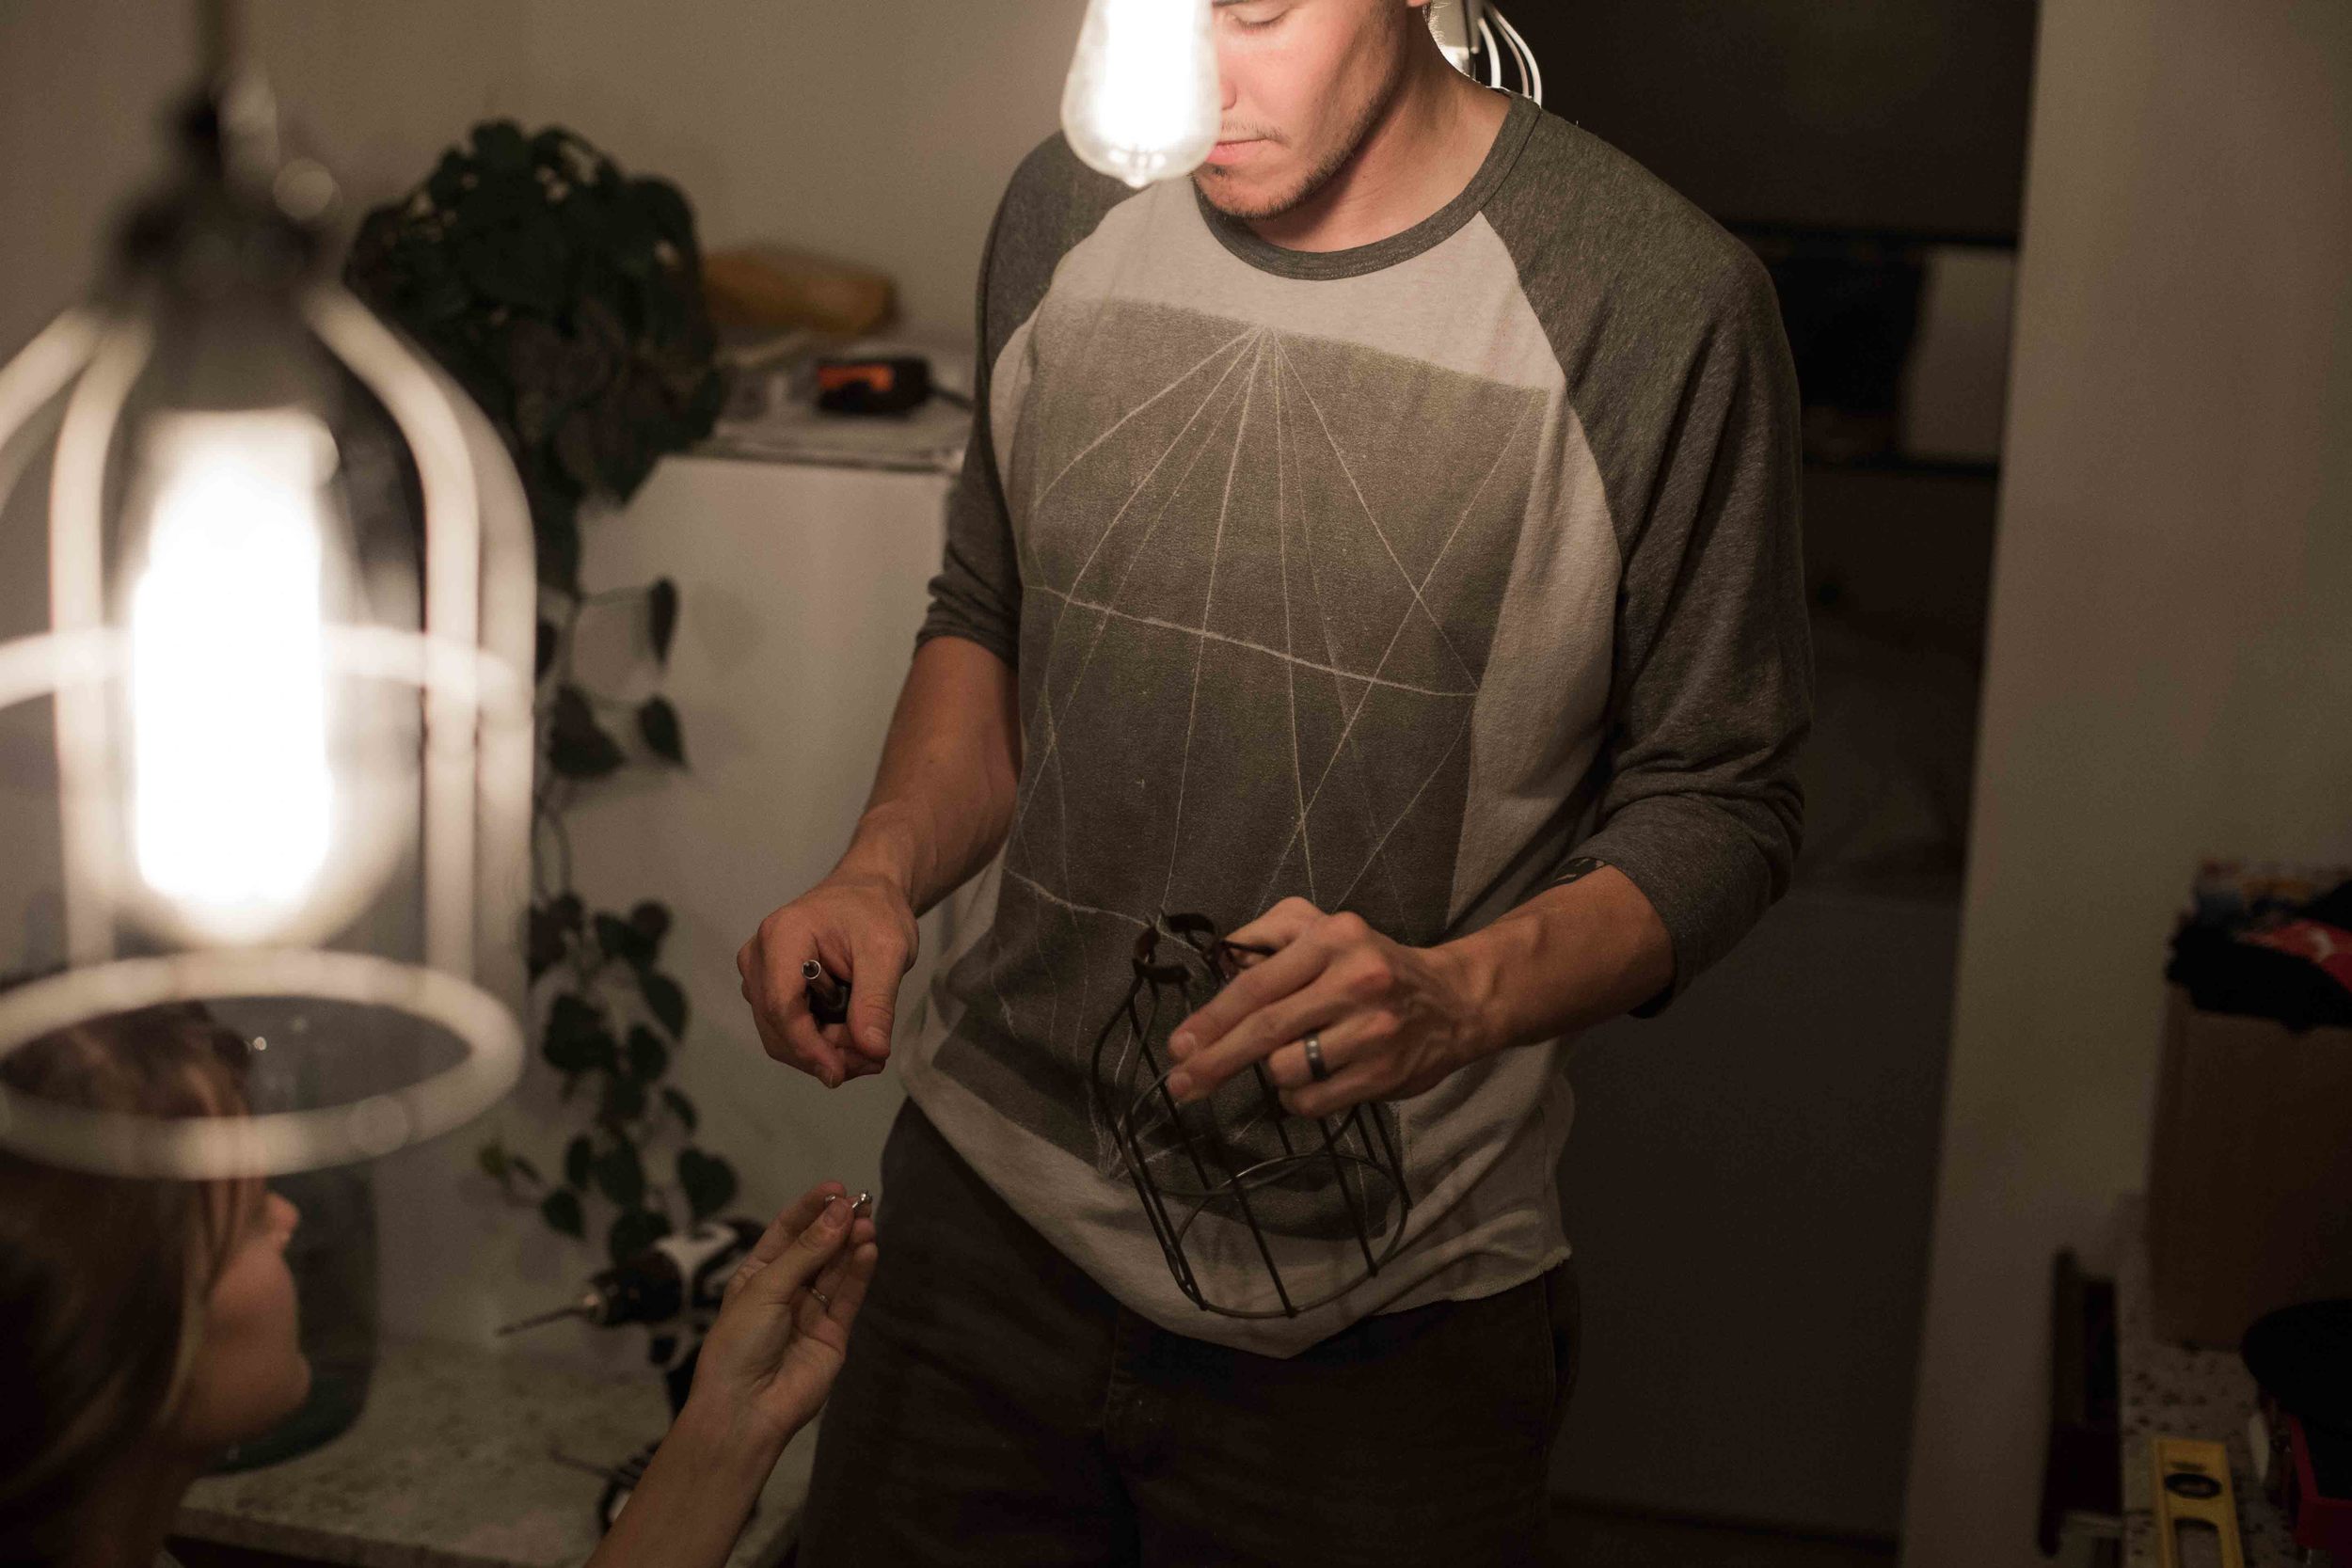
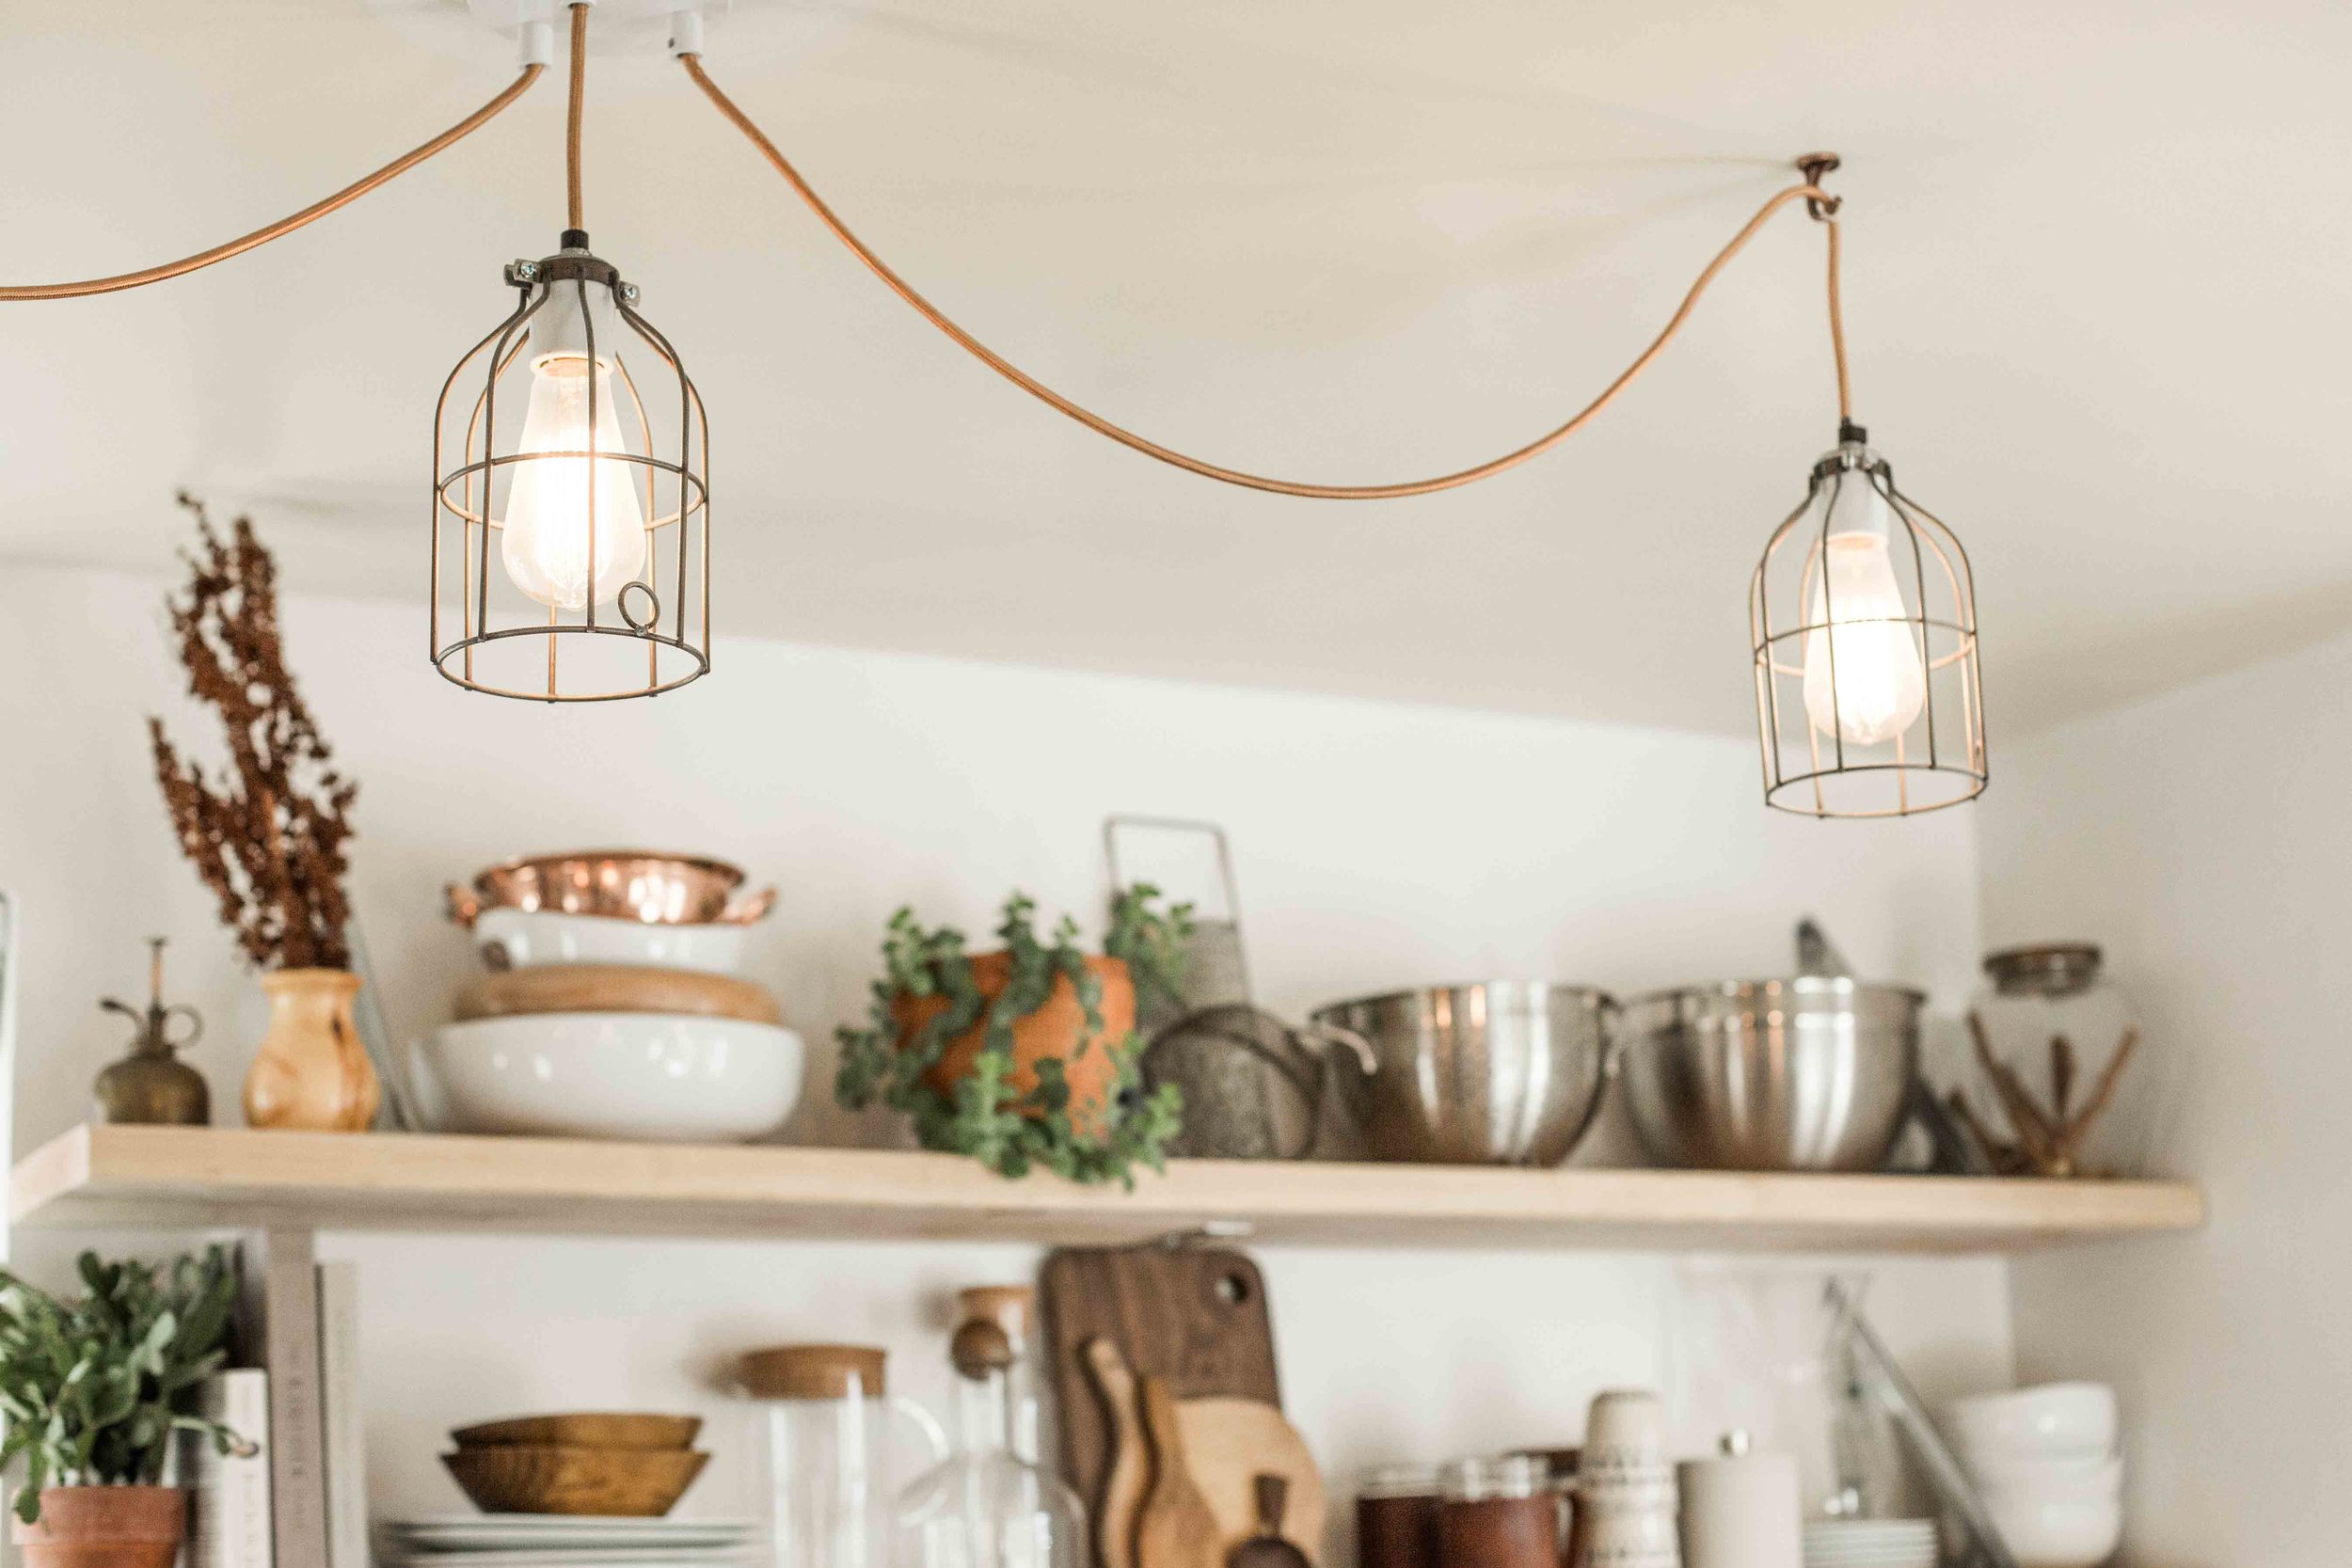
Jody & I began assembling the cords by first stripping the wire, & attaching the correct color to the correct screws in the socket. If you have no previous experience with this—hashtag youtube. In addition, Color Cord has great step by step tutorials that we followed. We definitely fumbled here & there & had our fair share of re-do's, but as we went, we started to get the hang of it. Not to mention we had a little helper, seen in the top photos :)
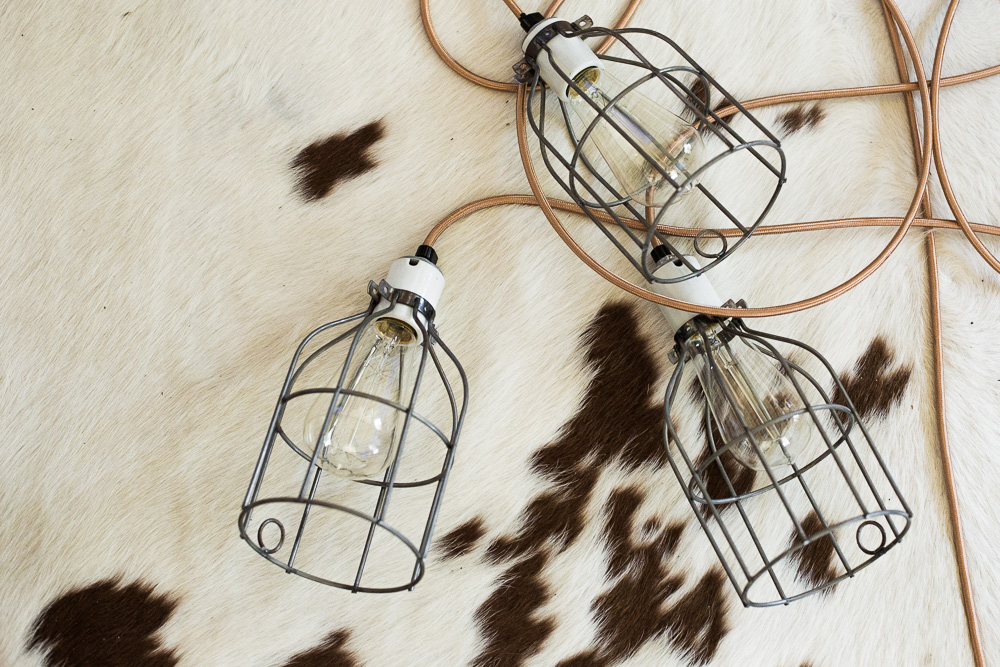
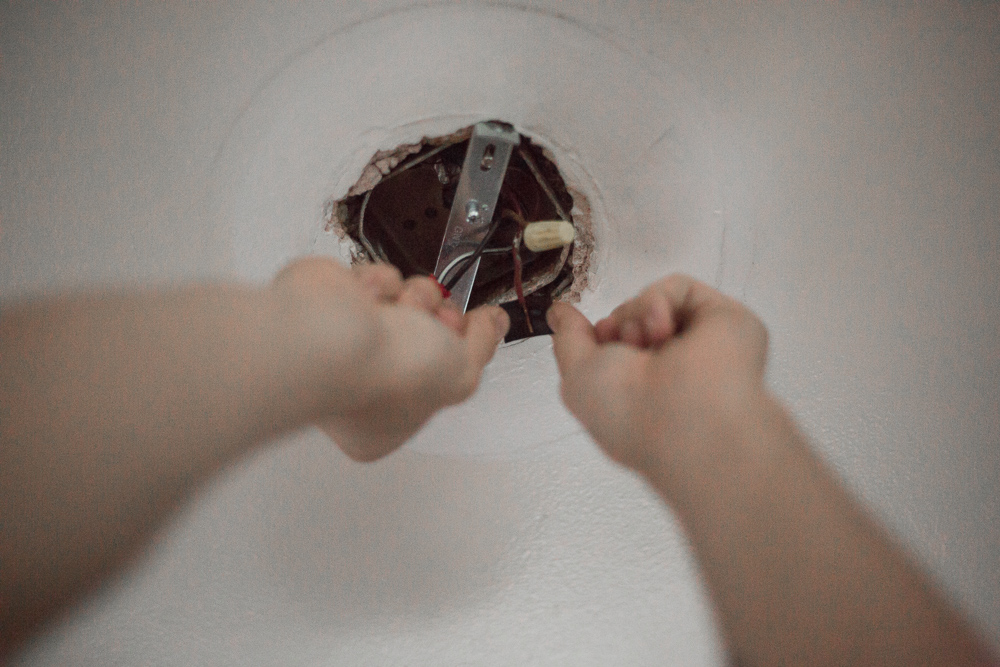
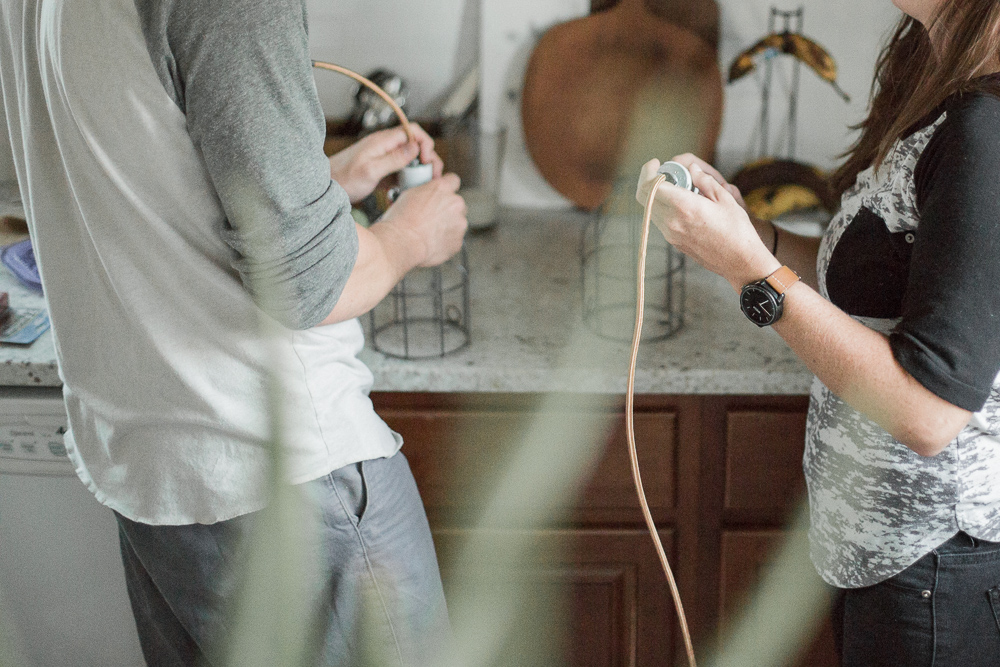
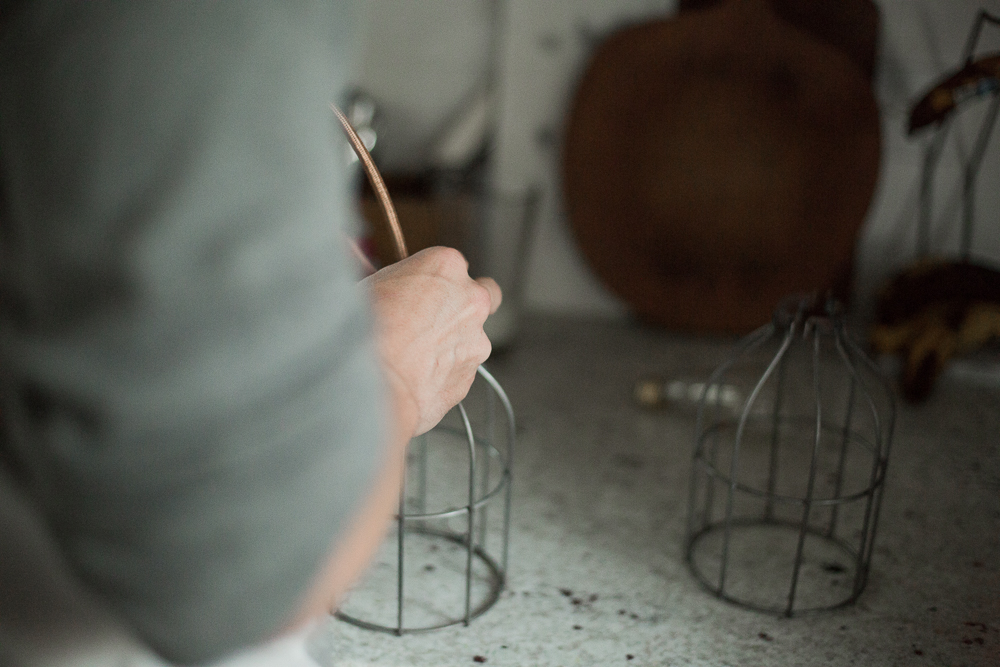
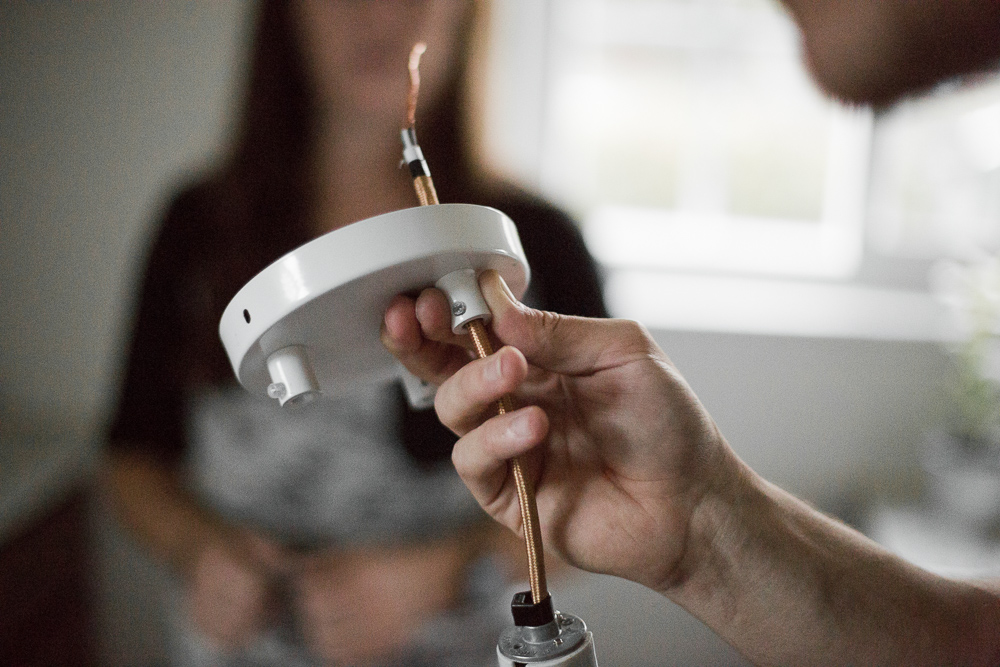
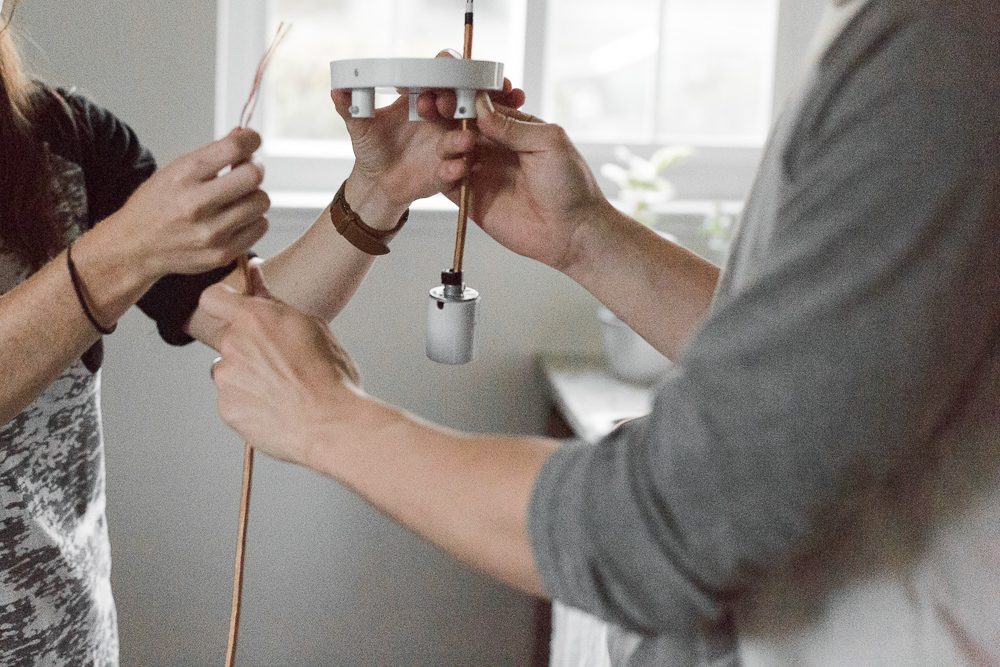
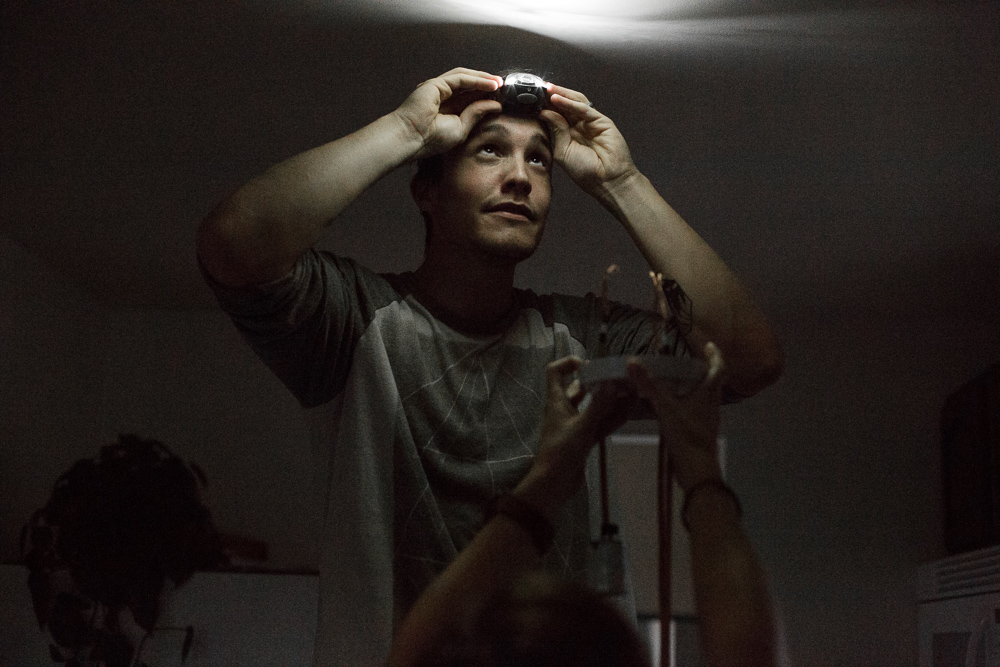
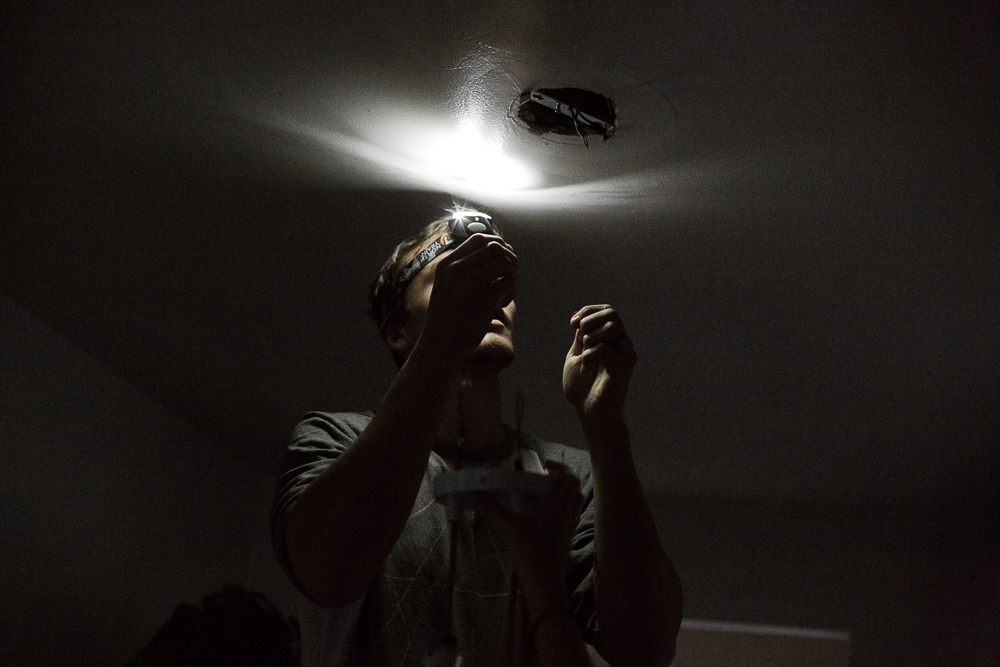
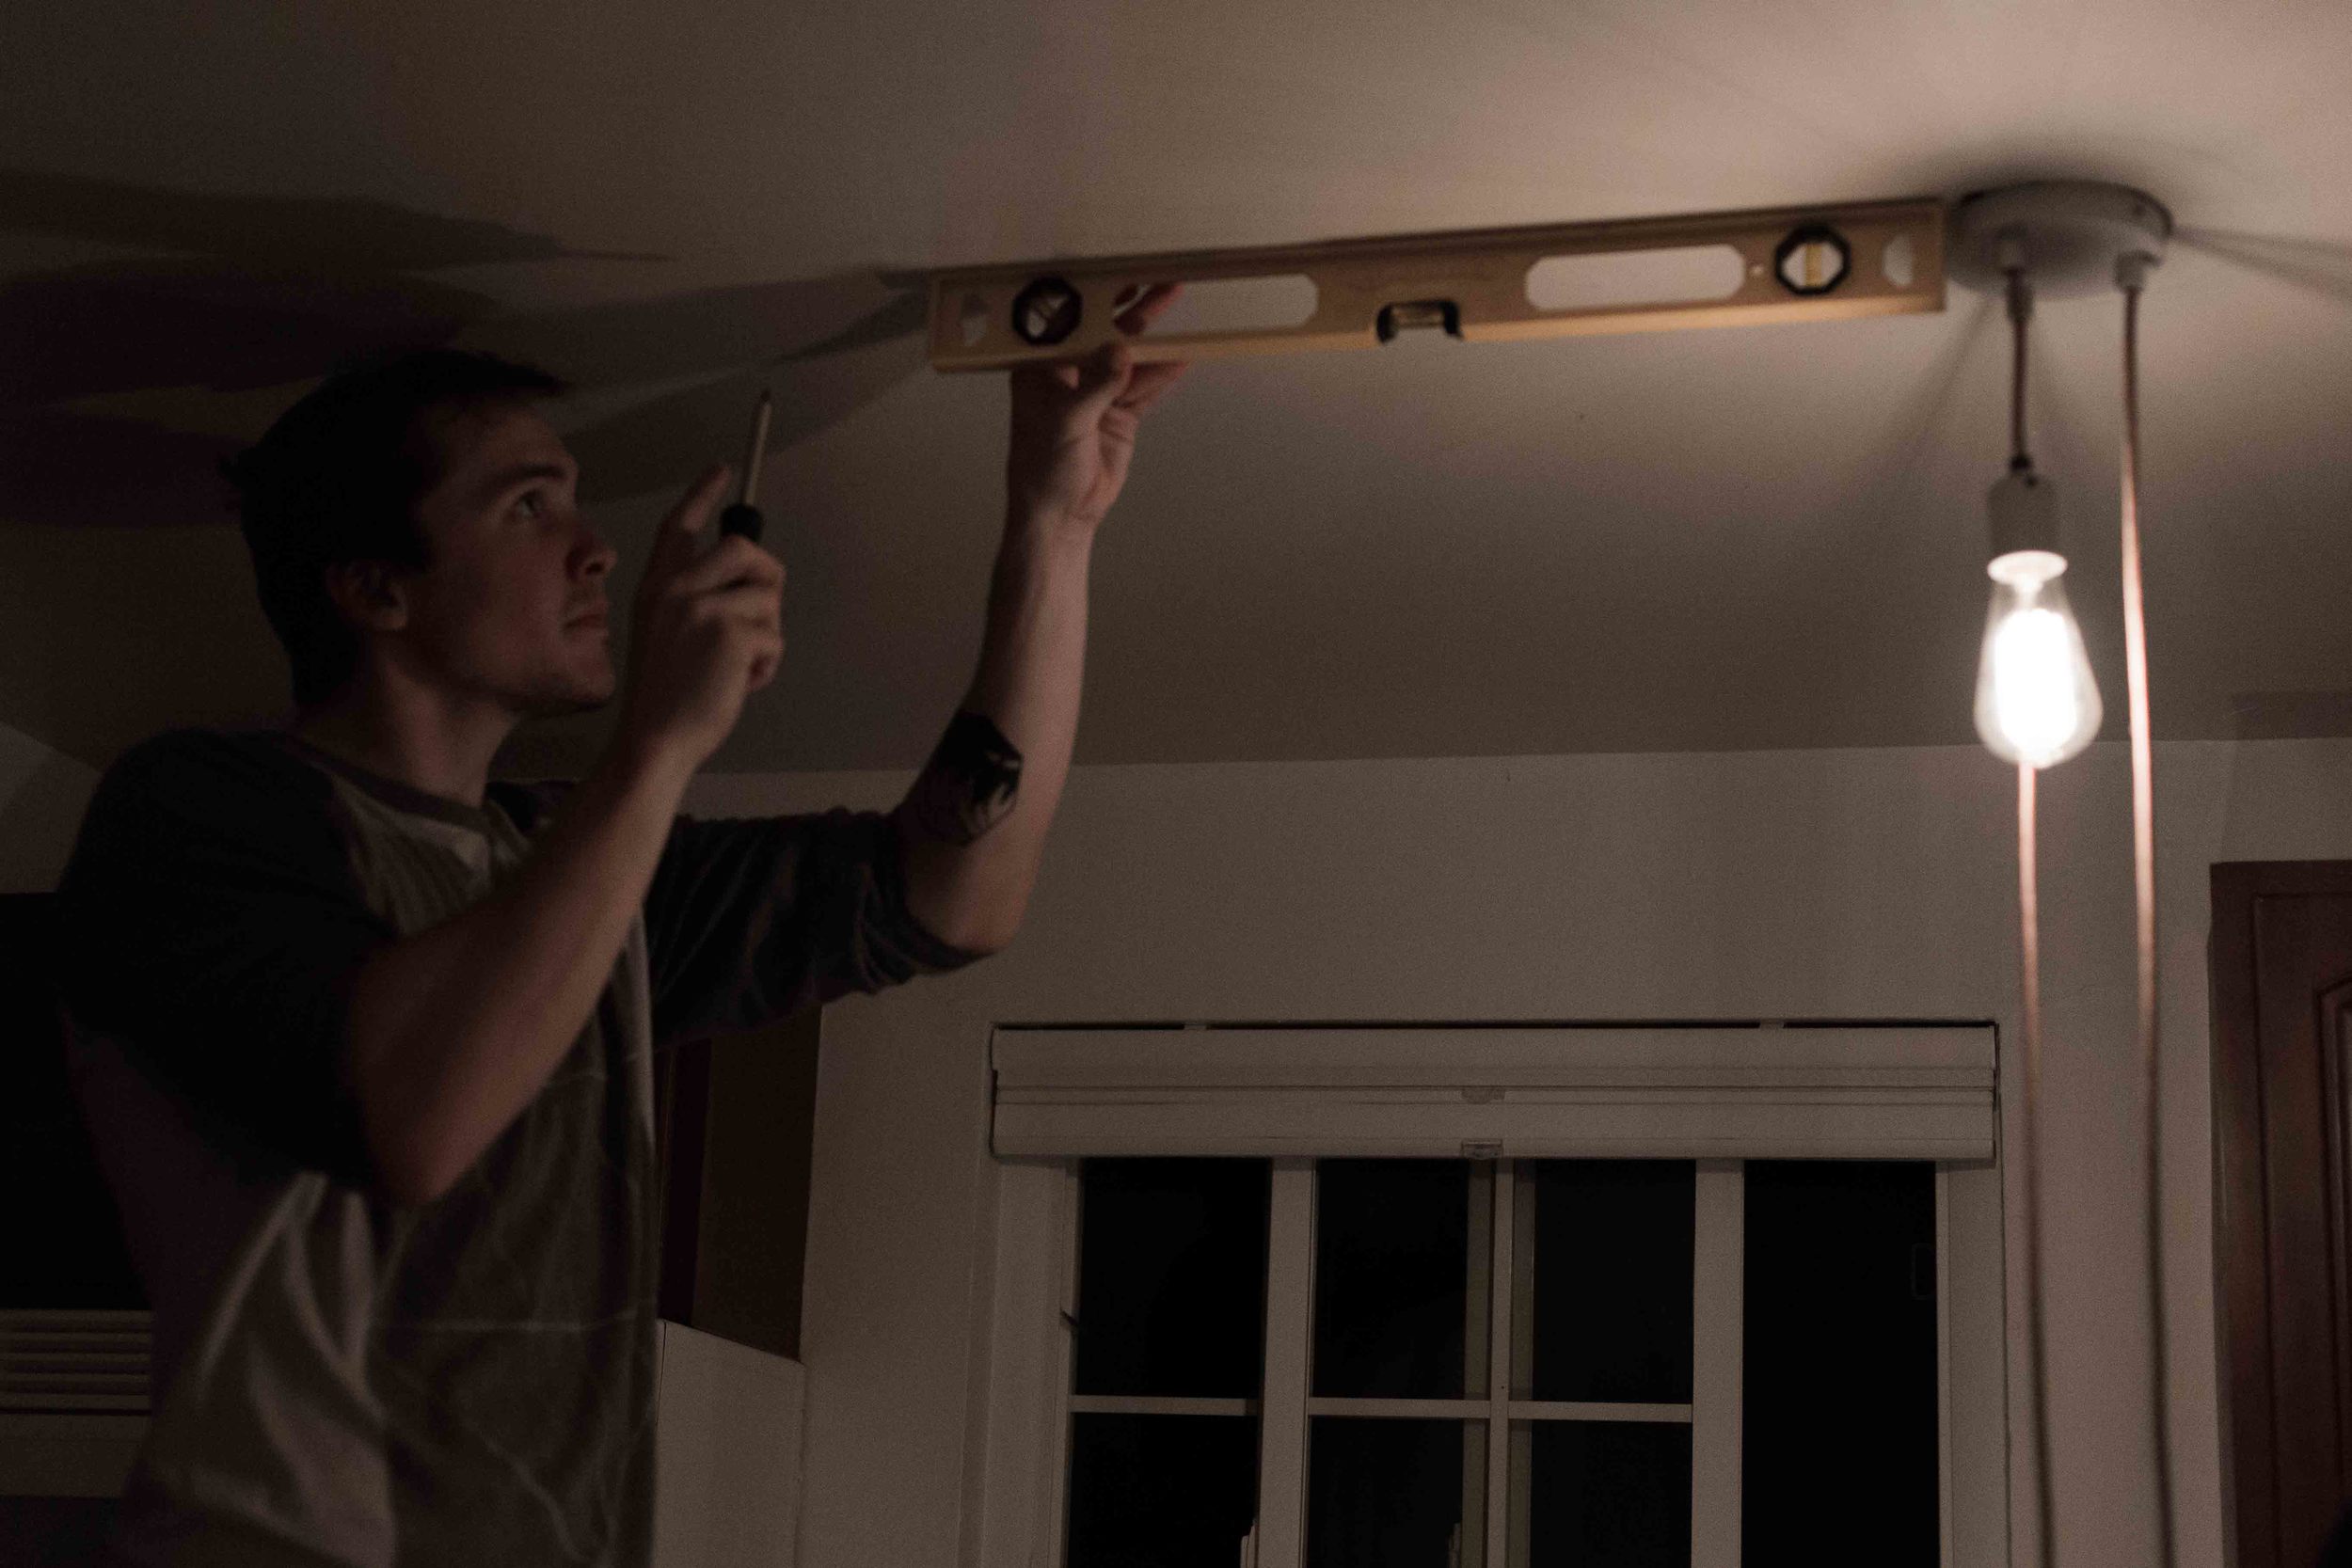
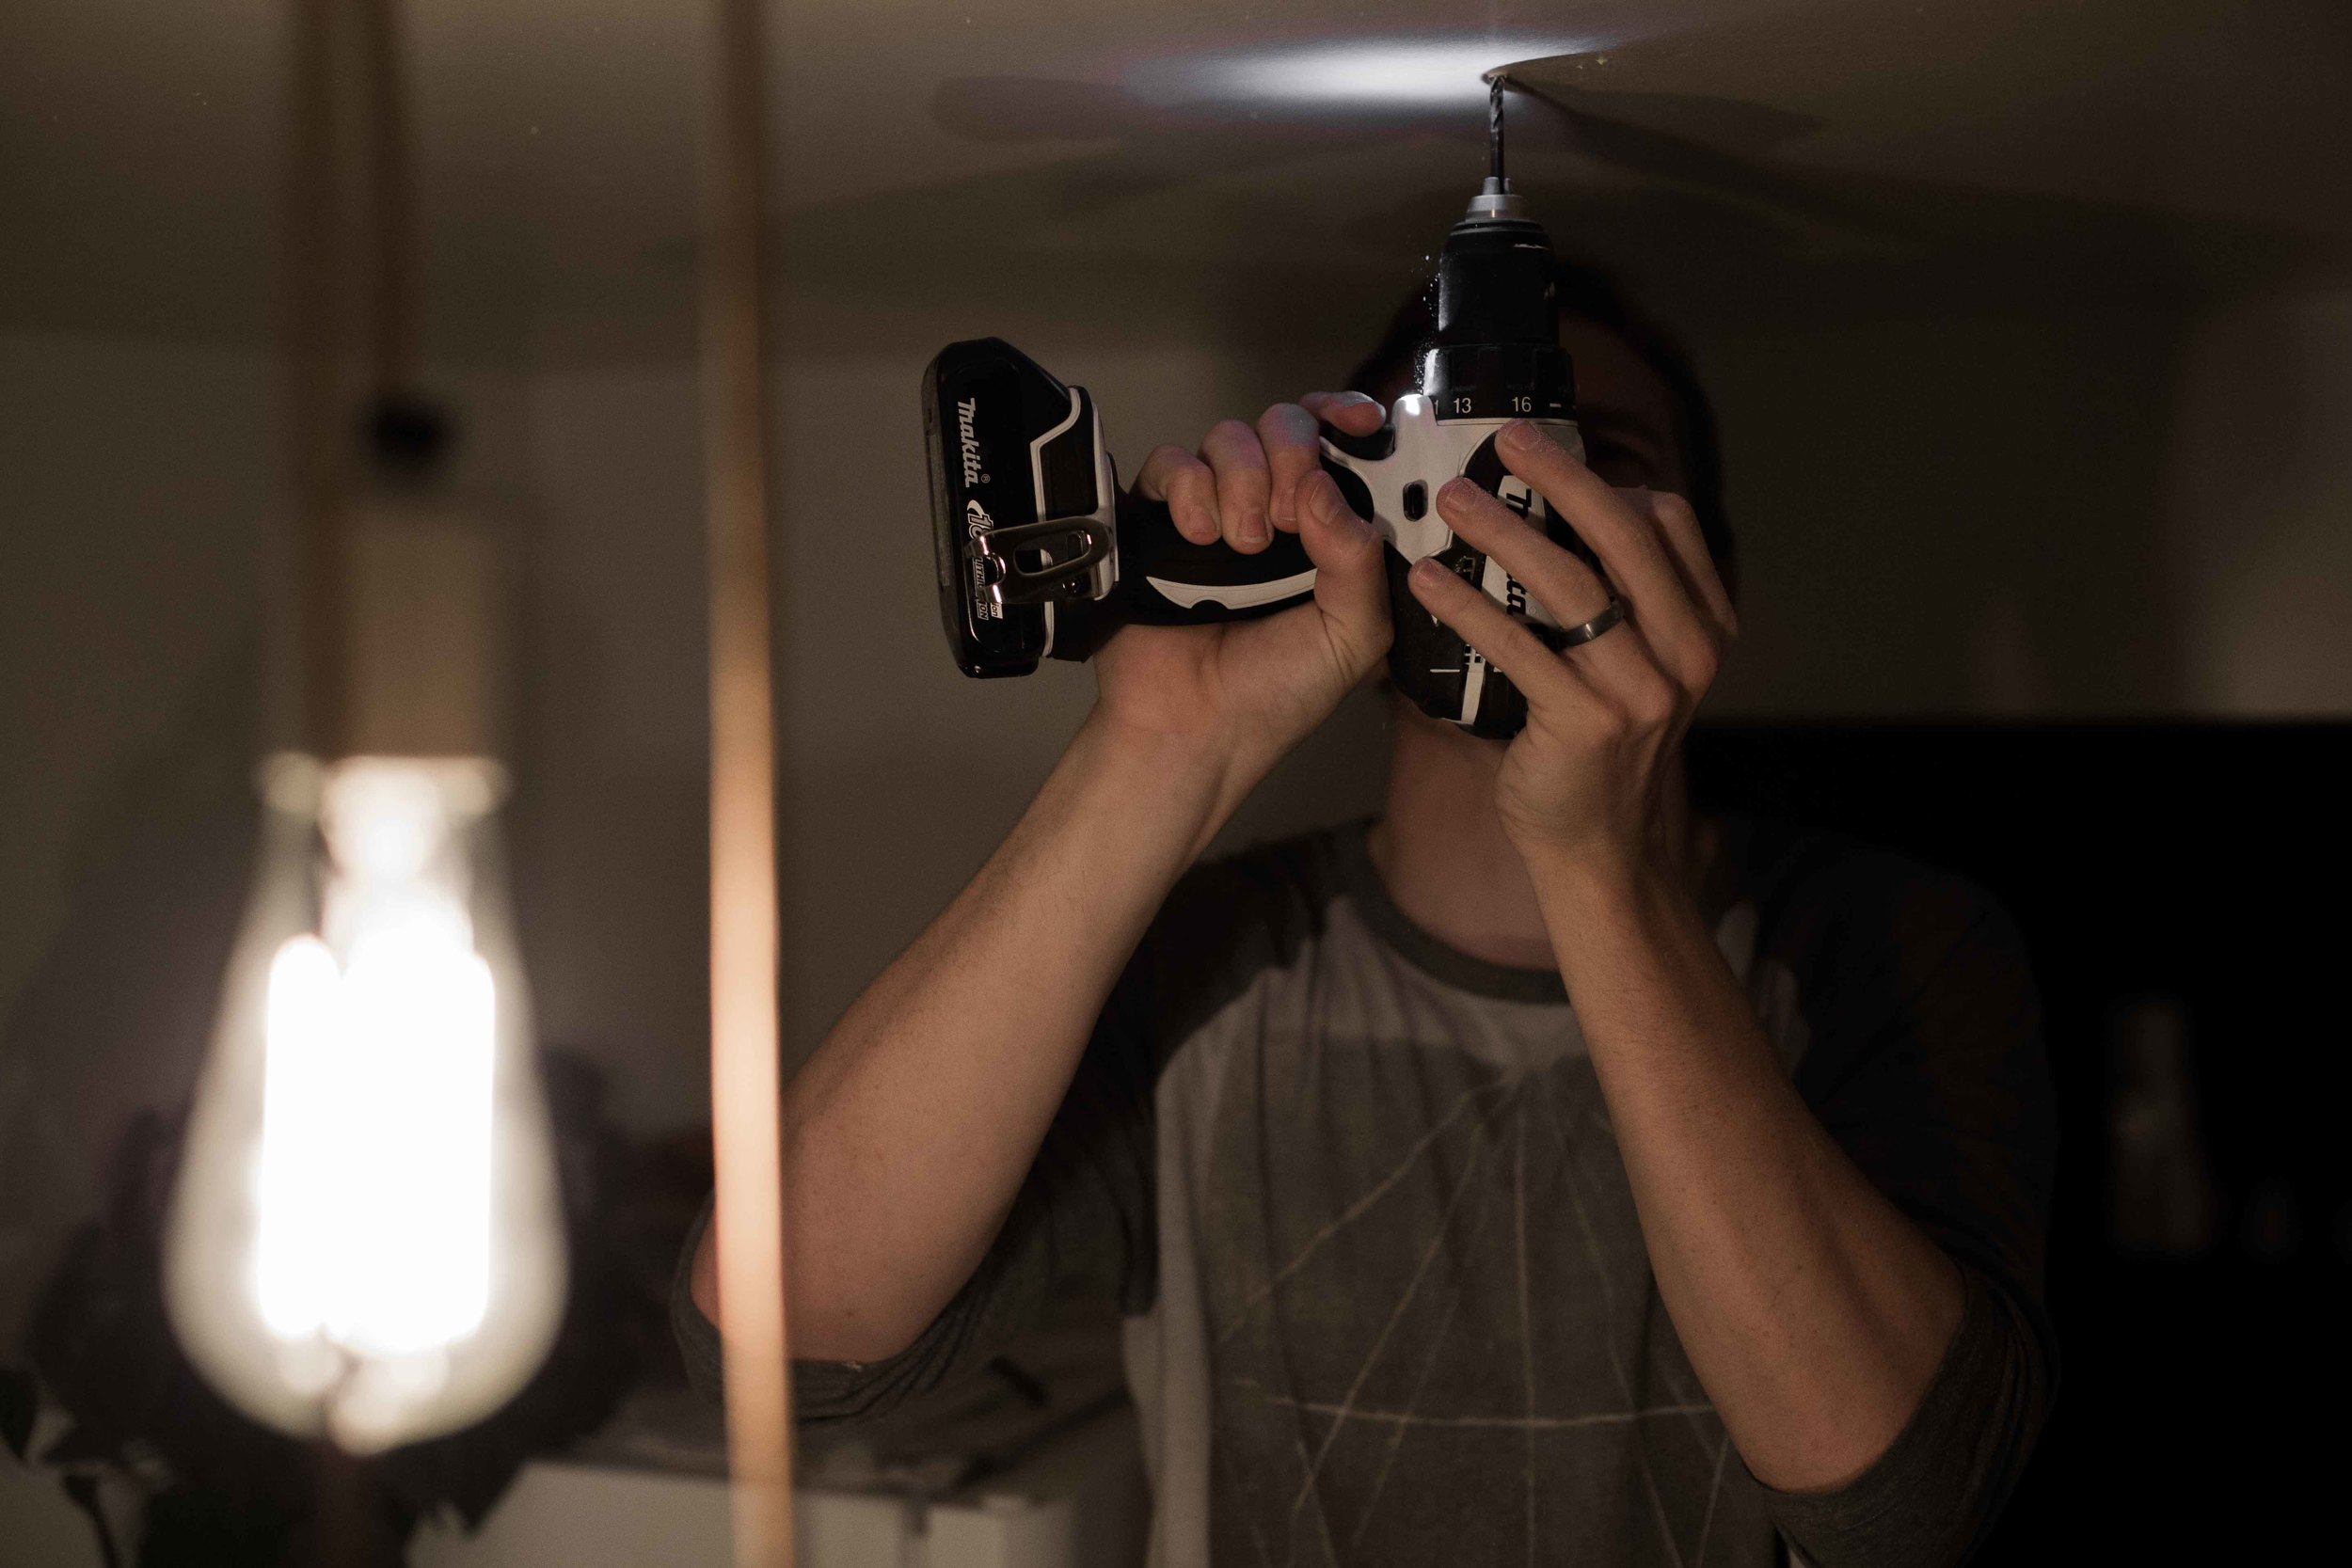
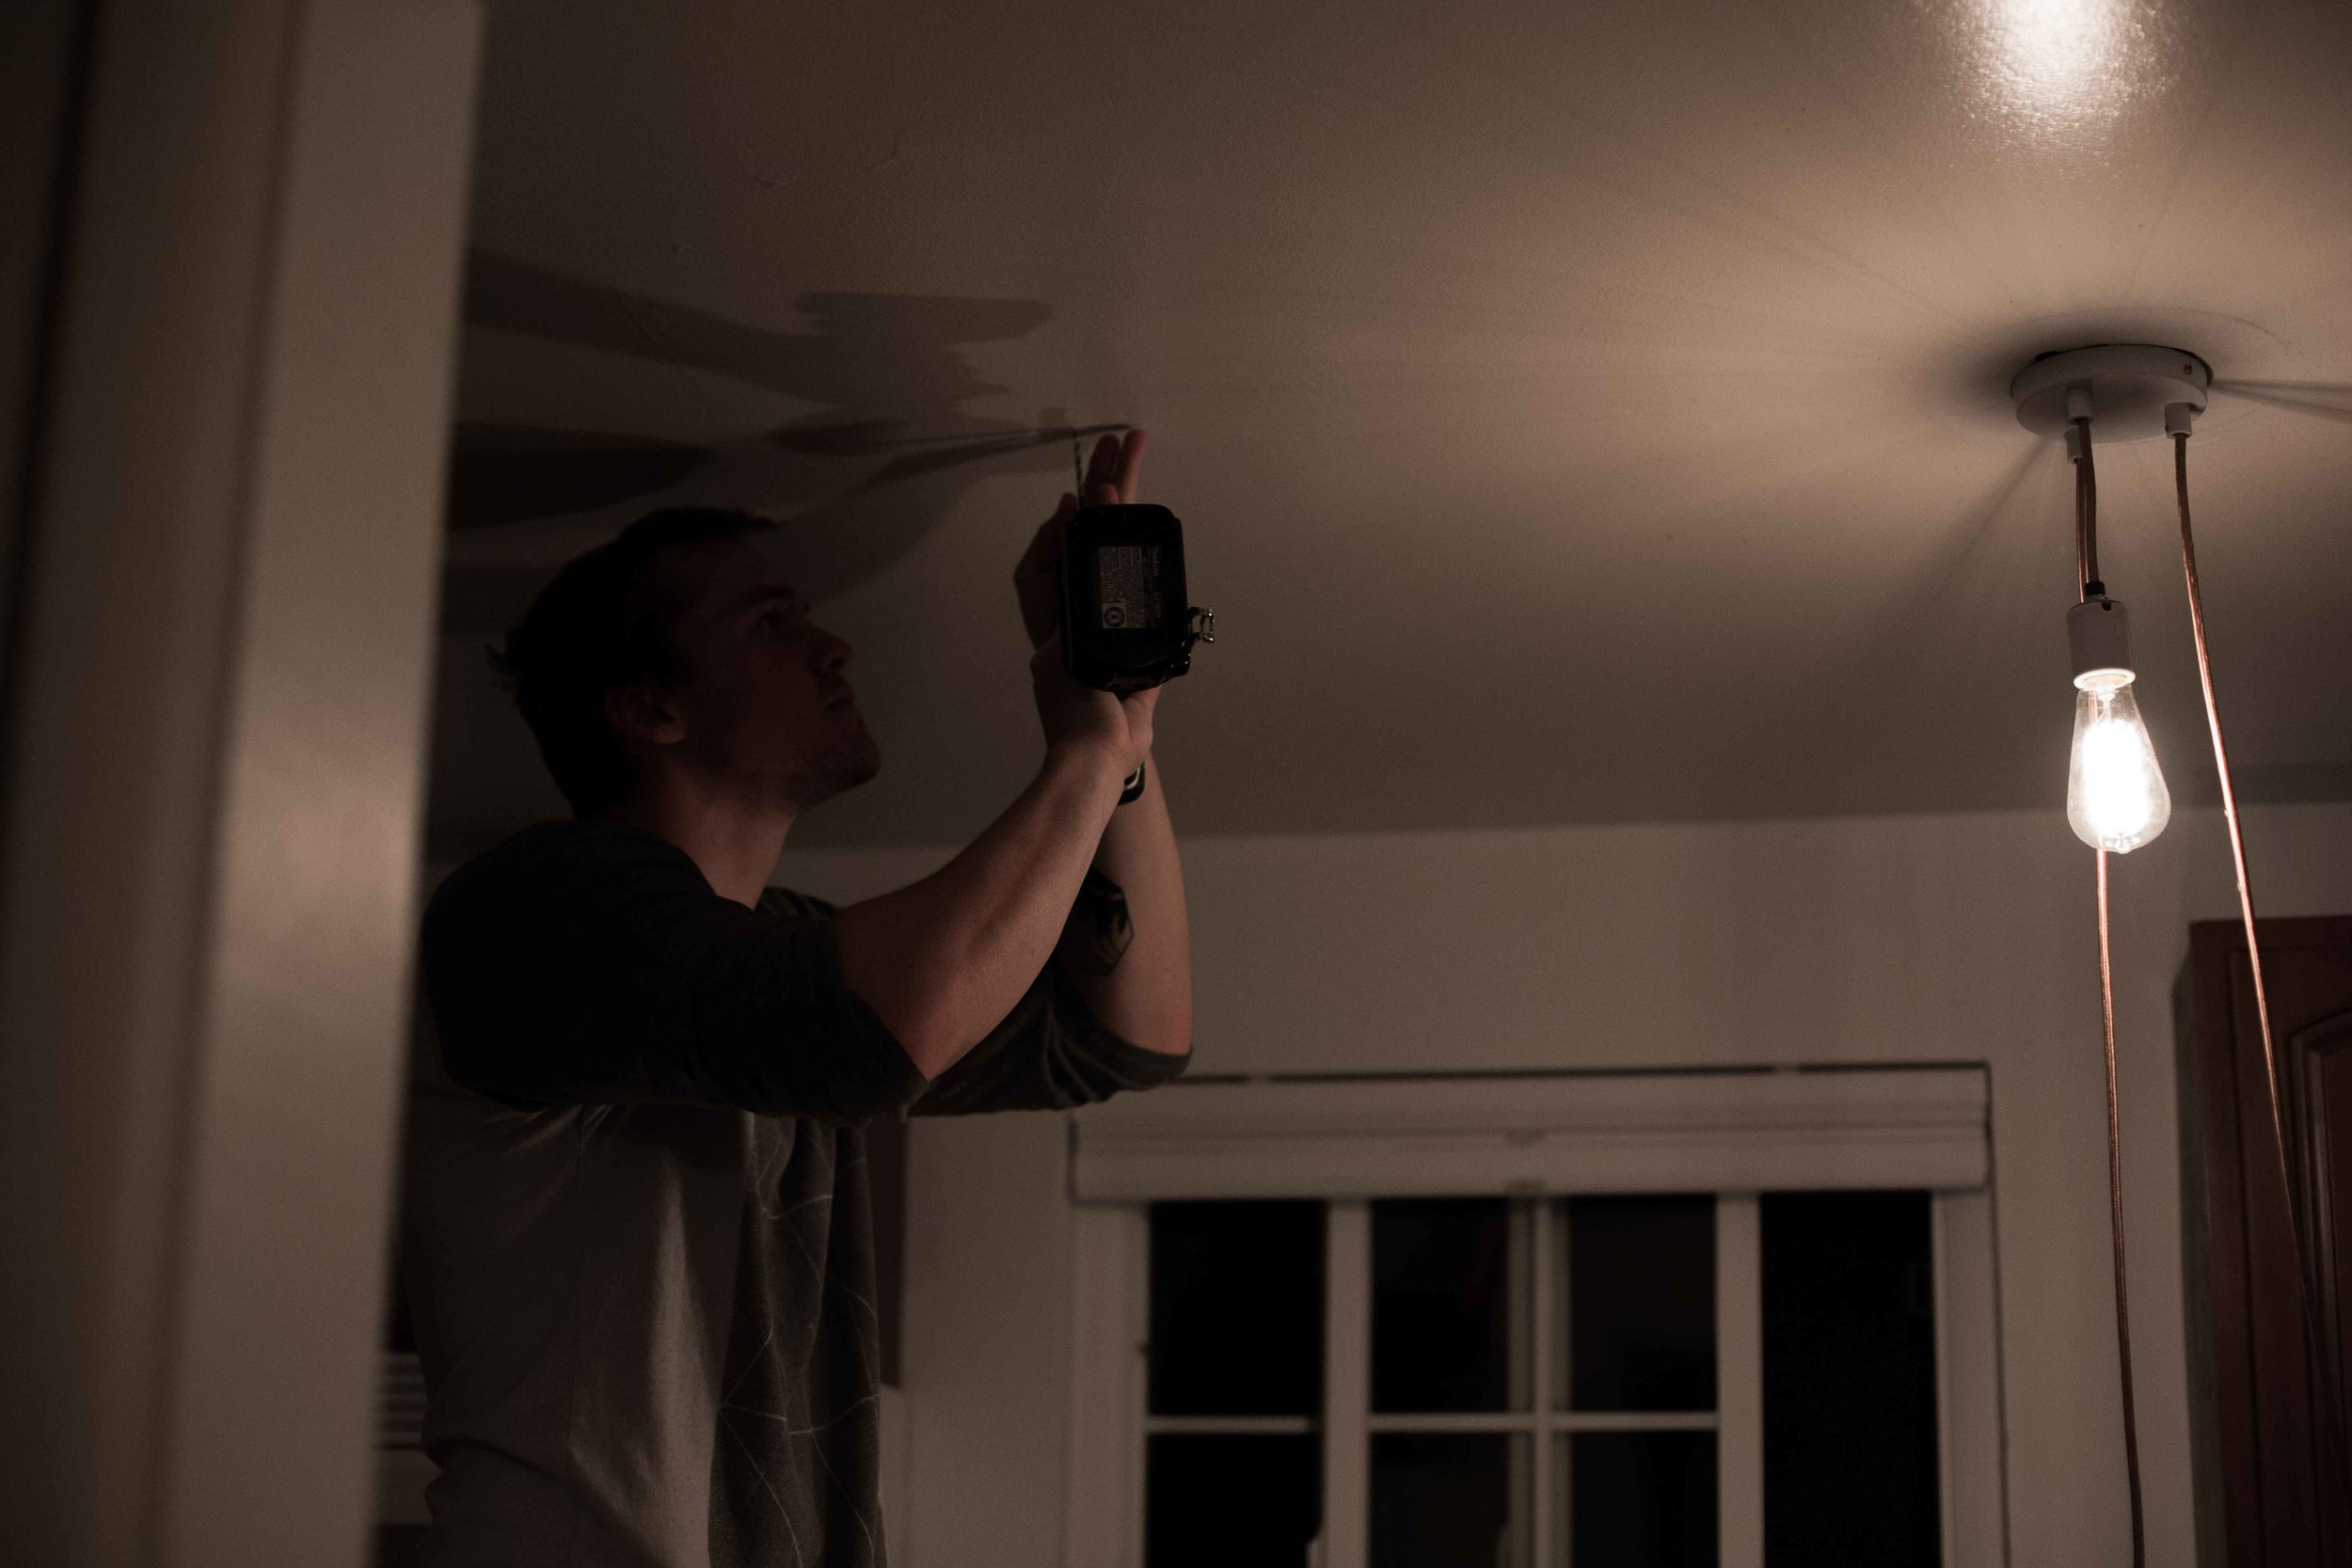
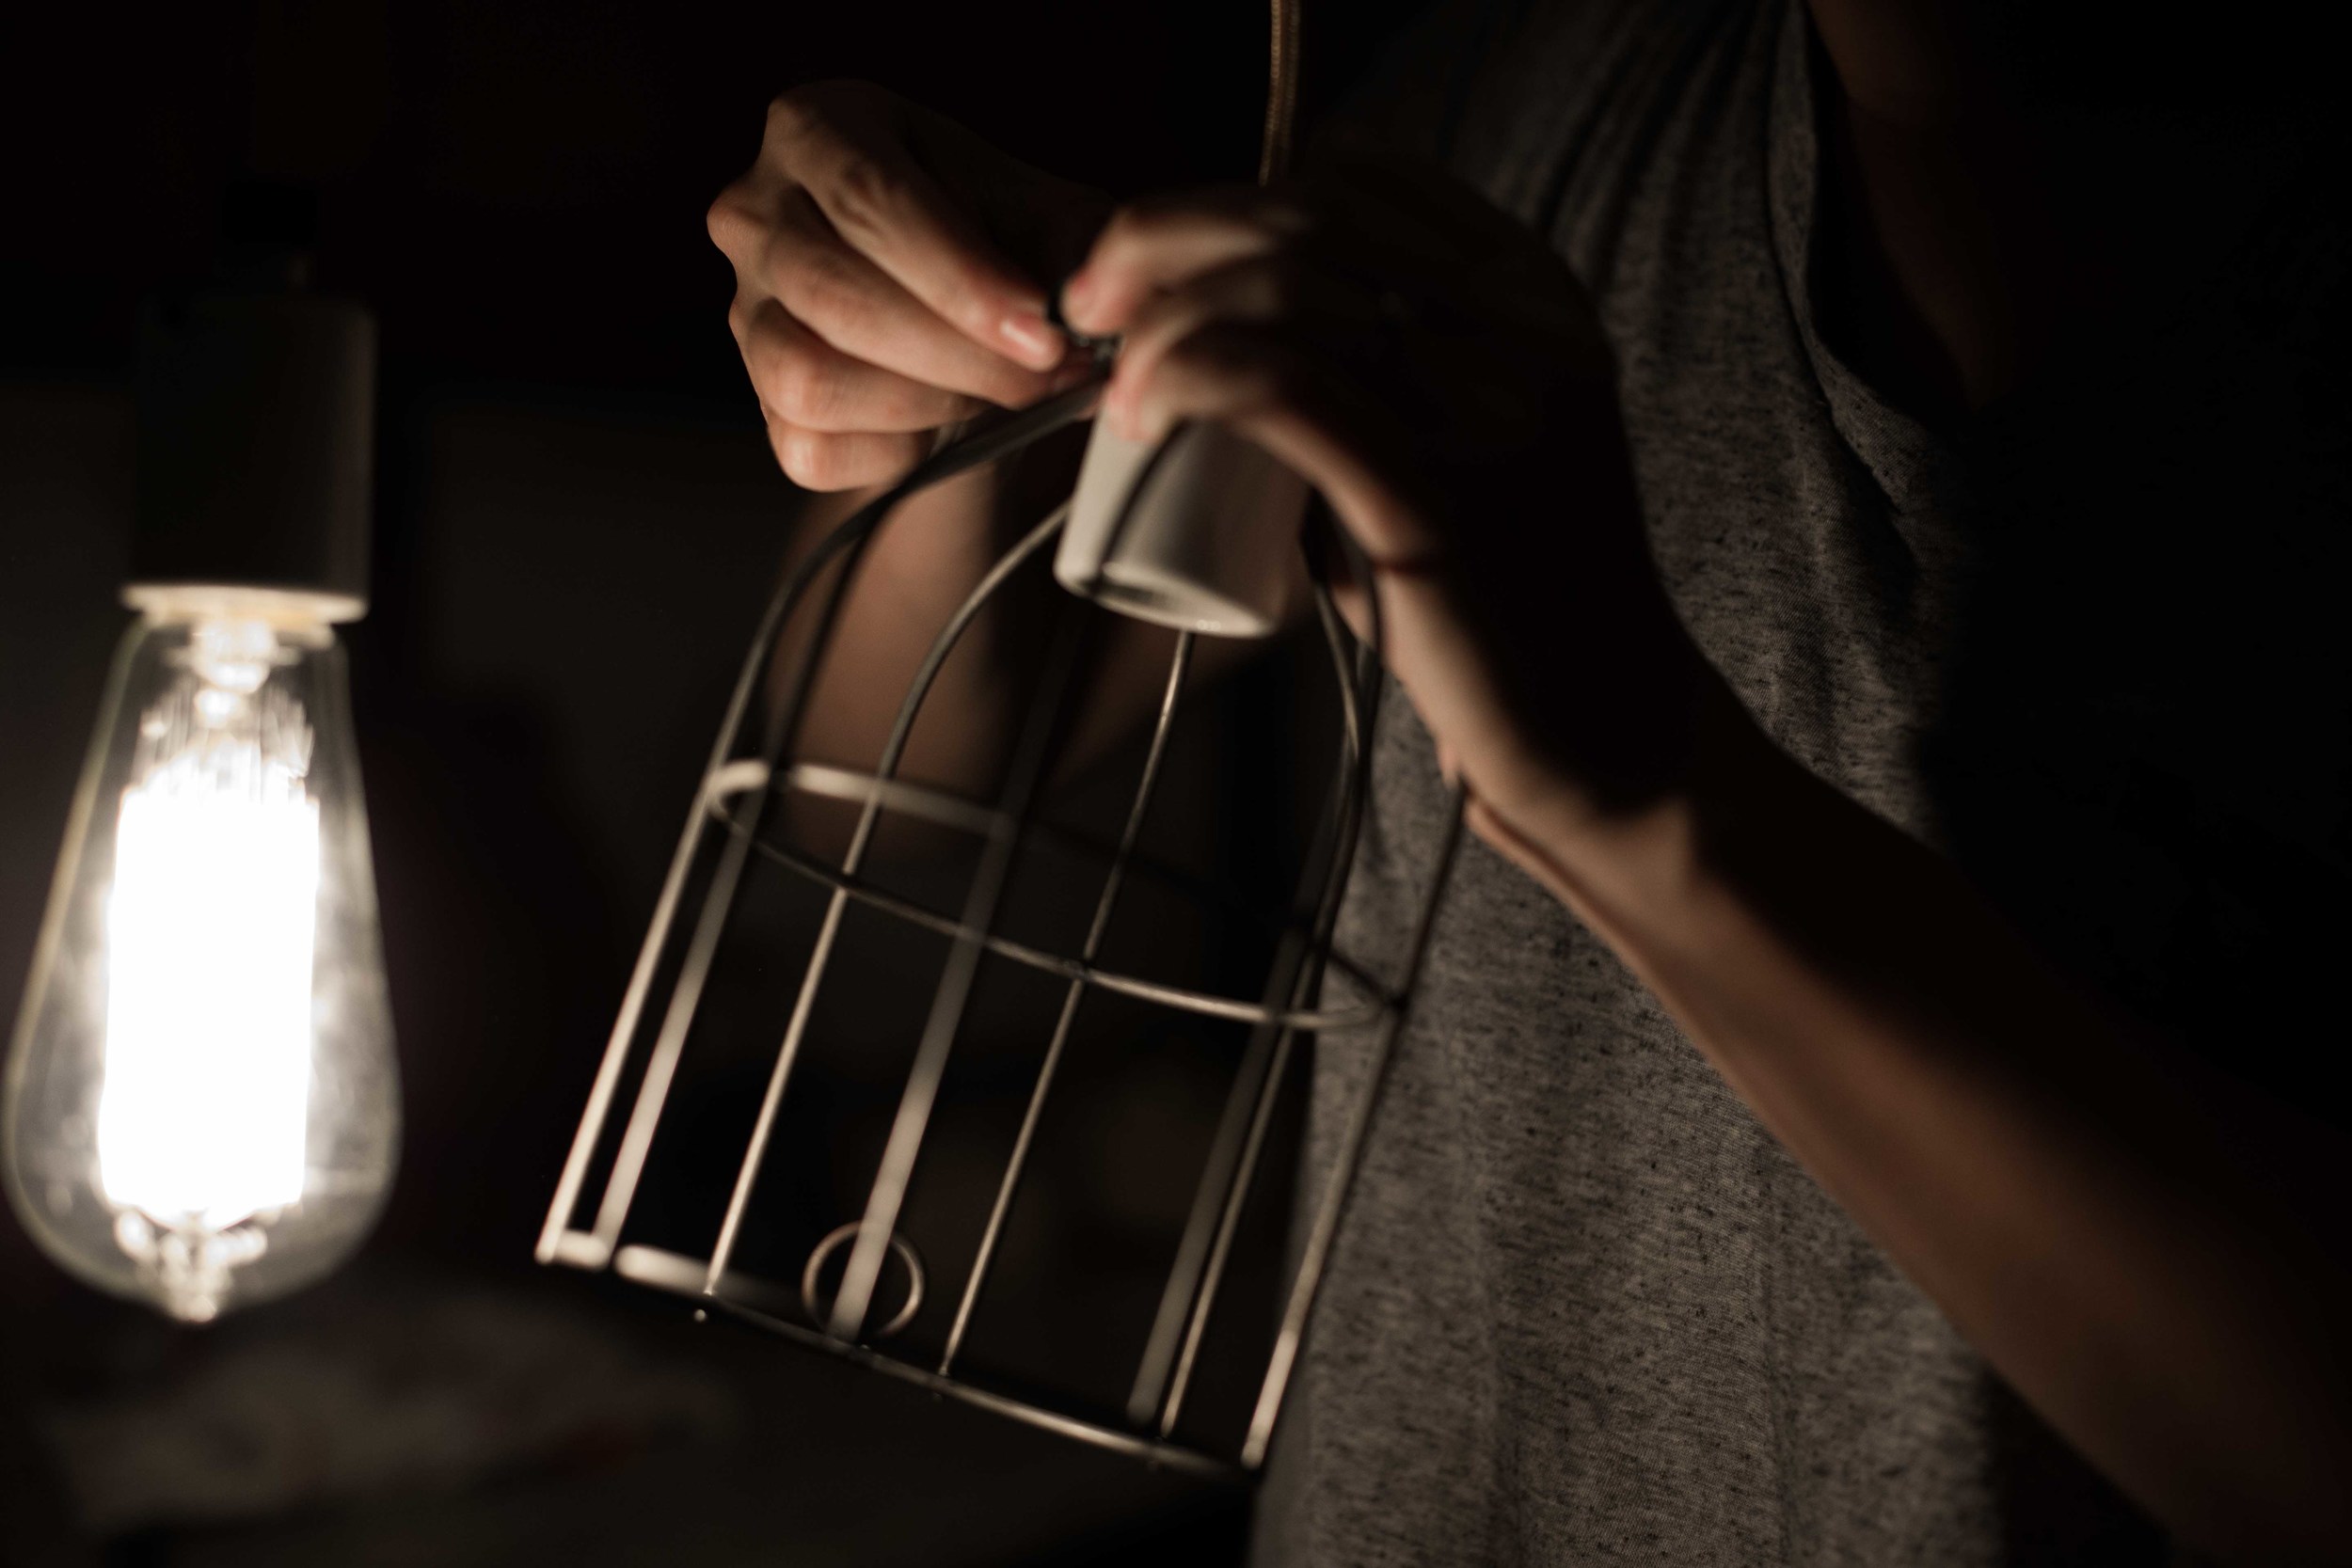
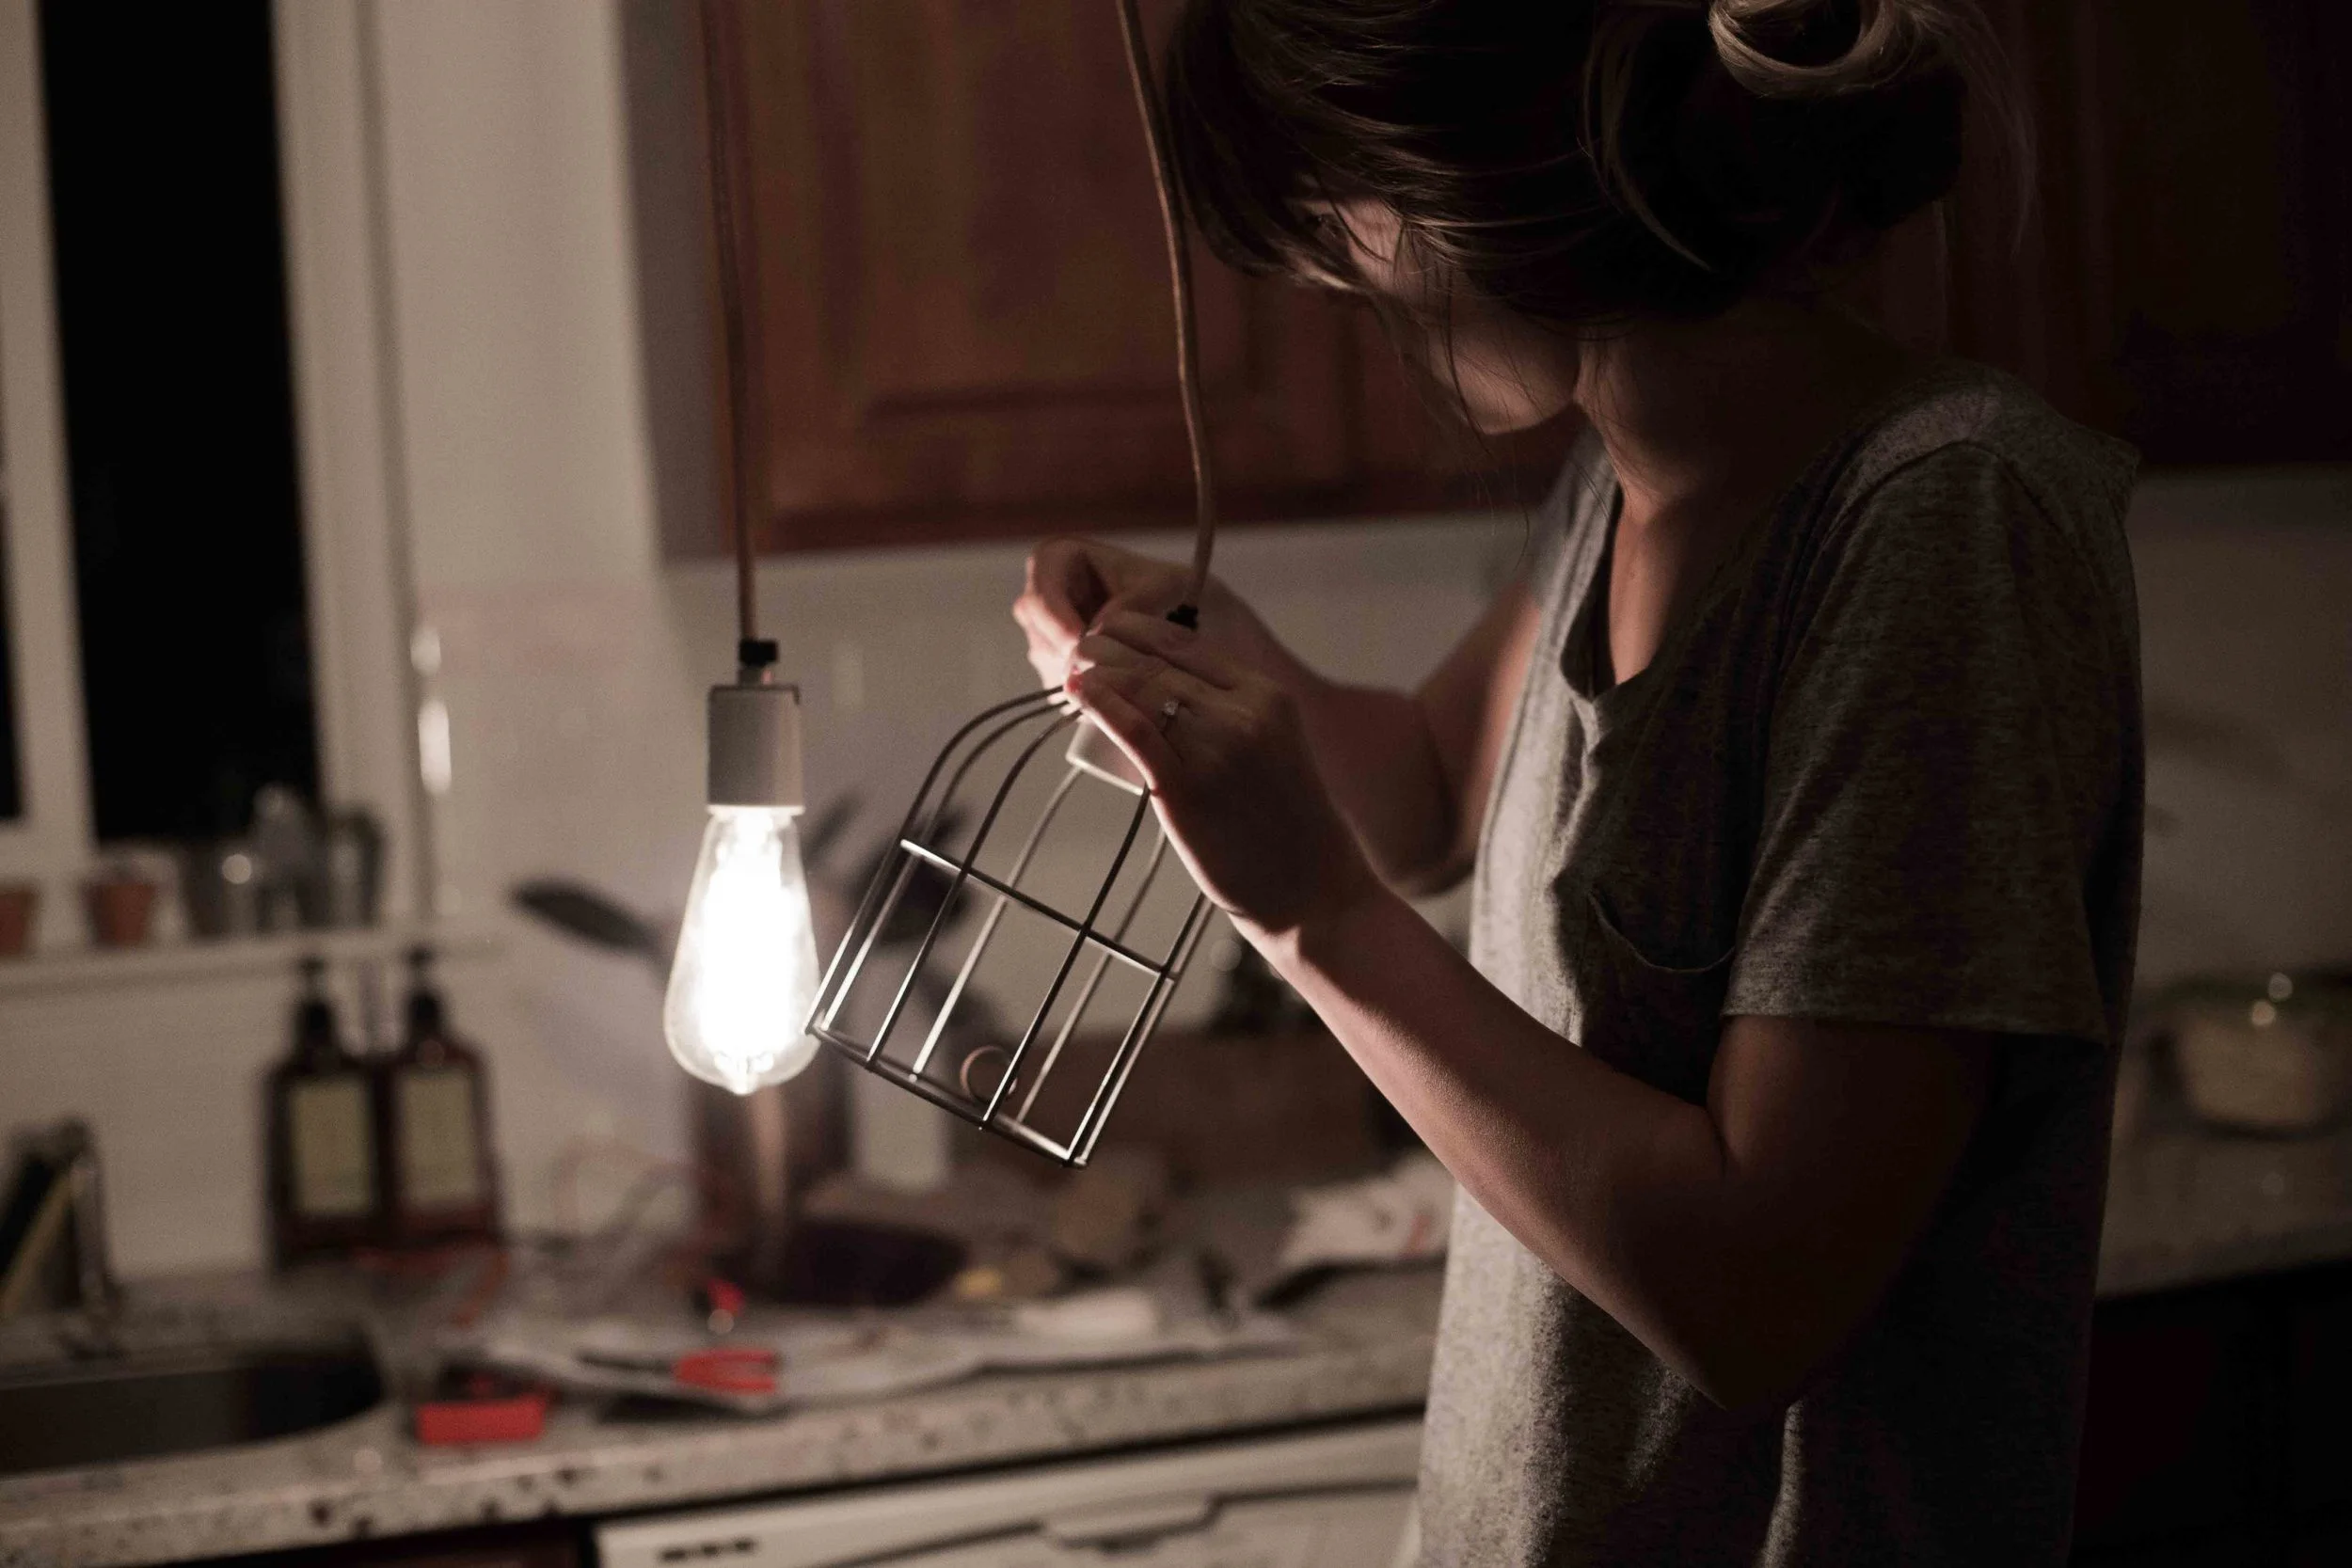
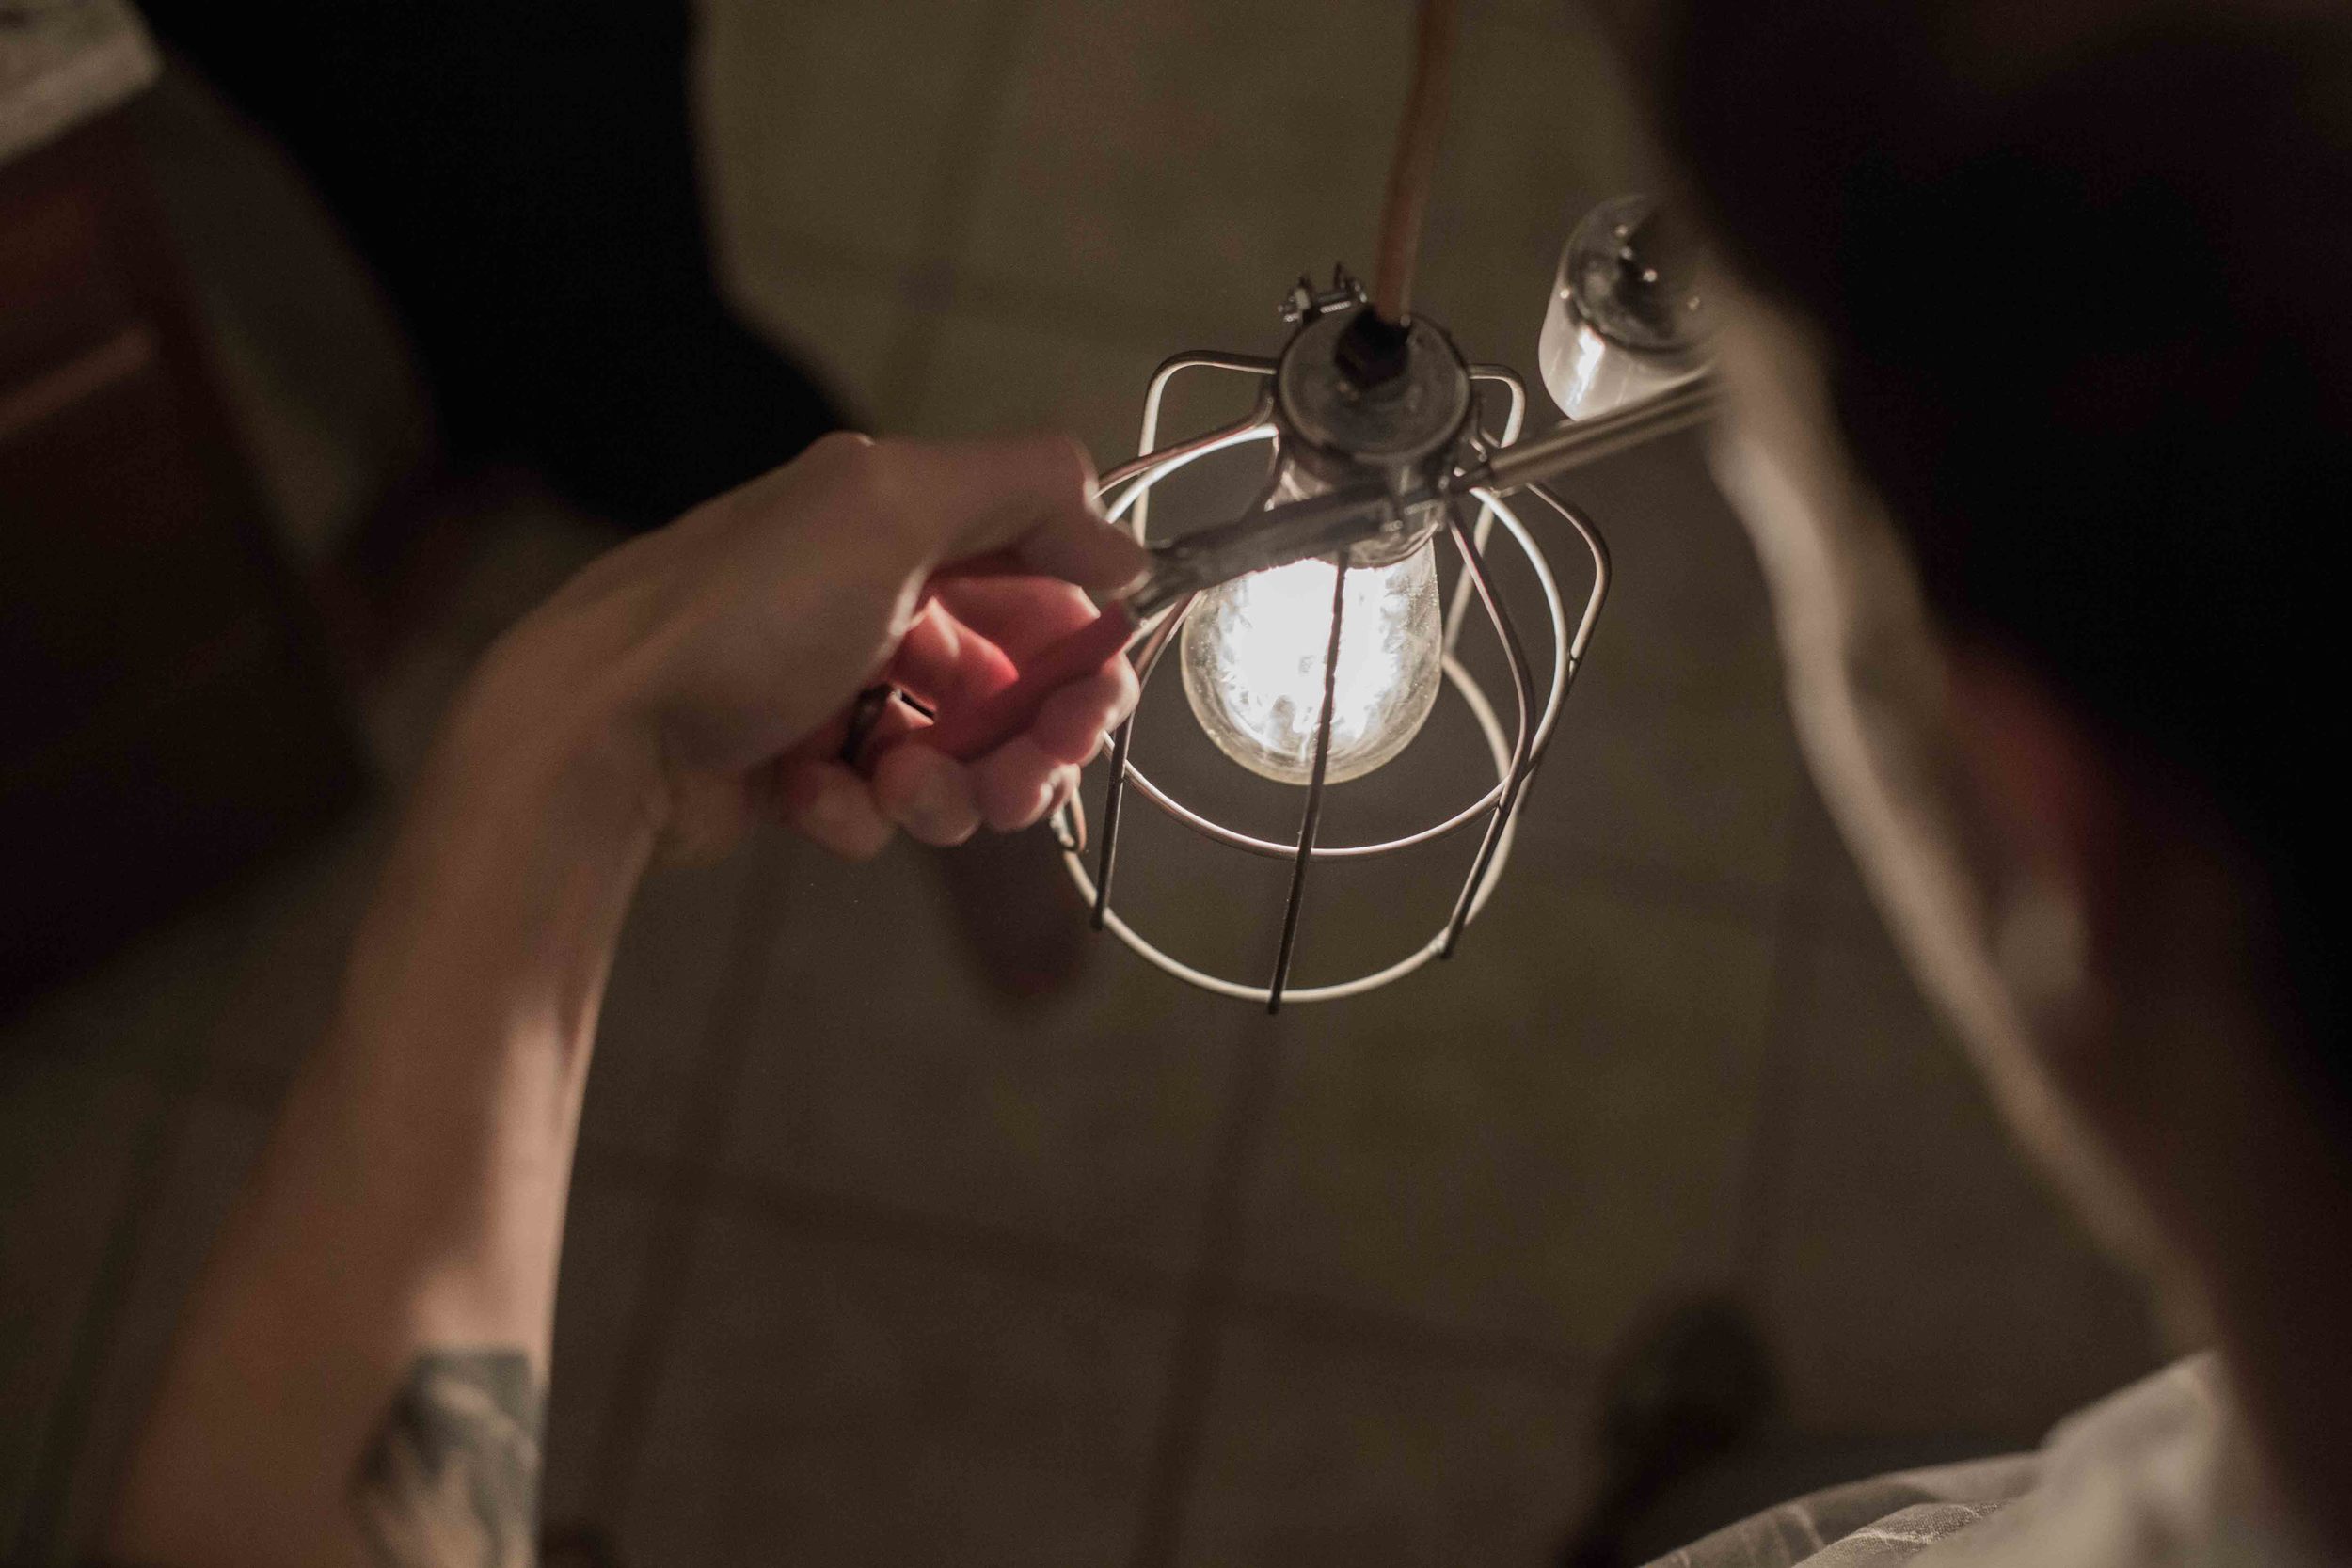
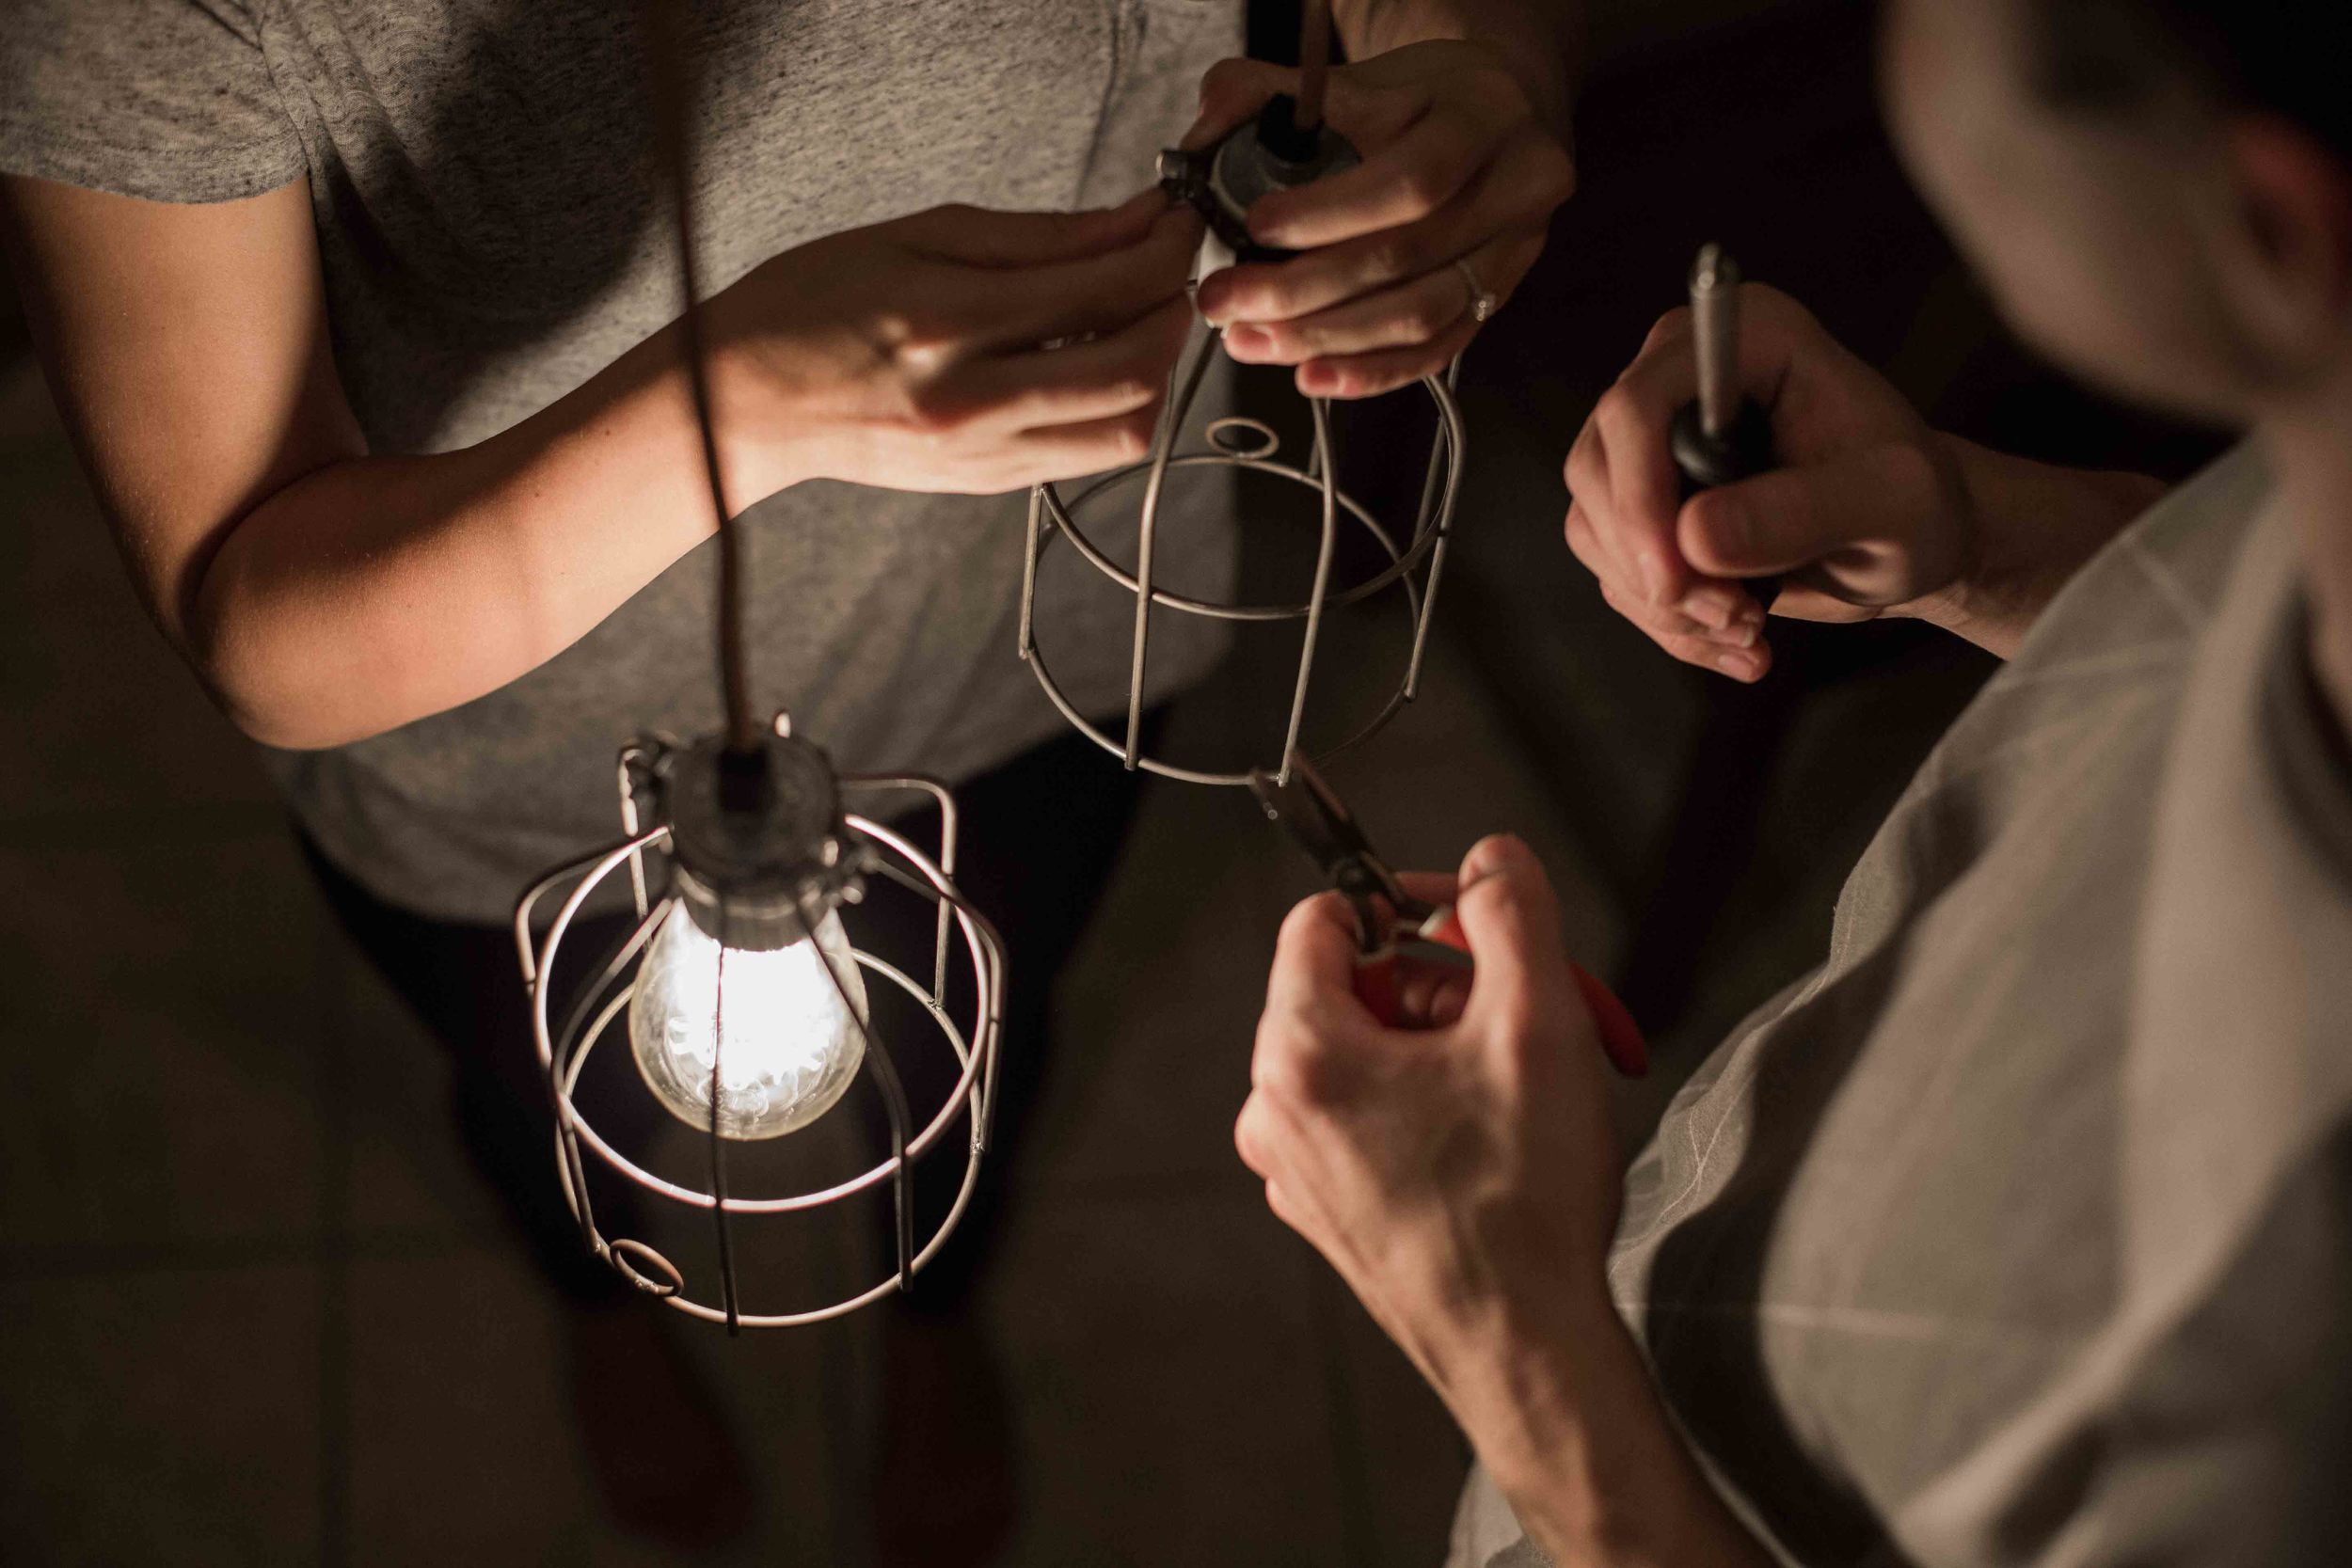
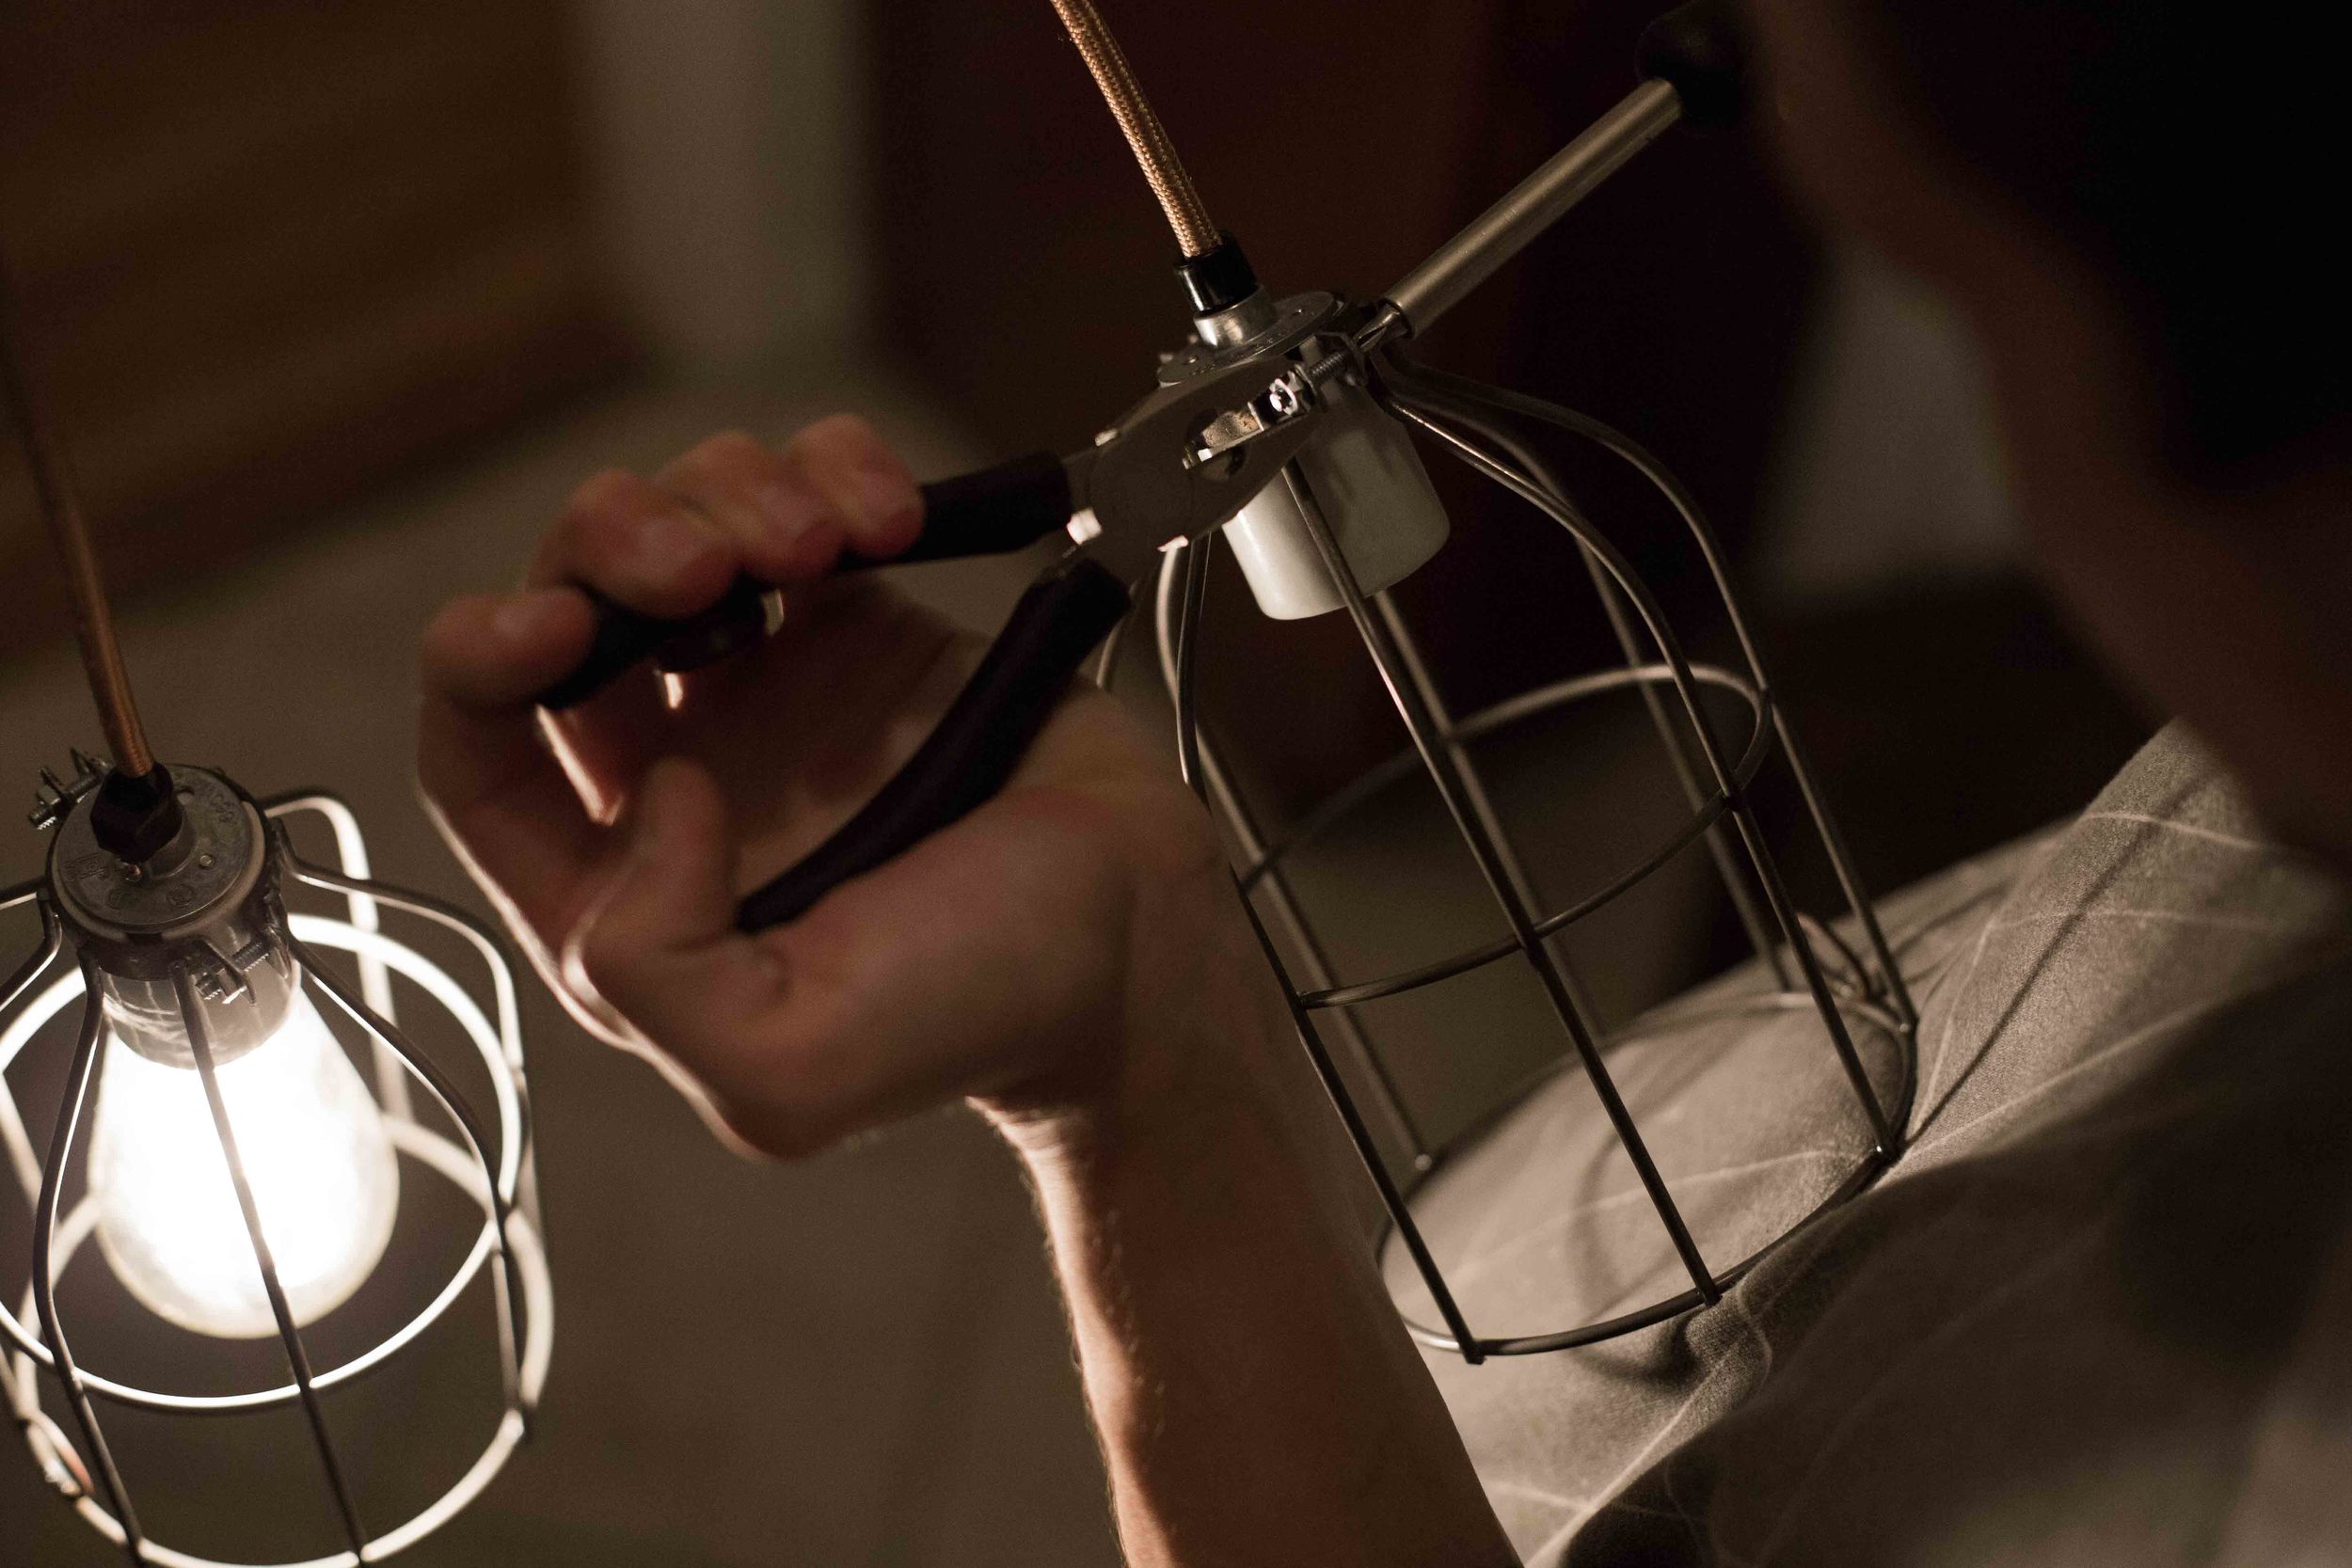
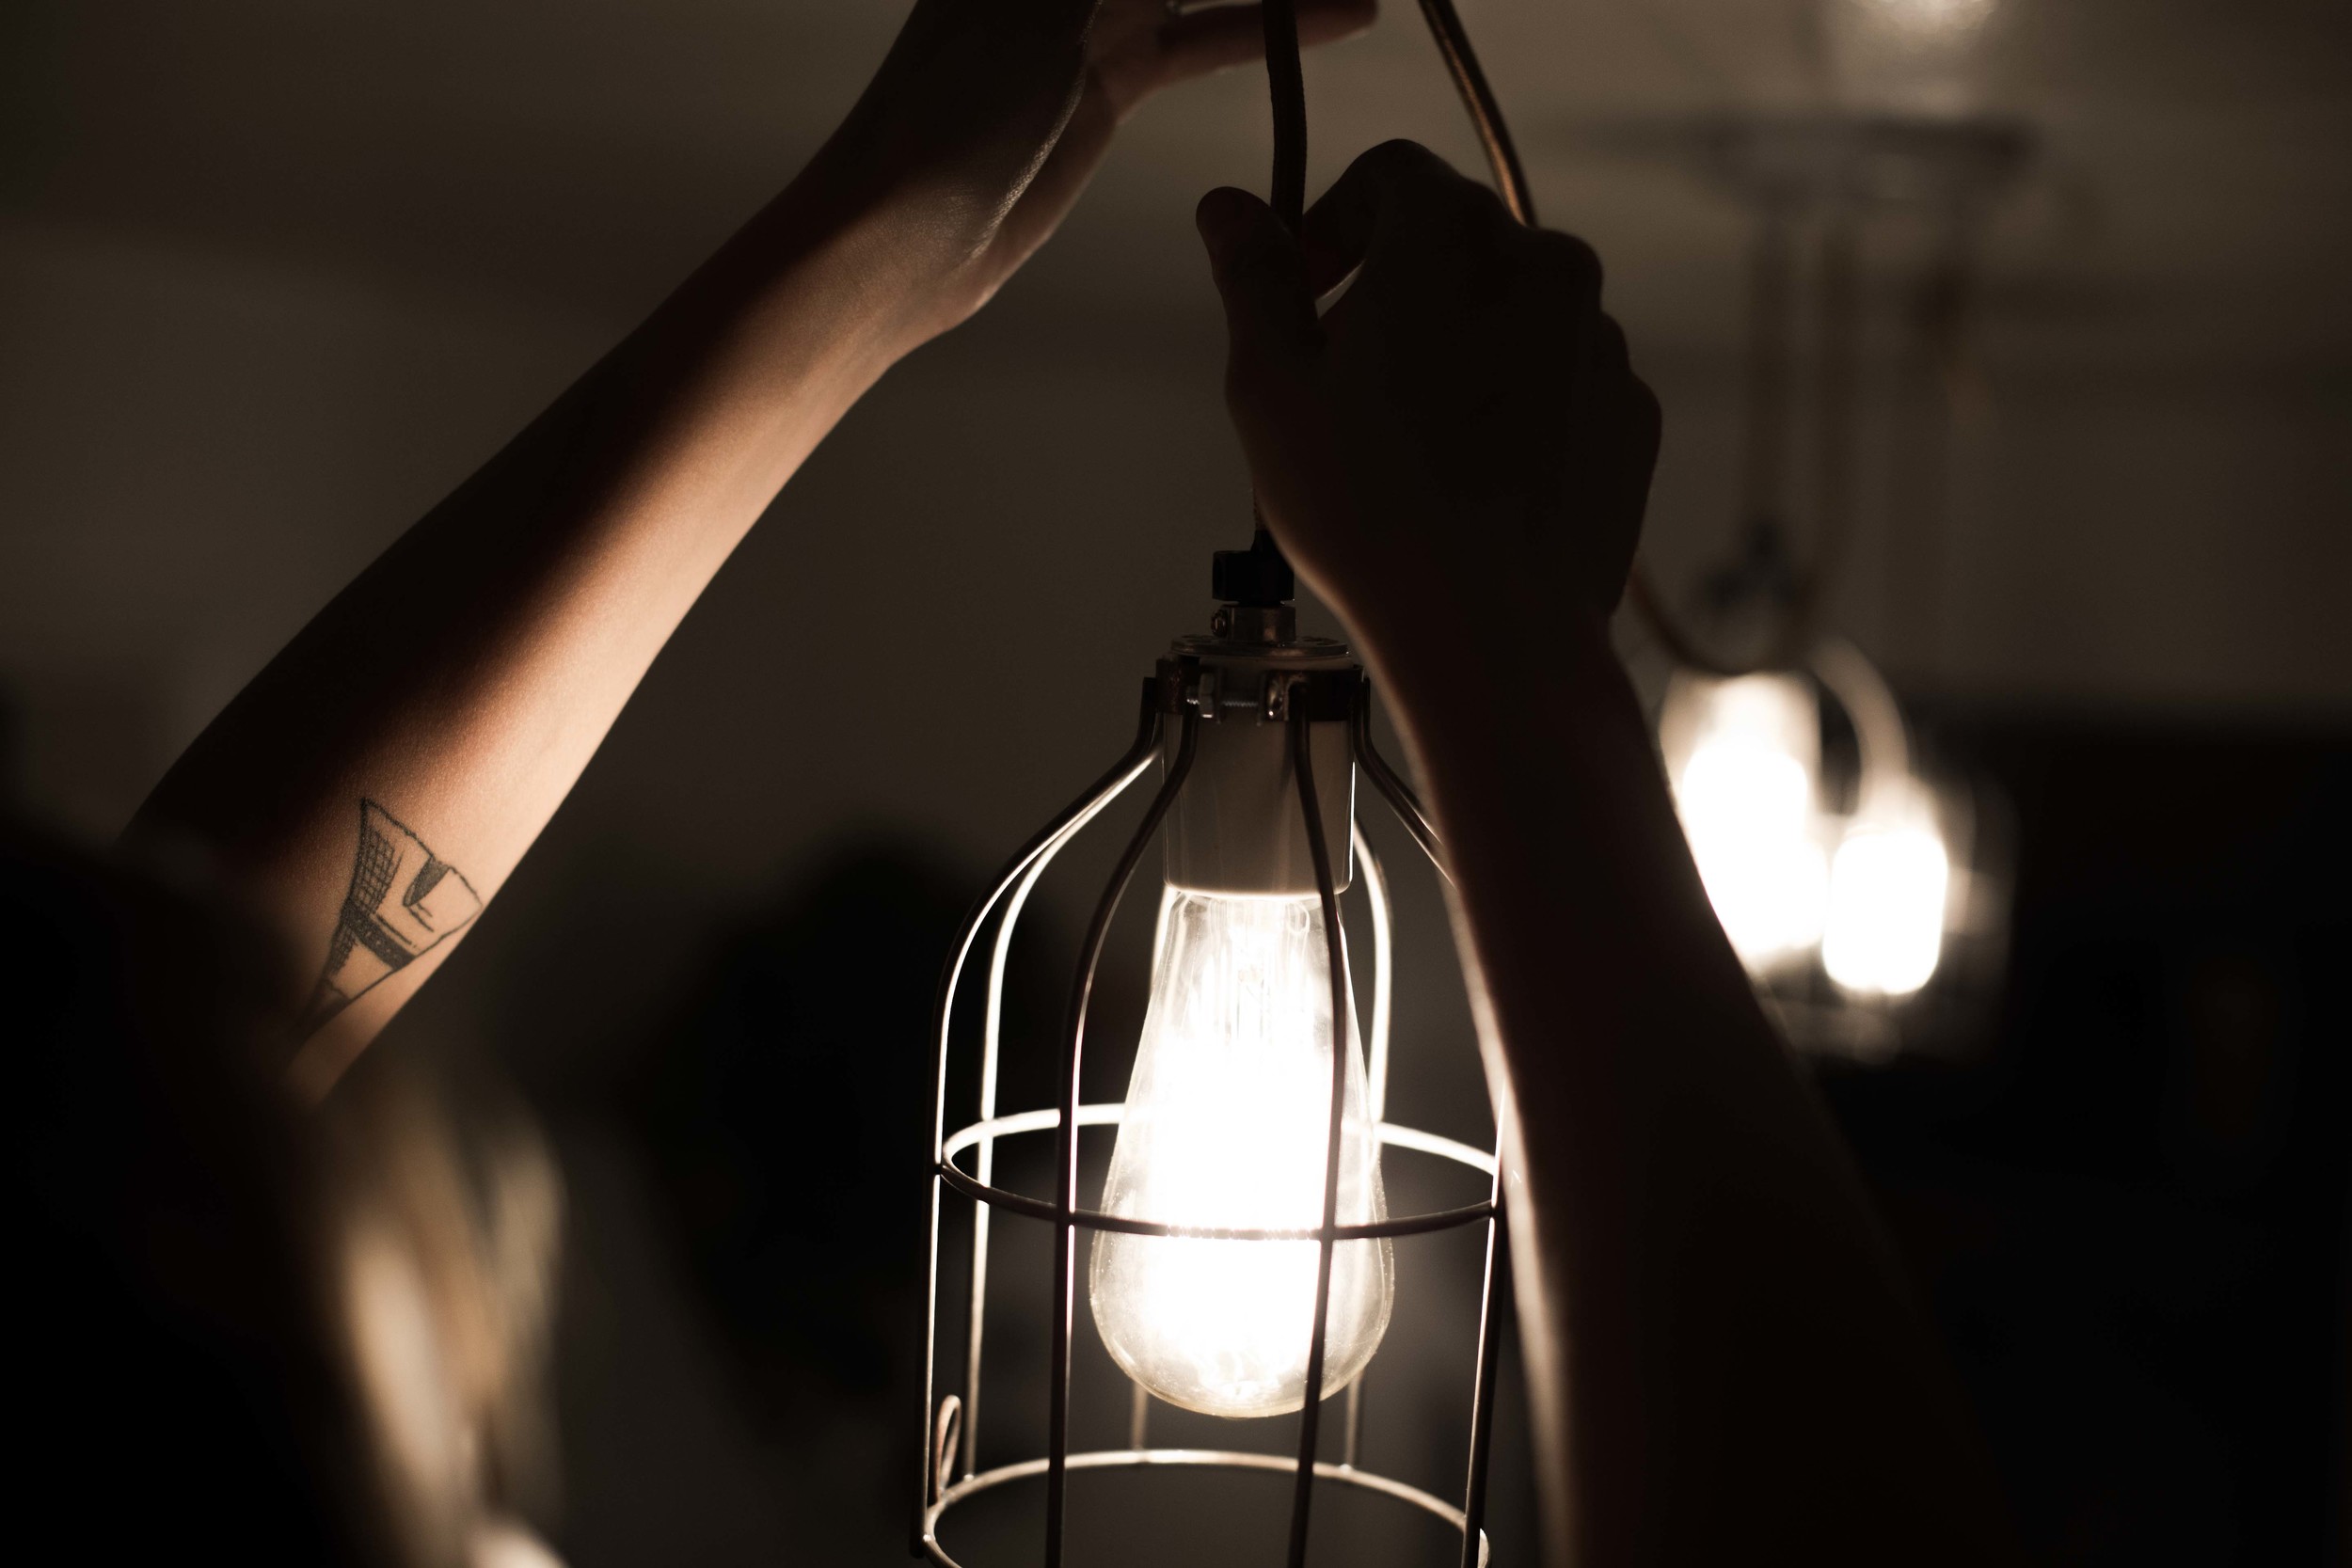
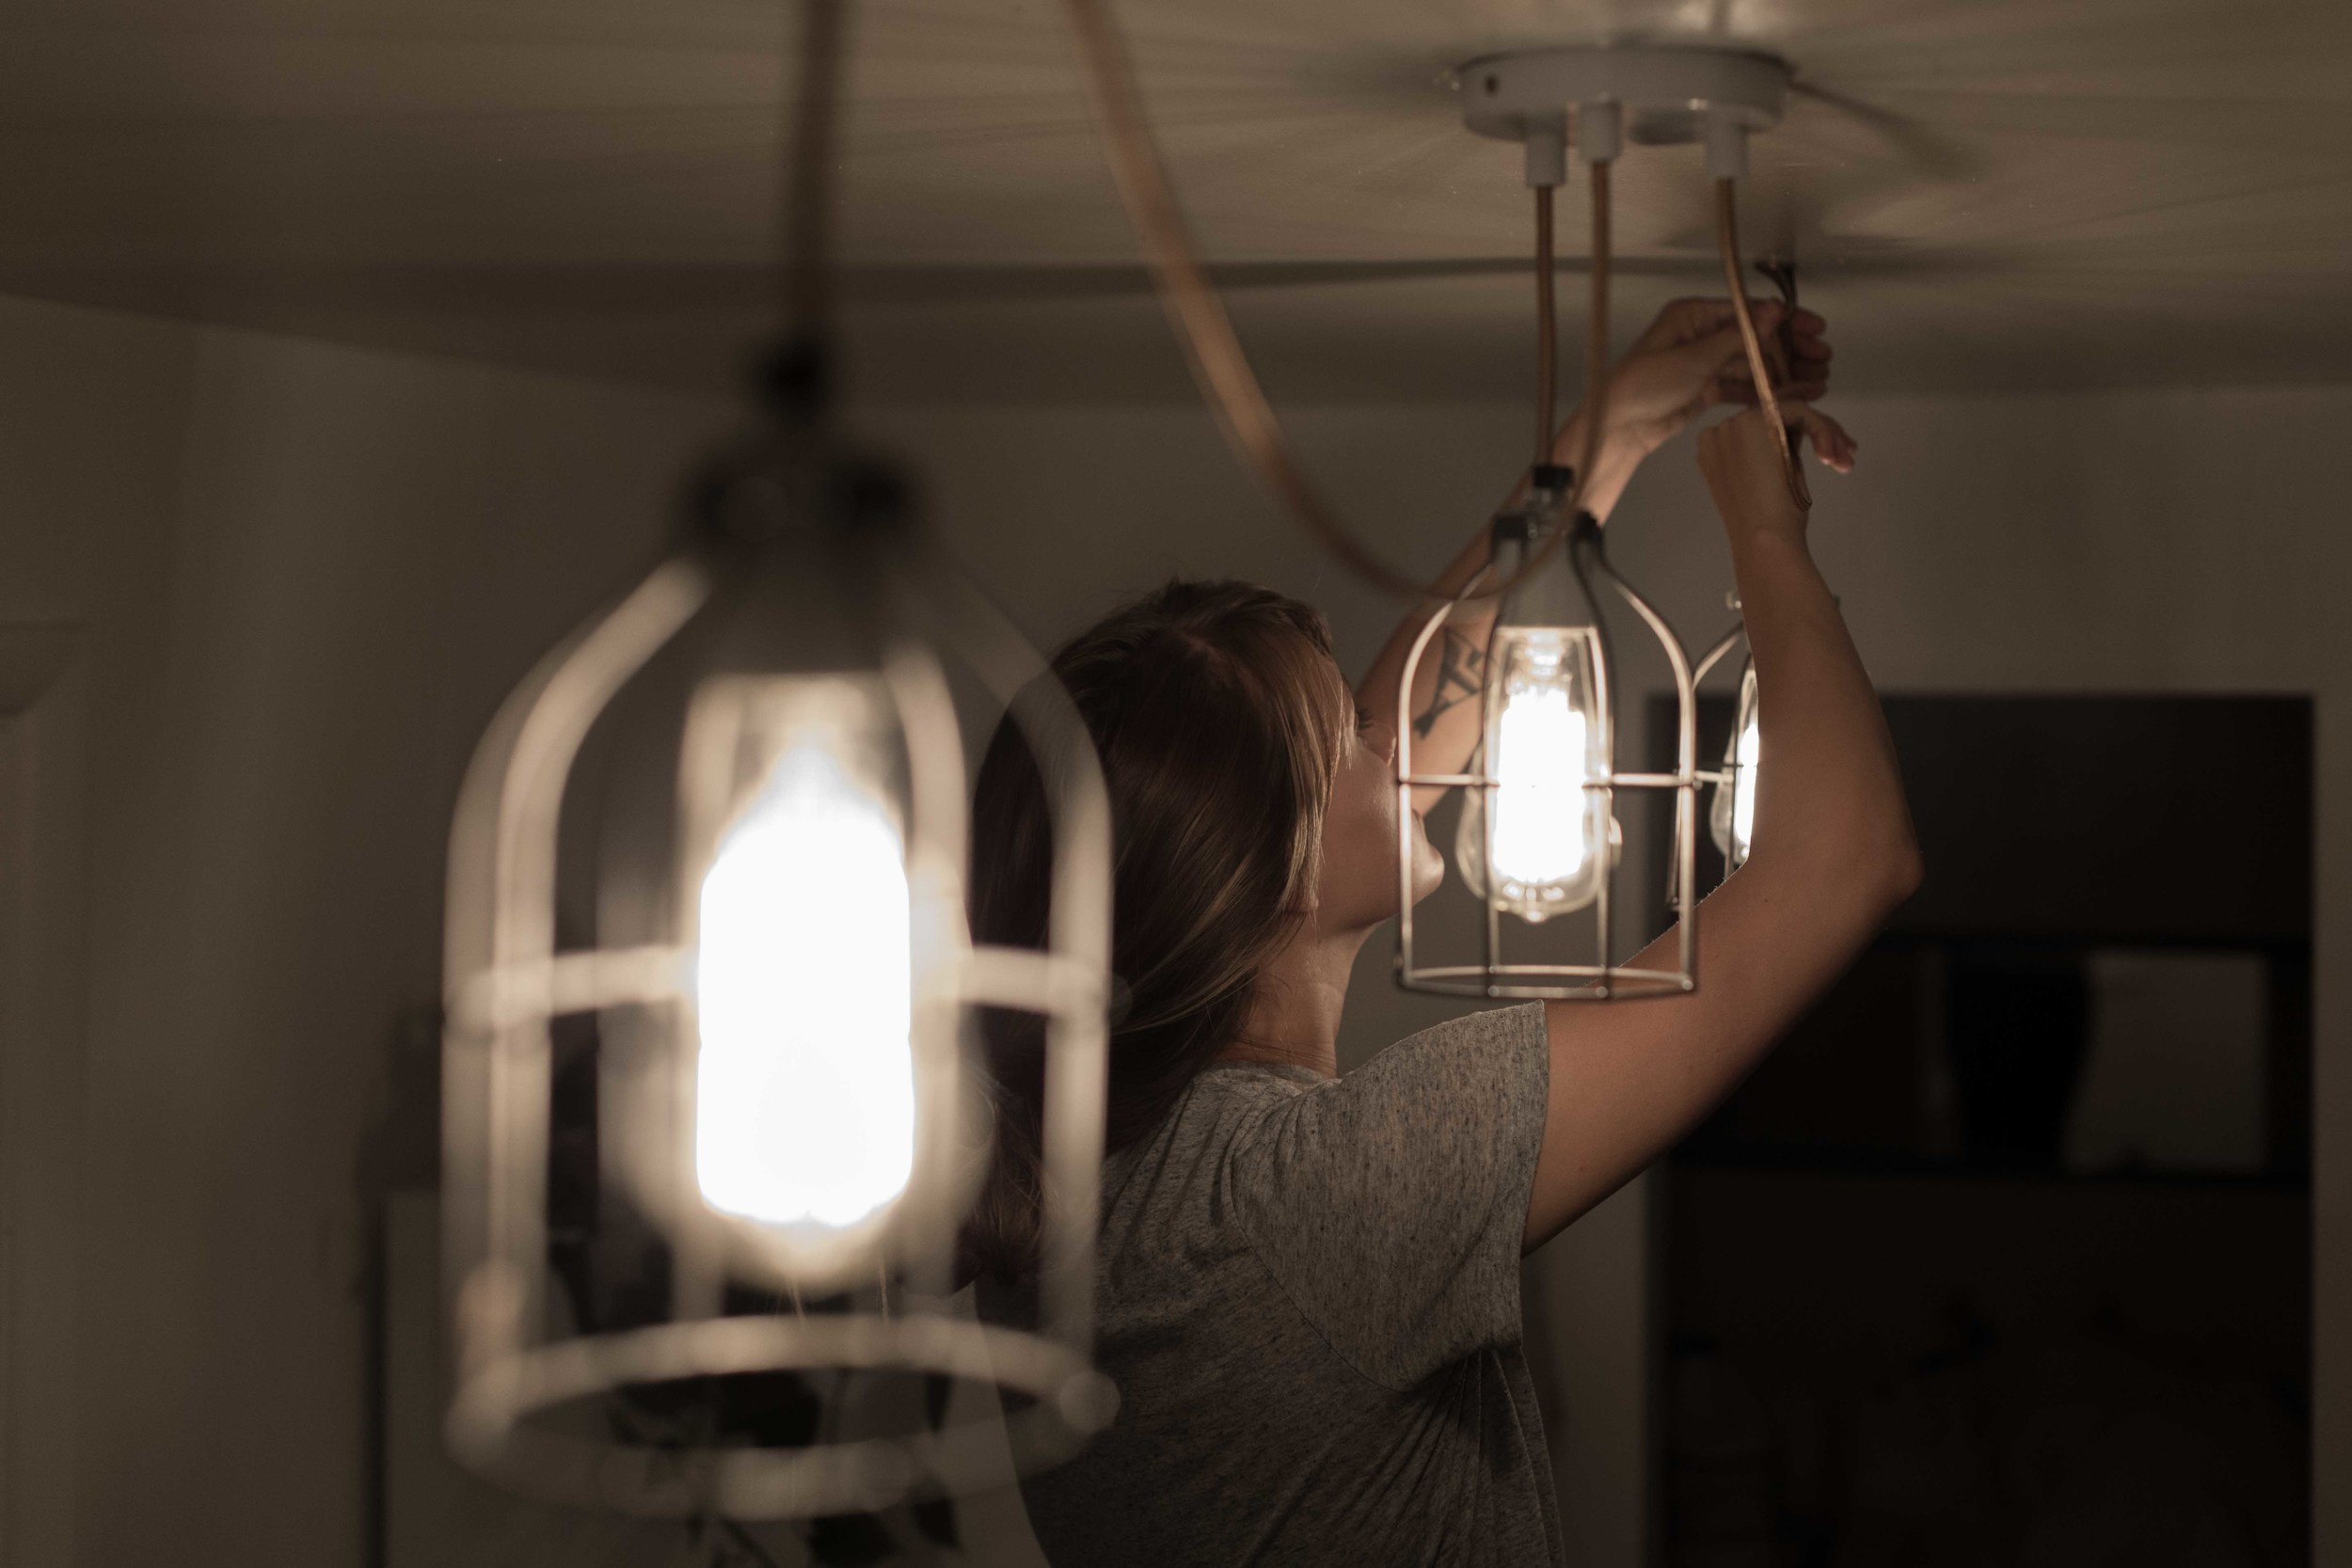
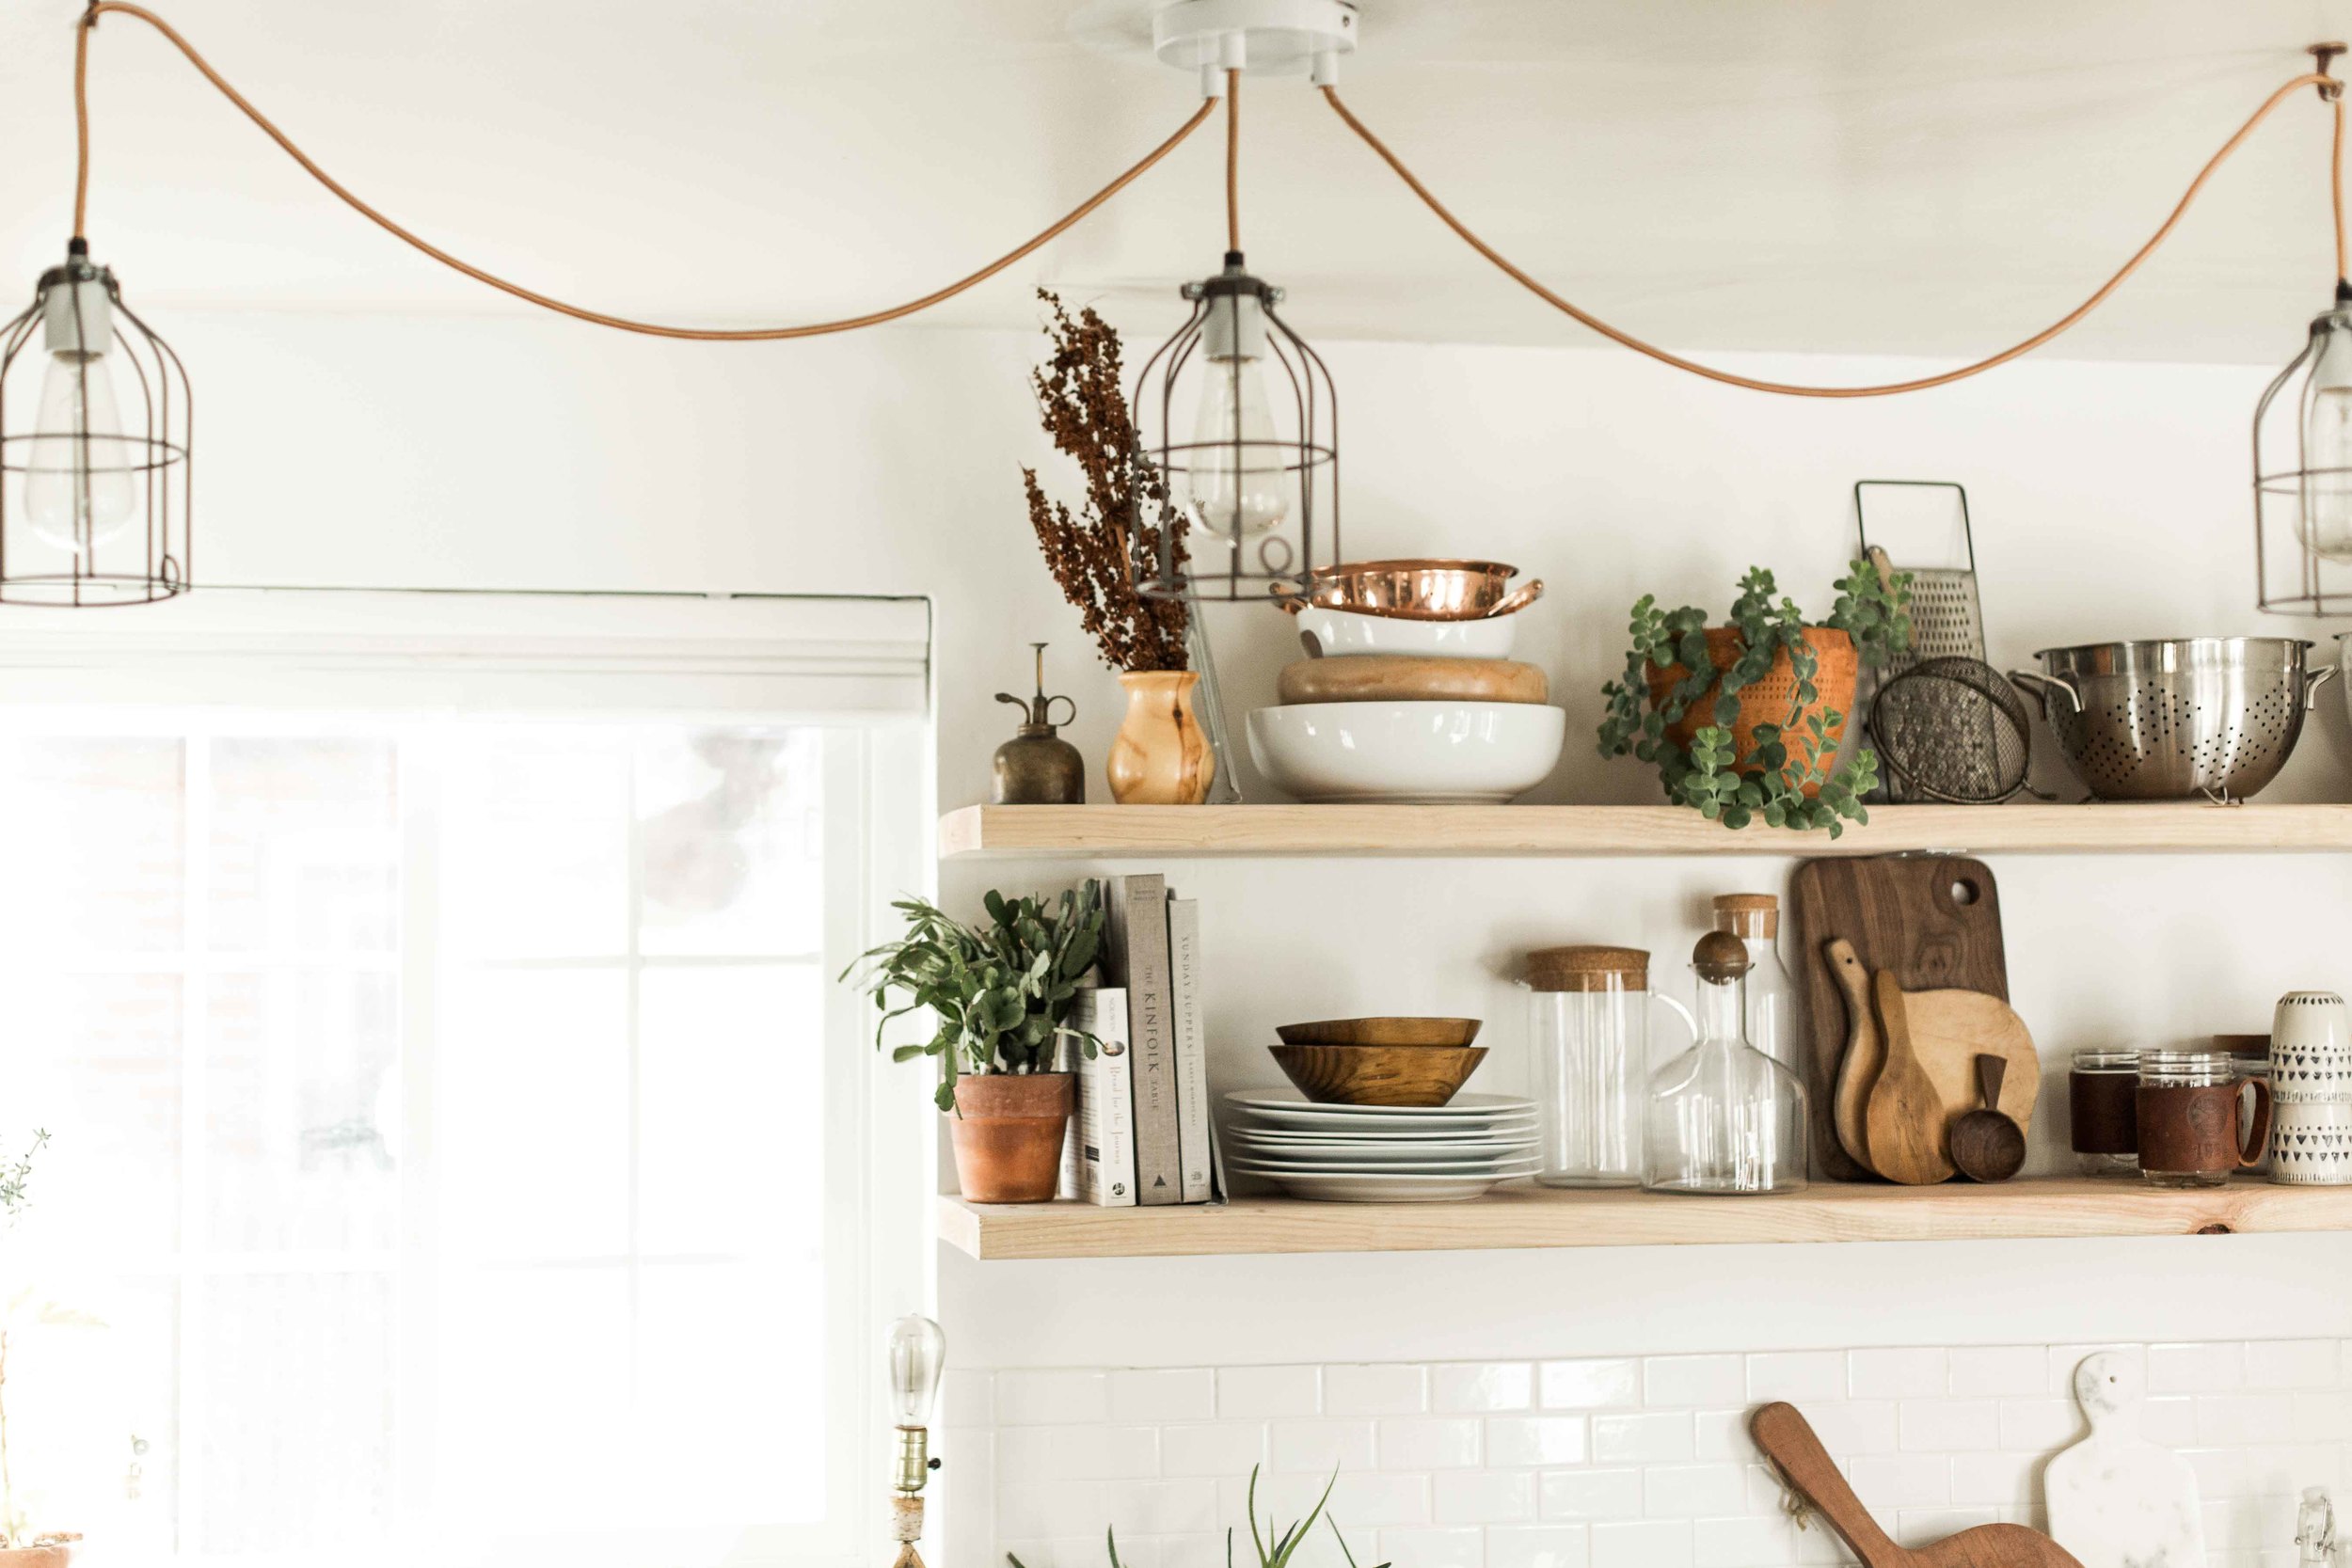
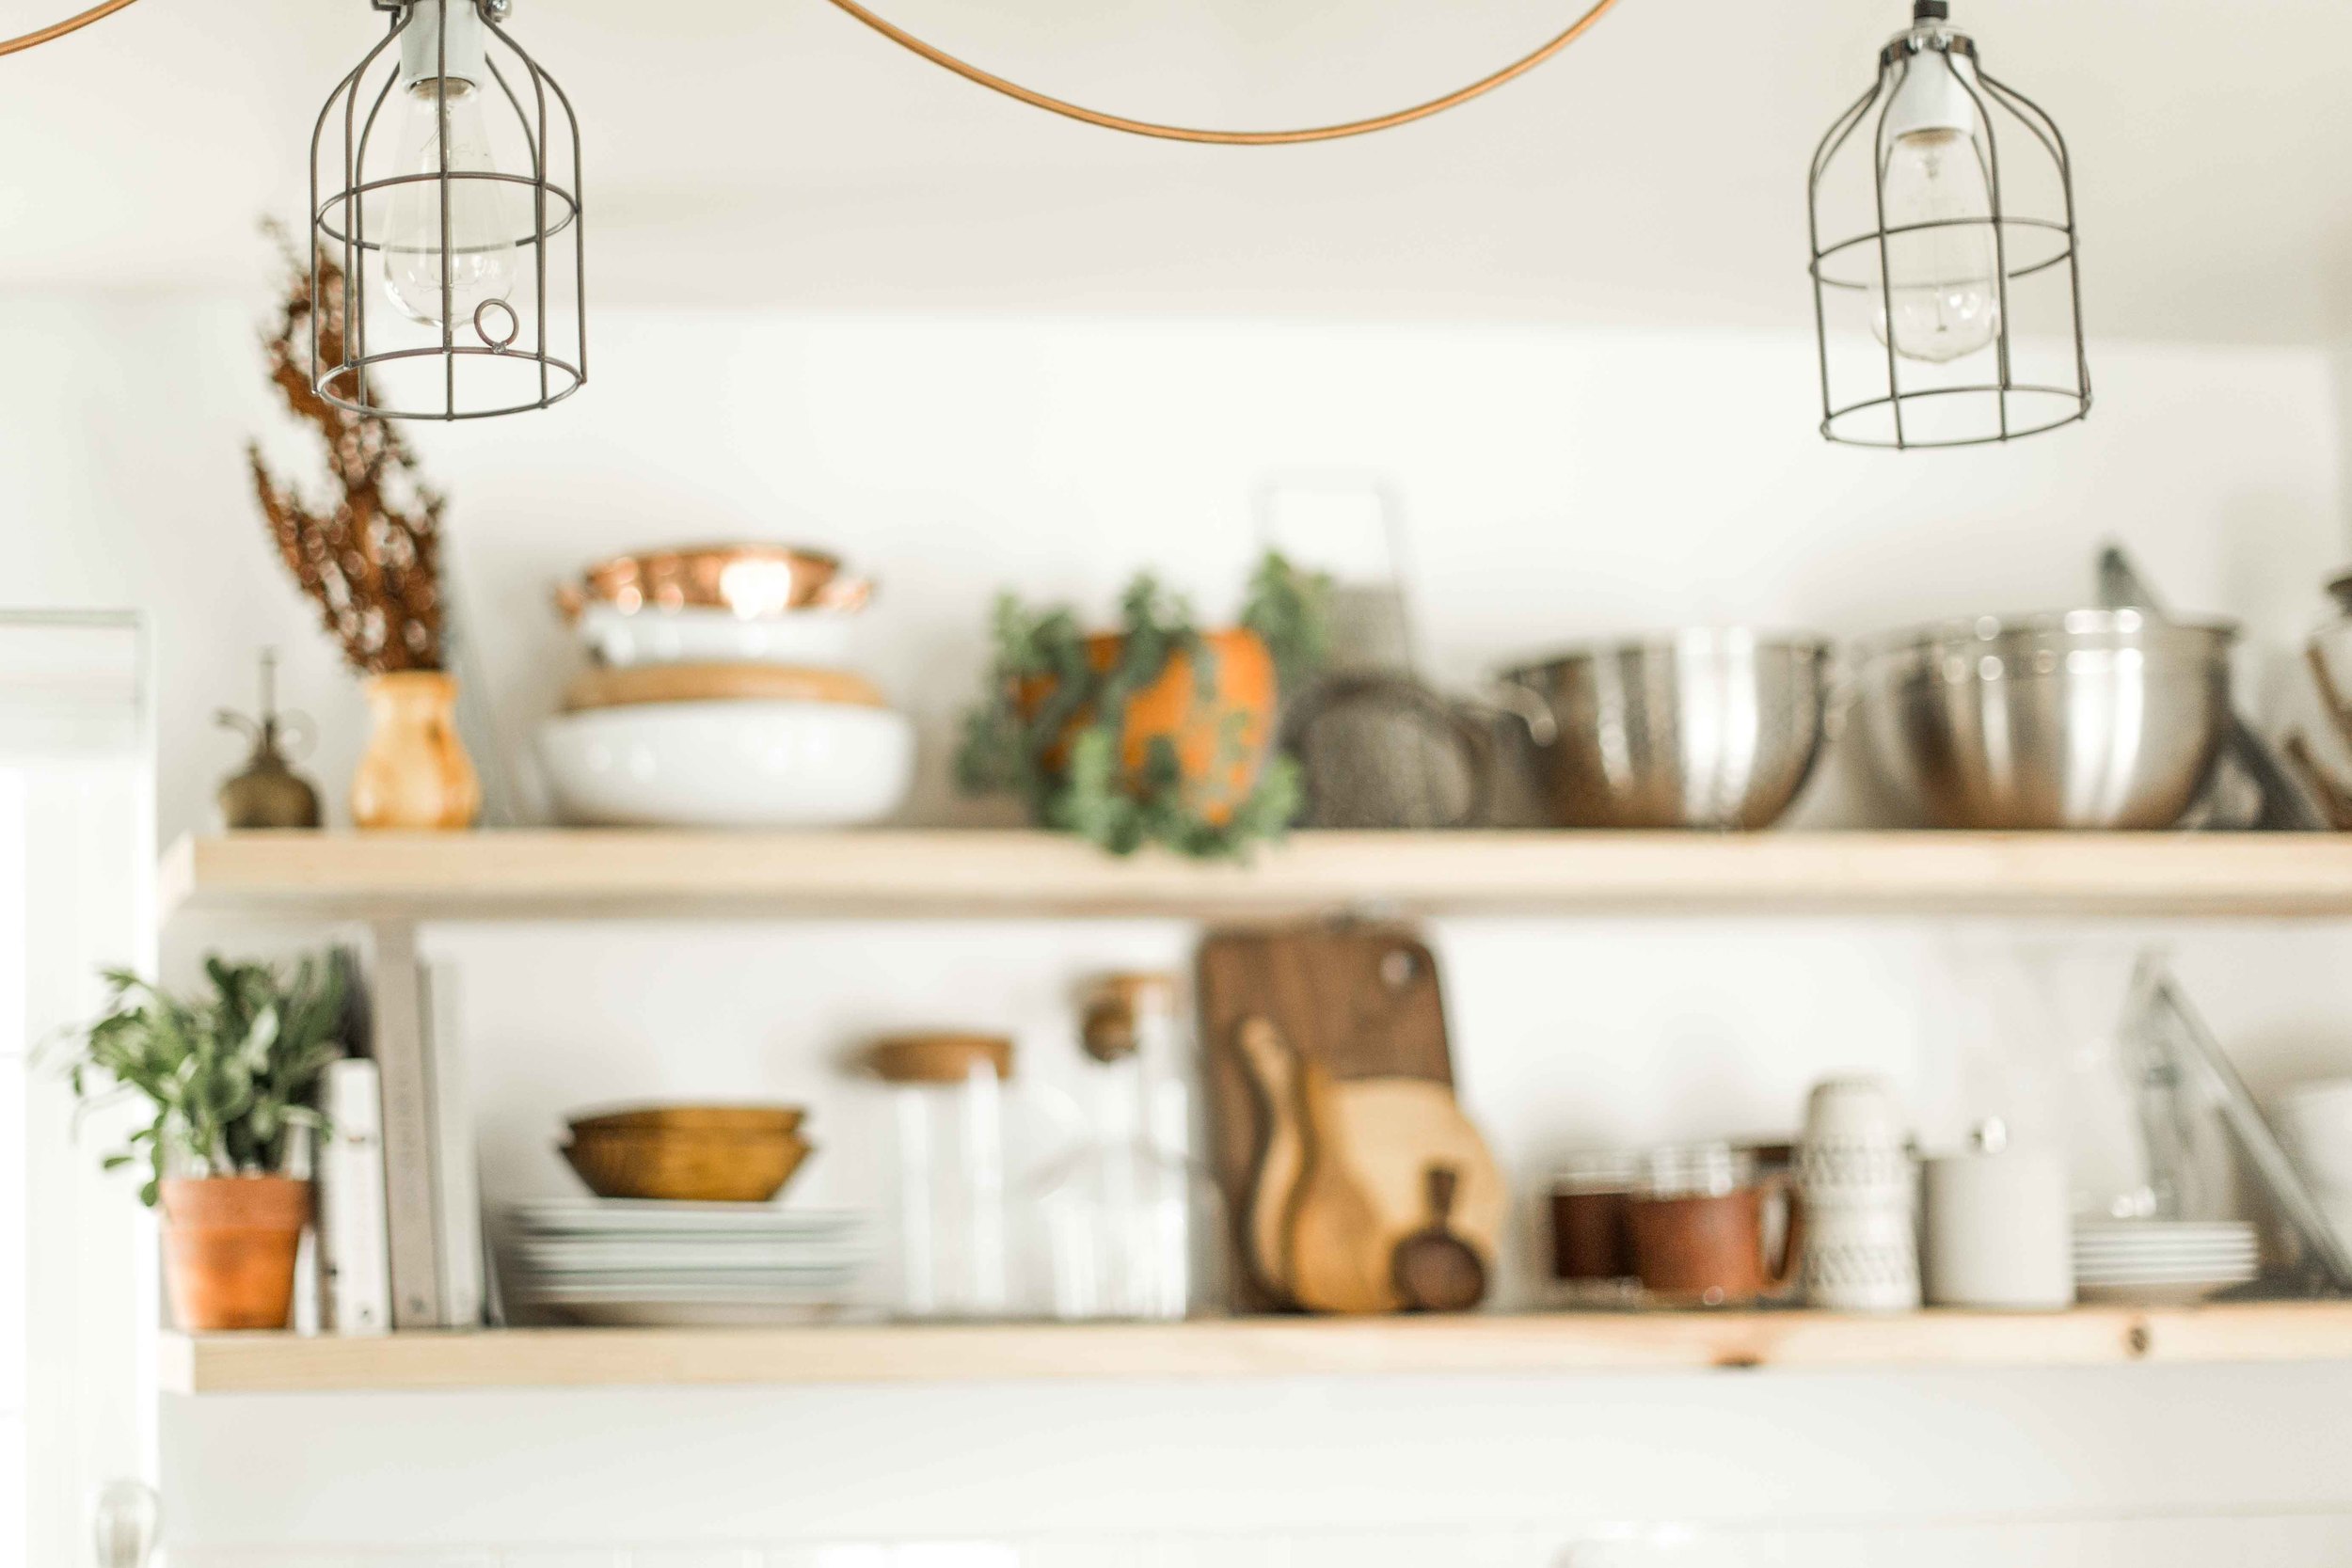
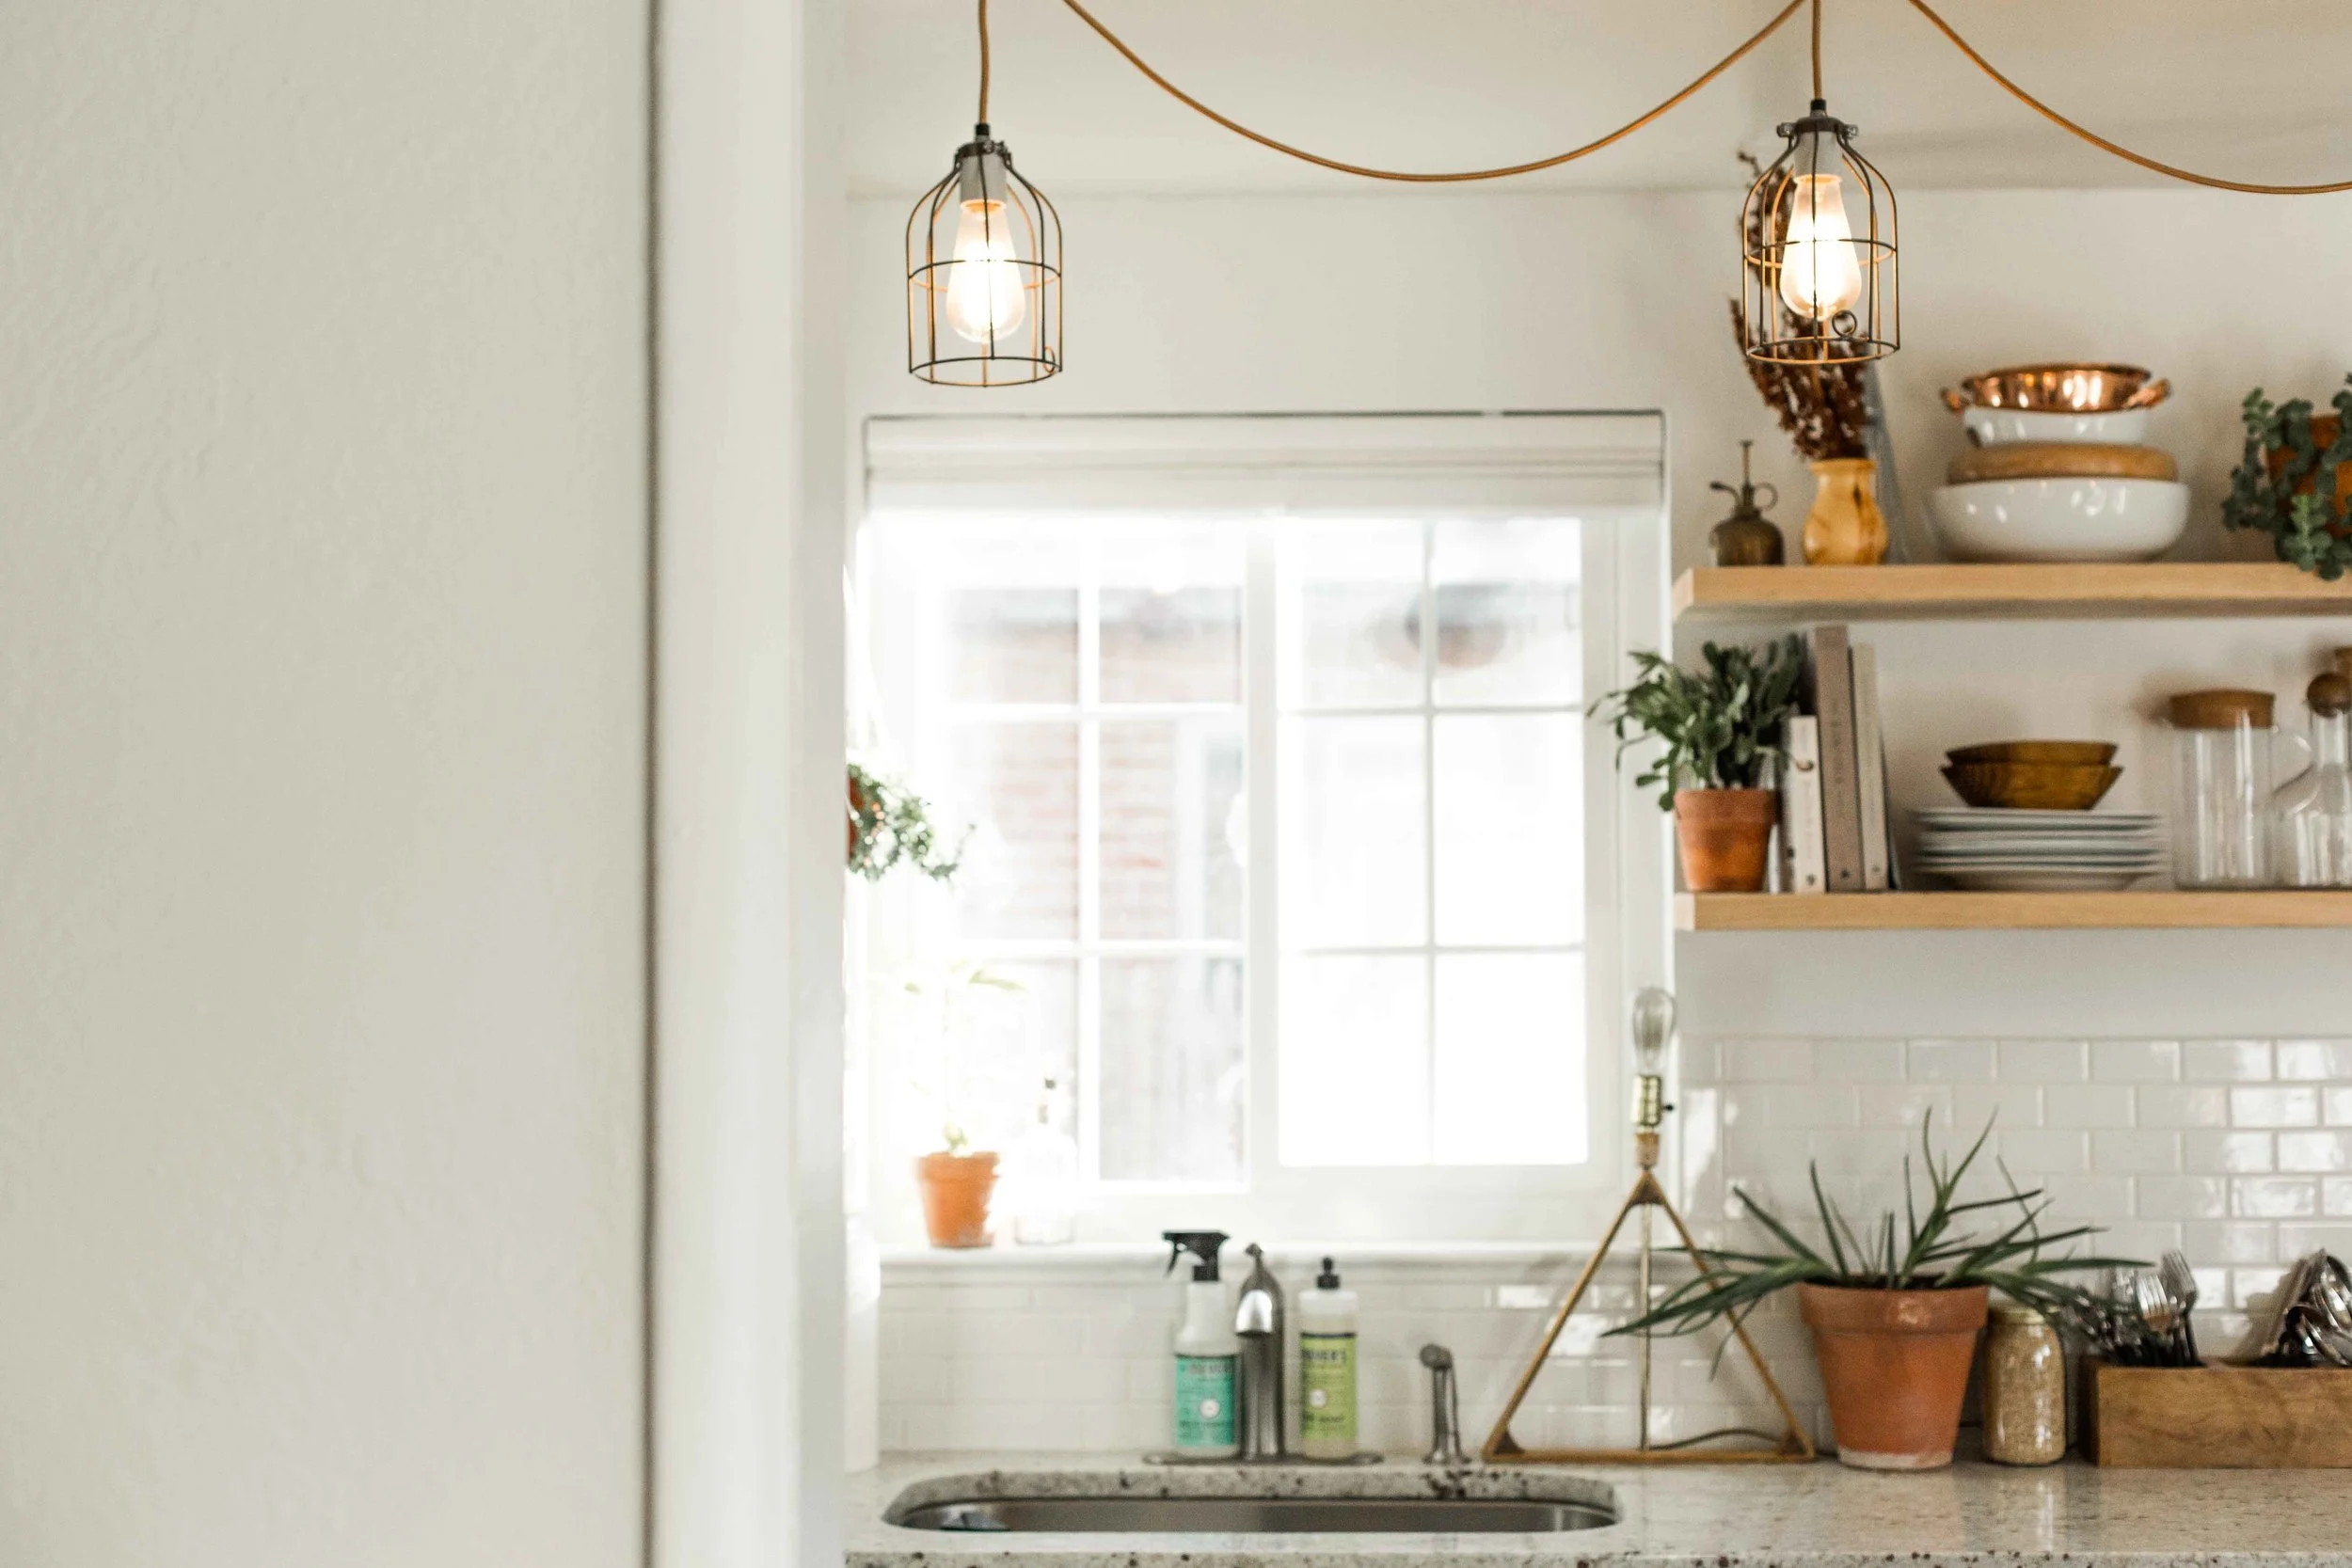
After the cords were attached to the sockets, we screwed on the cages (very simple) & measured out where each copper hook would go for the draping look we were going for. This is when it became a 3 man team of Kyle, Jody & I! We started hanging them at sunset so as you can see in the pictures, Kyle's headlamp did us wonders. We removed the bowl lamp that was previously hanging, thread the cords through, & screwed the 3 port fixture into the ceiling. Zip tie the cords to keep them from moving off the hooks & wa-lah! The process took longer than it sounds, mainly because caution is extremely important when it comes to electrical work, as well as precision. I'm grateful Kyle & Jody have a knack for meticulous work because I'm lacking that bone. Below is a list of materials we used to achieve this look! However, I recommend taking a look at all of the options on CC website! If this sounds a bit too DIY for you, they also have pre-assembled cords like these, that are a great option too.
what we used:
△ white 3-port ceiling fixture (like this, minus the built in lighting cords)
△ 3 copper screw hooks
△ 3 small zip ties
△ 3 industrial bulb cages
△ copper colored fabric wire(cut according to the length you need)
△ 3 ceramic sockets
△ 3 Edison bulbs
△ 3 clear cord grips
△ flathead screwdriver
△ wire stripper/cutter
△ pliers
△ level
△ drill
△ measuring tap
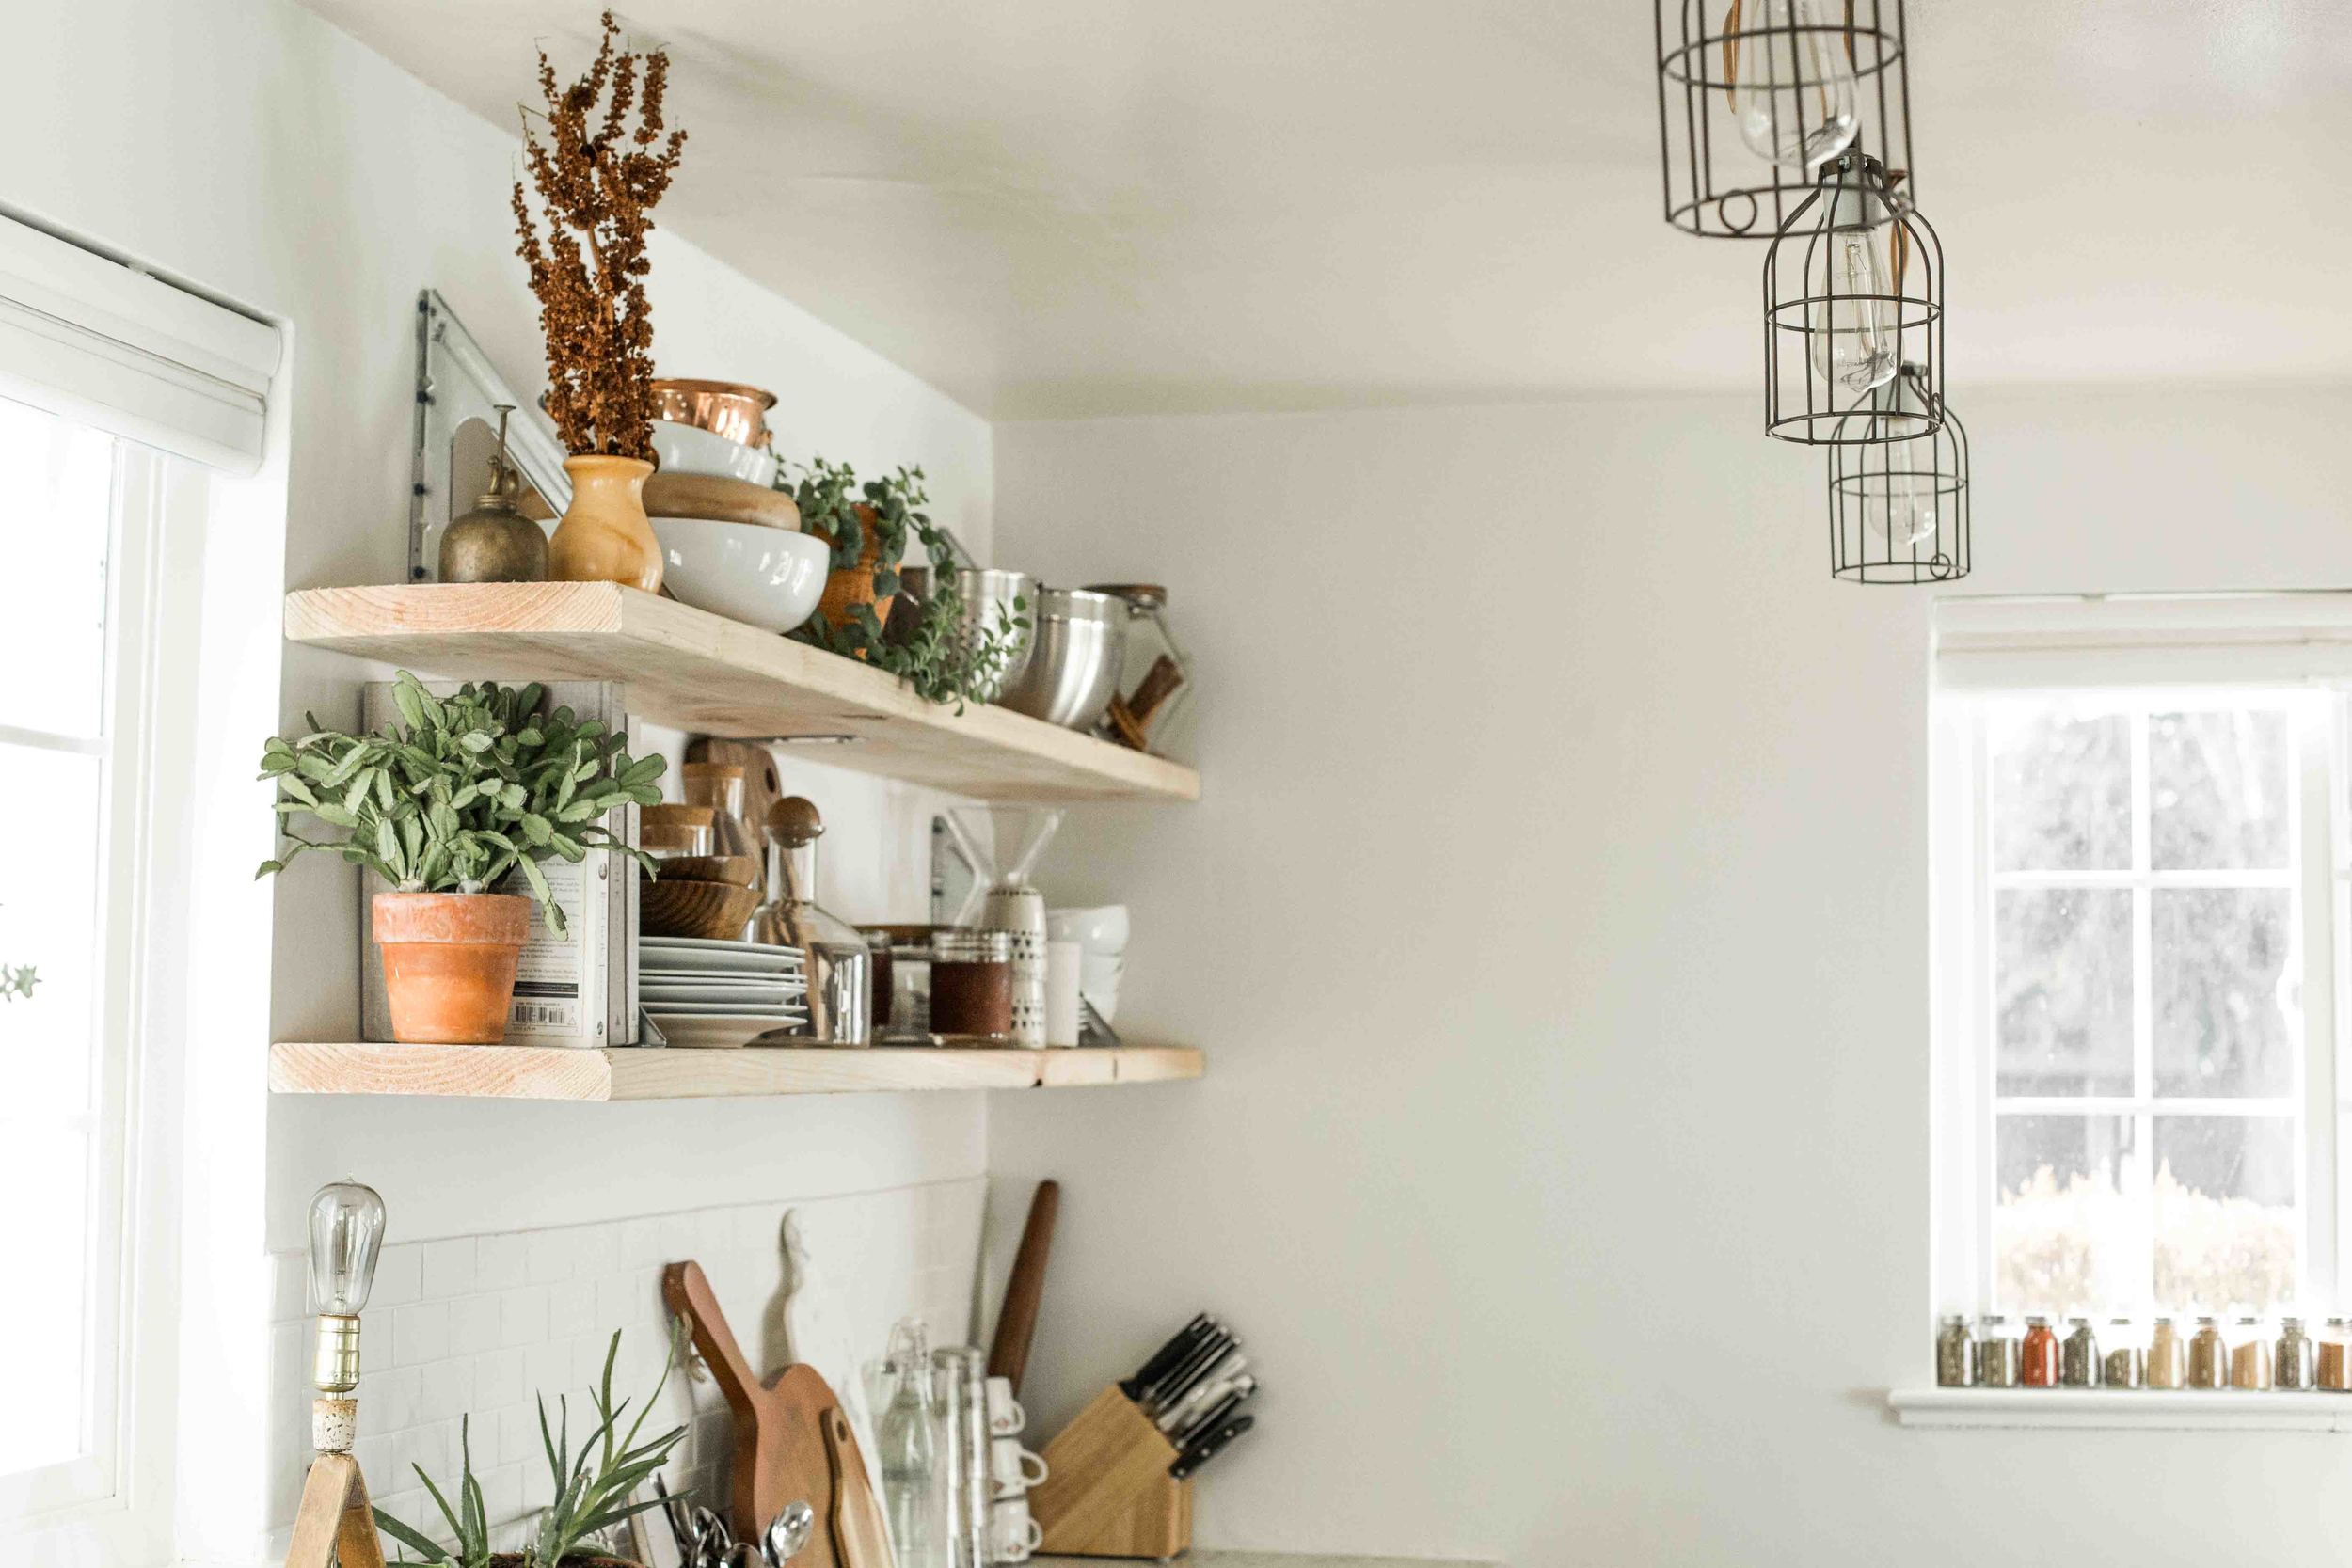
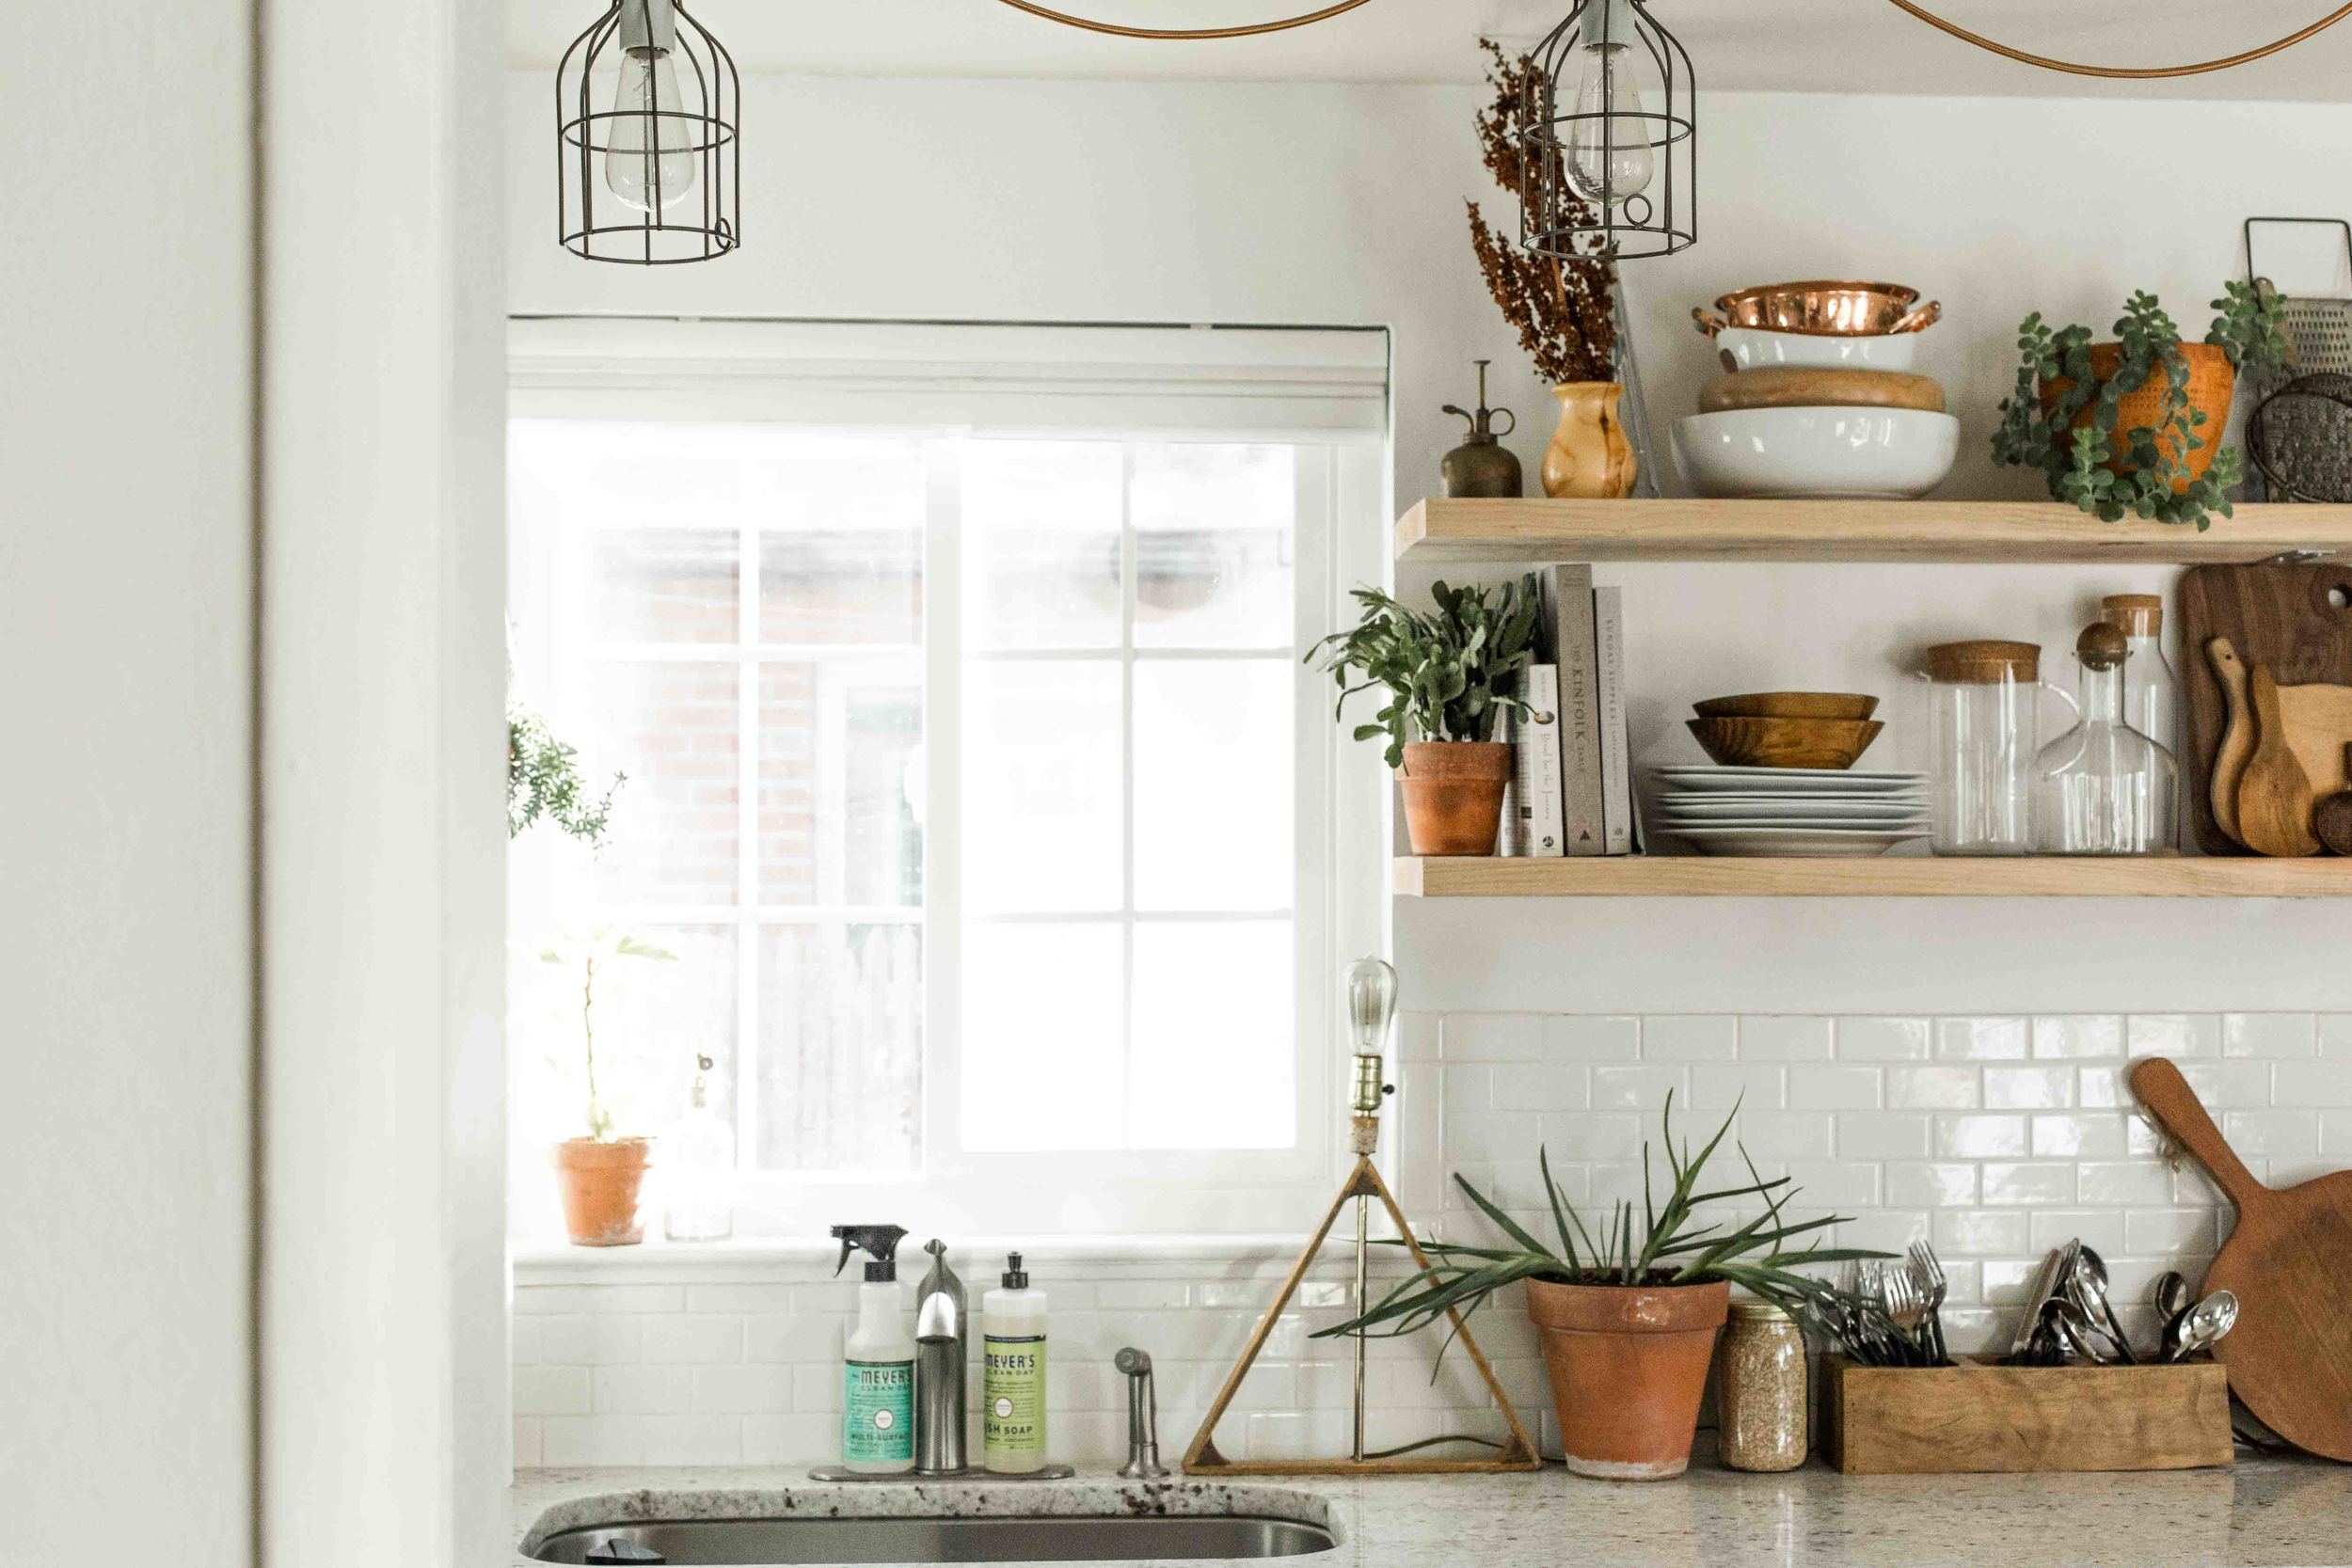
After our lighting & open shelving install, our kitchen is so much brighter & lovelier! We are so thankful for the kindness & quality of Color Cord's products & employees!