European-inspired master bathroom renovation
i’m truly over the moon that our master bathroom renovation is finally DONE! i pinch myself every dayyyy that we were able to create my absolute dream, european-inspired bathroom.
when we moved into our house 3 years ago i had big visions for this room, but it got put on the backburner while i dreamed & schemed (& redid a few other rooms first… see: my office / primary bedroom / dining nook 😆). at the beginning of 2024 it was finallyyy time. first things first, i created my moodboard:

the vibes i was aiming for: organic, European, and farmhouse (but not too farmhouse). lots of neutrals (of course) with brass accents, natural stone & plaster textures - very different than what it started out as! i wanted it to feel like a serene escape - the perfect place to start & end our busy days as 2 working parents with a 3 & 1 year old. so without further adieu…
HERE IT IS!!! (video tour here)


scroll on to see photos of allllll the details + links to everything!
once i had the overall vision in my mind, there were a few big pieces that i needed to decide on first - mainly, the floors & vanities — then i knew that i could make other decisions as we went.
when i laid my eyes on these gorgeous white oak vanities from Room & Board…i knew they were the ONES. i absolutely love how i could customize the countertop, size, etc.
we truly started the ordering process o3+ months before demo-ing anything. & still, delays hit & we were waiting on a few things (*cough tub cough*) for actual months. i definitely recommend pre-ordering & not starting your project until those things are in hand! 😅
we’re big DIY people (or at least kyle is, & let it be known i am so grateful for that!), but we hired our favorite contractors to start with smoothing out the textured walls, adding shiplap to the ceiling, & creating the arch doorway into the closet! we knew it would be faster & more doable to tackle some of the other parts if we outsourced the most tedious.
kyle did a lot of the demo, & it was a real bare bones moment in there for a while - imagine our whole family using the teeny tiny upstairs guest bathroom (with about one square foot of standing room haha) for 2 months while this project was finished! once the old vanities & shower glass were out, kyle got to work creating the shower of my dreamsssss. we originally were goint to use tadelakt plaster for the shower but after Kyle did more research…he settled on microcement which gives a similar look!
you can apply microcement directly over tile which was very convenient! at the last minute, i asked him if he could create a couple nooks in the shower & he obliged 😍


all of the shower hardware (besides the handle) is unlaquered brass handmade in morocco by the company Insideast. we used this method to quickly add patina! we had to get all new glass for the shower which was one of the pricier parts of this project.
the microcement had a steep learning curve for kyle so just expect to hit some roadbumps your first time doing this. he used a Henry Feather Finish to cover the tile as a base/scratch coat then he did one base coat & two finish coats of microtek cement. mix it to the consistency of peanut better & then apply with a trowel. the more you go over it, the more movement you get in the cement. once dry, he sanded it with 100 grit concret pads & then sealed it with two coats of this sealer.
you can buy different pigments to tint the cement! we used antique white. make sure you stir veryyyy well to avoid pigment pockets in your application! this is a brief explanation of the very involved process—youtube is your friend!!! overall i am THRILLED with the look of the microcement. it is gorgeous, earthy, & so easy to clean.
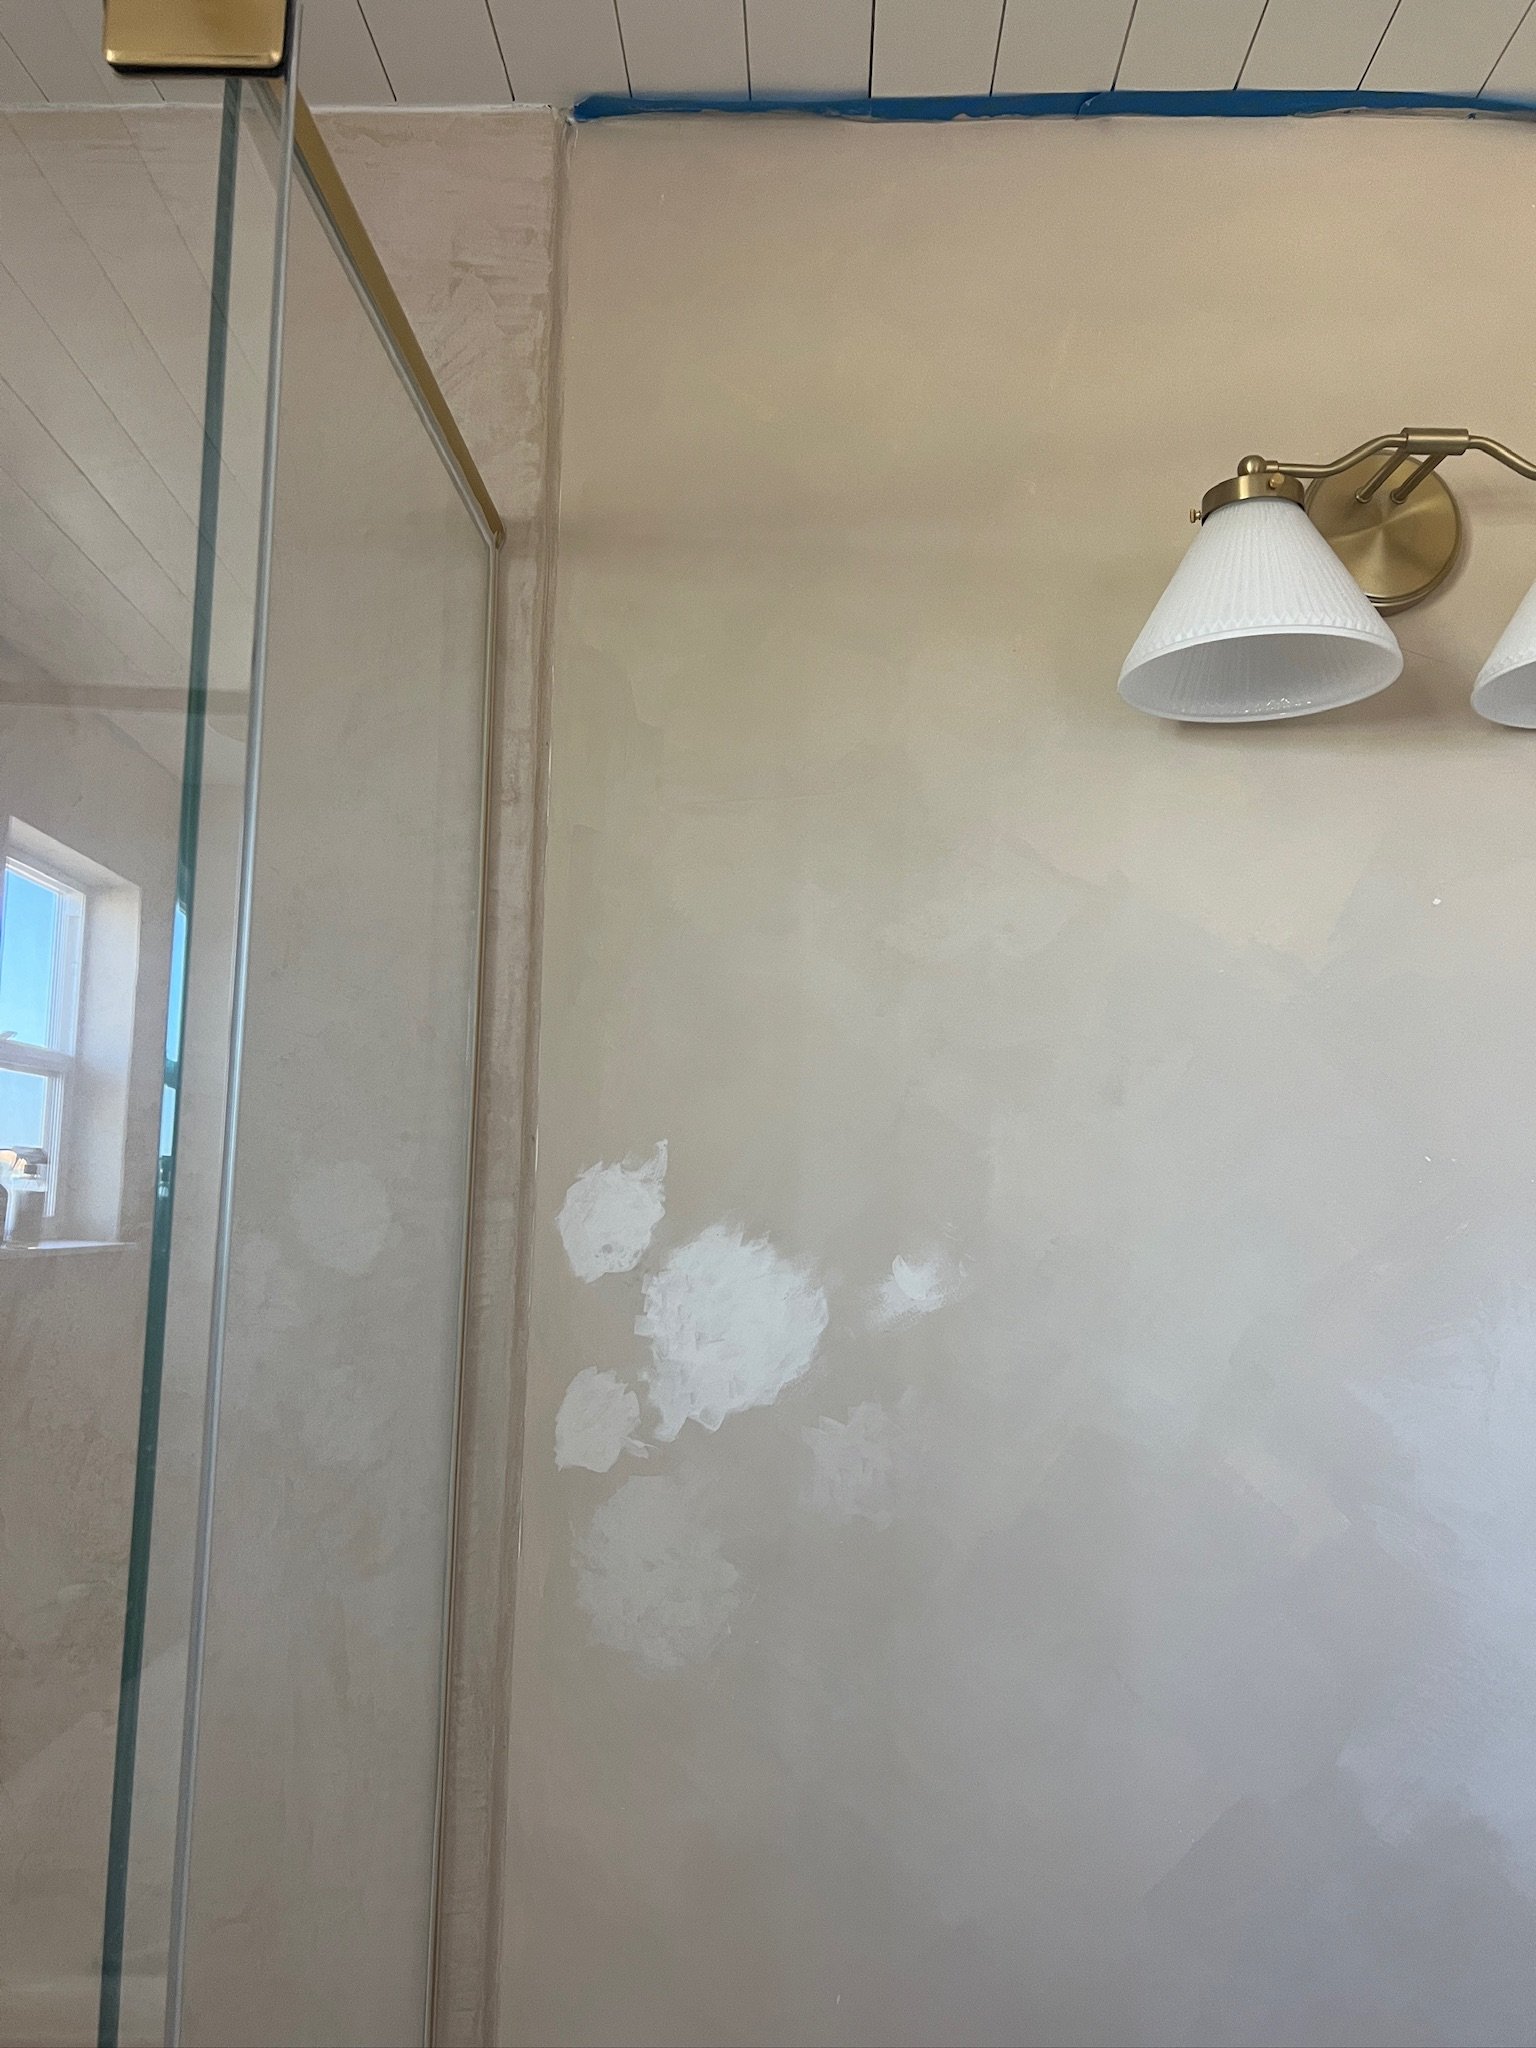
by far the hardest decision to make was the color of the walls! i think i bought 10+ different paint samples, because every one i bought was just. not. it. the first one i picked turned out to be basically the same color as the shower & made the magic of the shower disappear which i wasn’t about to accept after all kyle’s hard work!!! & then it went downhill from there. here’s a pic of my near-desperate attempt #3 to find a color i loved 😅
i ended up making my own custom color with 3 different paint gallons from Color Atelier. it was quite the limewash adventure & i swore off limewash paint about 10 times during the process, until i got it right & now i want to limewash every room in our house.

the second coat had a little TOO much dimension for me so i got scrappy & evened it out by gently wiping over certain areas using a wet rag, dipped in the pant. 😂
since i mixed up a bunch of colors, it’s impossible to share the exact colors but here’s what will give you a similar end result:
+ base coat Nue
+ top coat Bone
+ seal w/their sealer (recommended for bathrooms & kitchens)
when it comes to technique, i used their brushes & just followed tutorials on their website! it’s a bit more work than regular paint but i find it more enjoyable since it is more free-flow, & artistic.
one of my favorite elements of this room is the French limestone floor from a company called Francois & Co. The different shades & textures truly make it feel like you’re walking into a European spa! the installation process was pretty tedious considering each piece differs in size & i wanted a really thick grout line. kyle tag-teamed with our contractors! i truly cannot imagine any other flooring in here. it grounds the room & gives it the atmospheric, natural feel i was dreaming of. (we loved the stone so much that we put it in our laundry room too!)
we used a white grout (just from floor & decor) & sealed them with this sealer!


next up - i am obsessed with how these vanities turned out in here - adding the perfect warm, wood tones to the room! i searched for so long to find the perfect ones, & the Emerson vanity from Room & Board was it. because we weren’t changing any dimensions of the space, we had to get two different sizes, but i love how these two truly look seamless & go together so well.
i also snagged the Dia rug in 2x3 & 3x5 as well as the Artemis bath tray which have proven to be the perfect accessories for this space - all of which are linked here. i am ALWAYS impressed by the heirloom quality of Room & Board pieces.


the stunning tub fit the bathtub nook perfectly & we are loving the brass faucet! the shower head comes in clutch for washing toddler hair 😉 the plant tucked behind the rub is a real olive tree & the blinds are linen blend roman shades from Select Blinds!

the last details were the cherry on top items - lighting, towel racks, etc.
since the 2 vanities are across the room from each other…i had the idea to do 2 different lighting styles to kind of differentiate the his & hers sides. i chose these beautifully simple aged brass sconces to go on either side of my mirror (on a dimmer, of course 👌 ) & this milk glass sconce to go above kyle’s mirror.
the circle towel hooks, toilet paper holder, hand towels, & robe hook & waste basket are all from Zara Home & behind the door is a 3 prong towel hook for our bath towels. in the toilet room i hung a thrifted peg shelf & this beautiful, affordable art piece!


okay that’s a wrap - feel free to drop any questions you have in the comments!
links to everything i mentioned here:
