DIY Outdoor Curtain Nook
Our house is a fairly small & cozy space, with a yard that matches the small category, but not the cozy one. Up until recently, our fenced in side yard became a catch-all area for stuff that didn't quite make it from the house to the garage, messy potting supplies, various shovels, & most unappealingly, our Great Dane's very great bowel movements ;) You get the picture. It was pretty dumpy, very disorganized, & overall not a place I wanted to spend any time in.
After growing tired of not utilizing the space (however minimal it may be), I decided it was to time to spruce it up & add some coziness! After throwing around a bunch of different ideas in my head, I landed on maximizing the space & creating a homey, nook-like area with Blinds.com curtains, to have fires in the wintertime, or grill out in the summertime.
Scroll along to see how the project went down!
Here are the curtains we used: click here! They are Blinds.com Easy Rod Pocket Curtains in Raw Silk Crepe Lily (same ones we used in our living room curtain project, if you remember that project!)
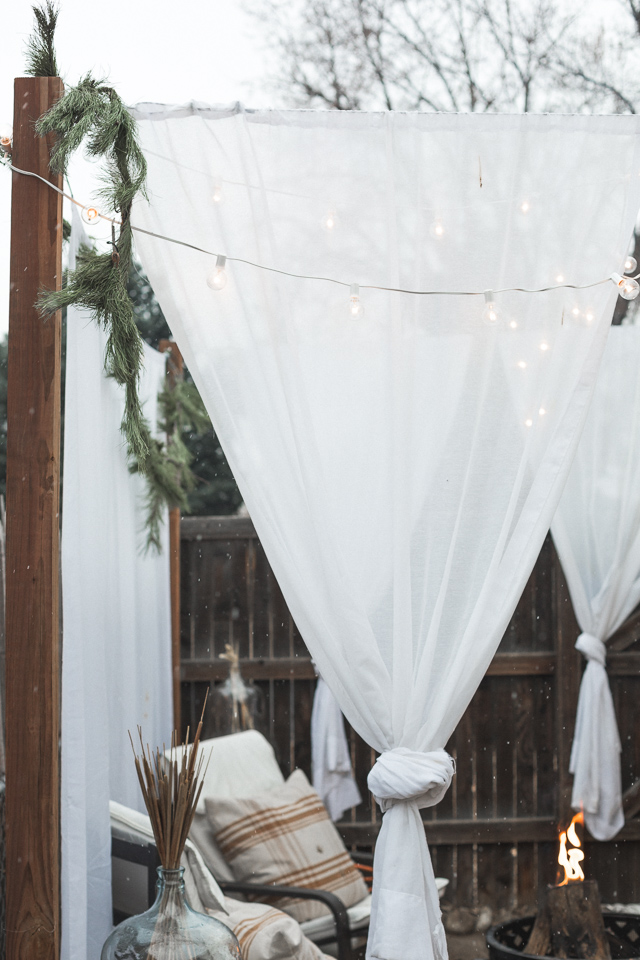
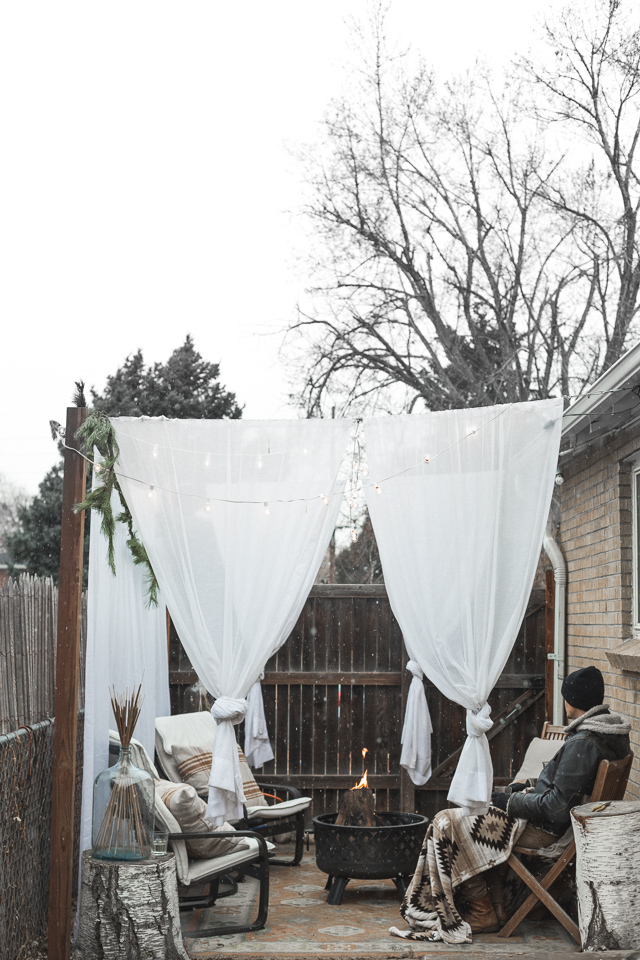
I love these curtains because they're a beautiful shade of white with a sheer texture that gives a very flow-y feel to them. After choosing the curtains, we purchased the rest of the materials at Home Depot, which included thick wire, a few hardware pieces to fasten the wire ends into loops, and eyelet hooks to install into the side of the house as well as two wooden posts we had put in awhile back. The key to this setup is to have four different anchor spots to hang the curtains from, & thus create the enclosed, nook area. Our particular space butts up to the side of our house so we used the house as 2 of the anchor points & previously installed posts as the other 2. This could look different depending on your space, for instance, a high enough fence would do the trick.
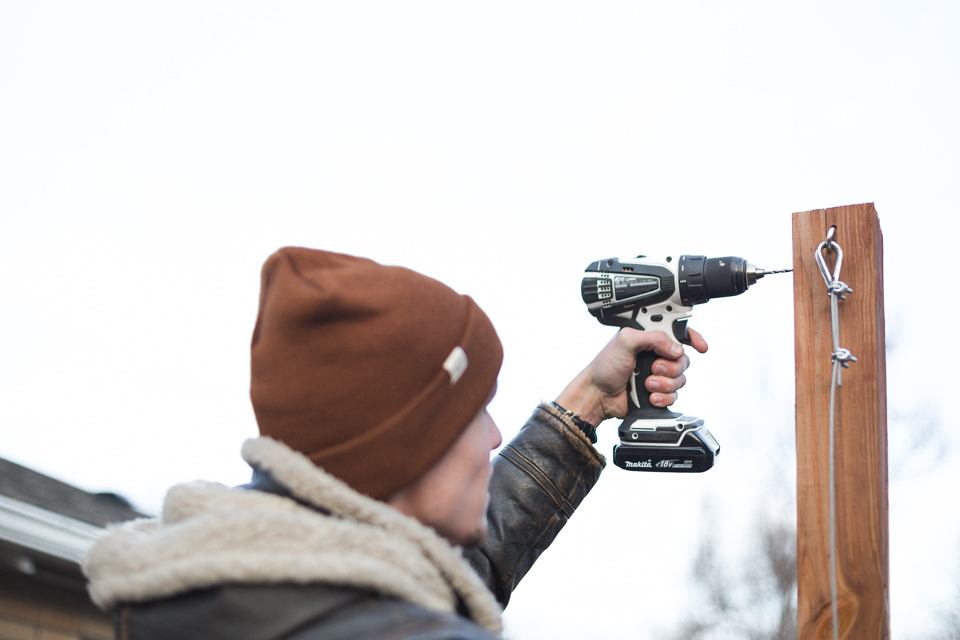
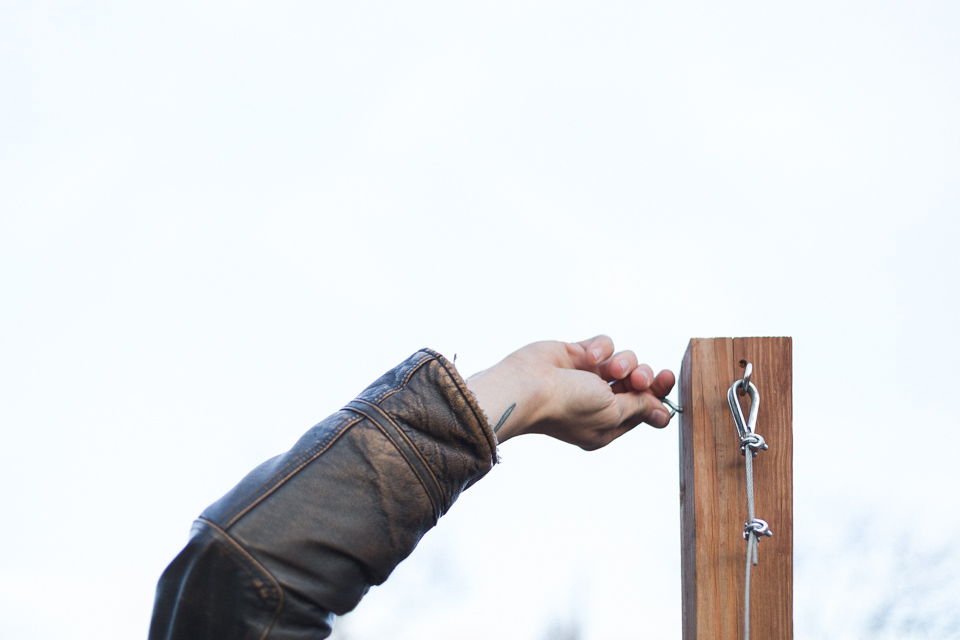
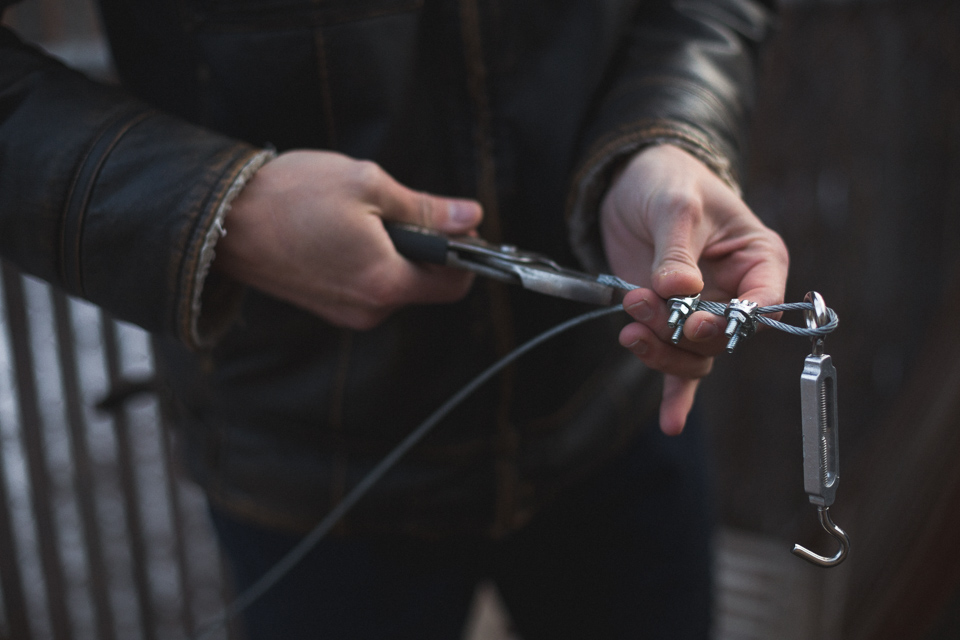
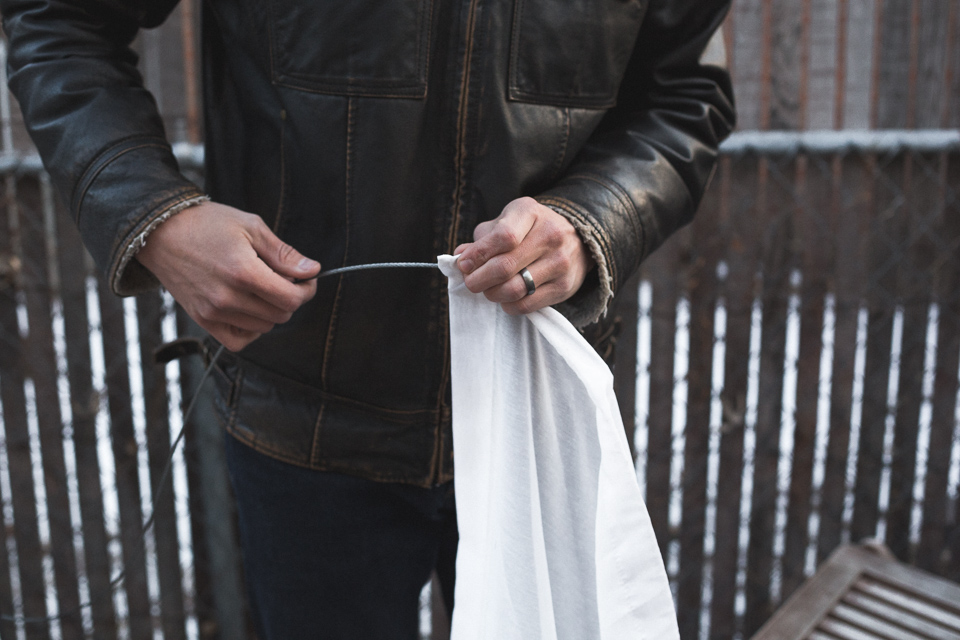
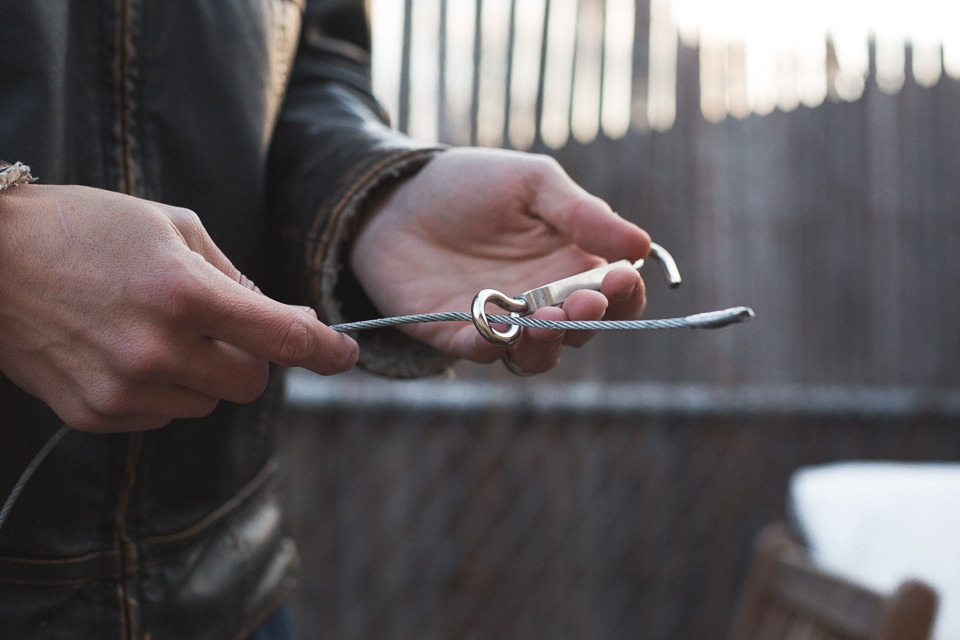
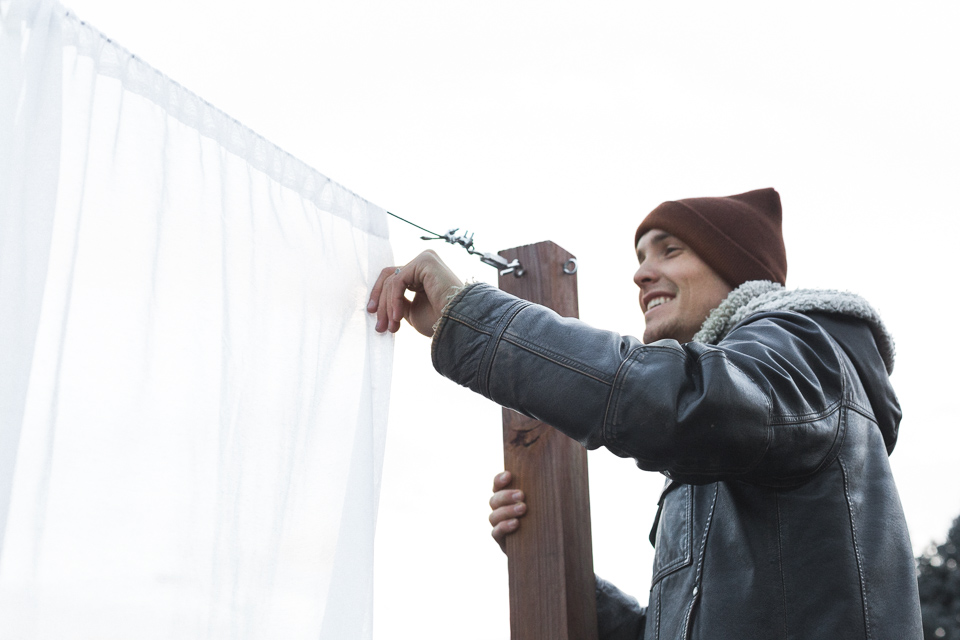
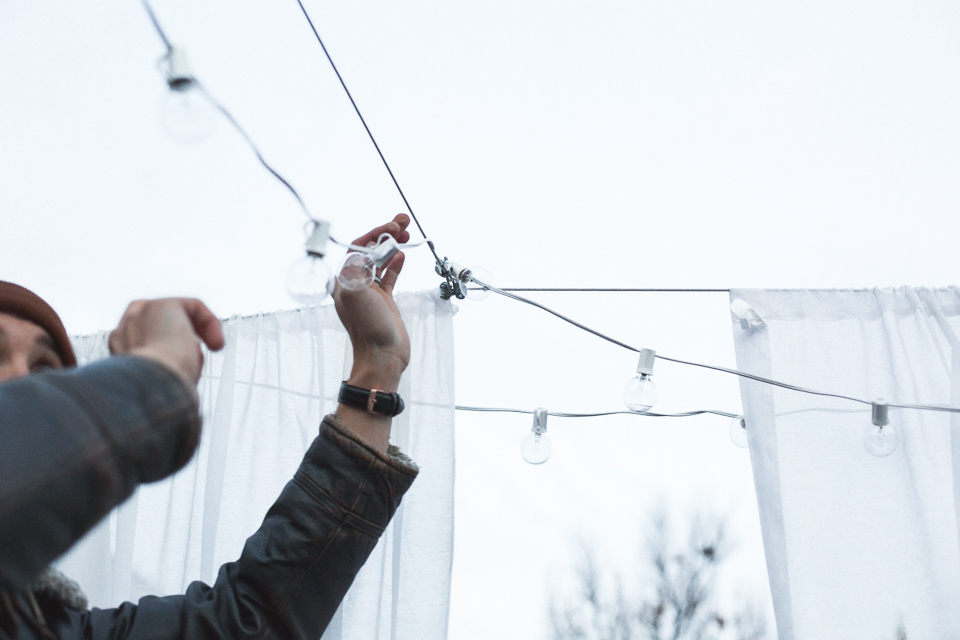
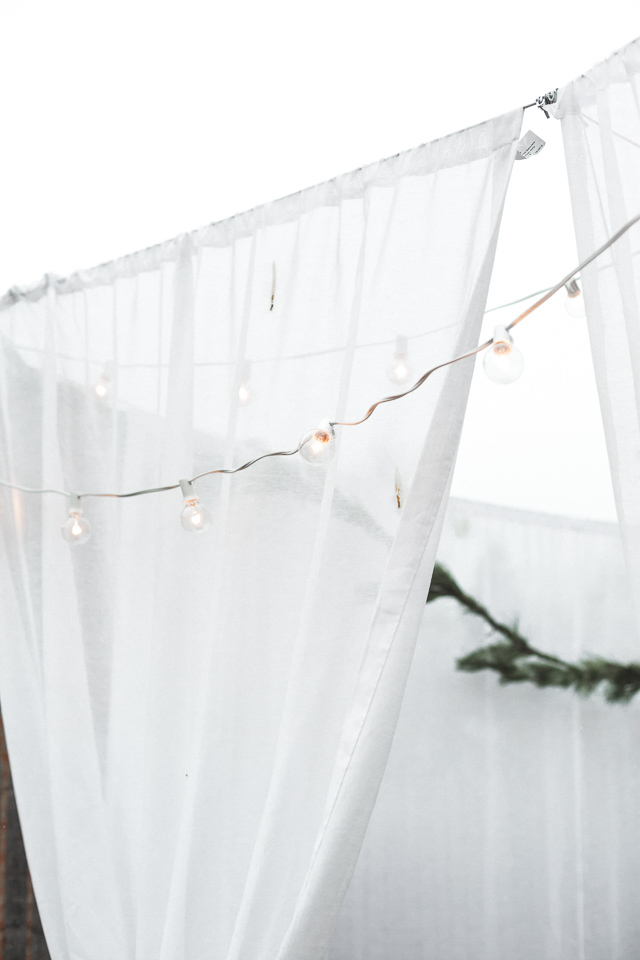
The first step of the project was measuring out the wires, creating the loops, and then drilling and installing the eyelet hooks and wires, as seen above! Once the anchors were in place, we added a hook to the corner of the wires, & then begun to string the curtain panels onto the wires. With thick wire, I recommend putting a small piece of duct tape on the end to protect your fingers as well as to assist in the wire sliding through the rod pocket without snagging the curtains. After the curtains were strung through, we looped the end of the wire & added a hook.
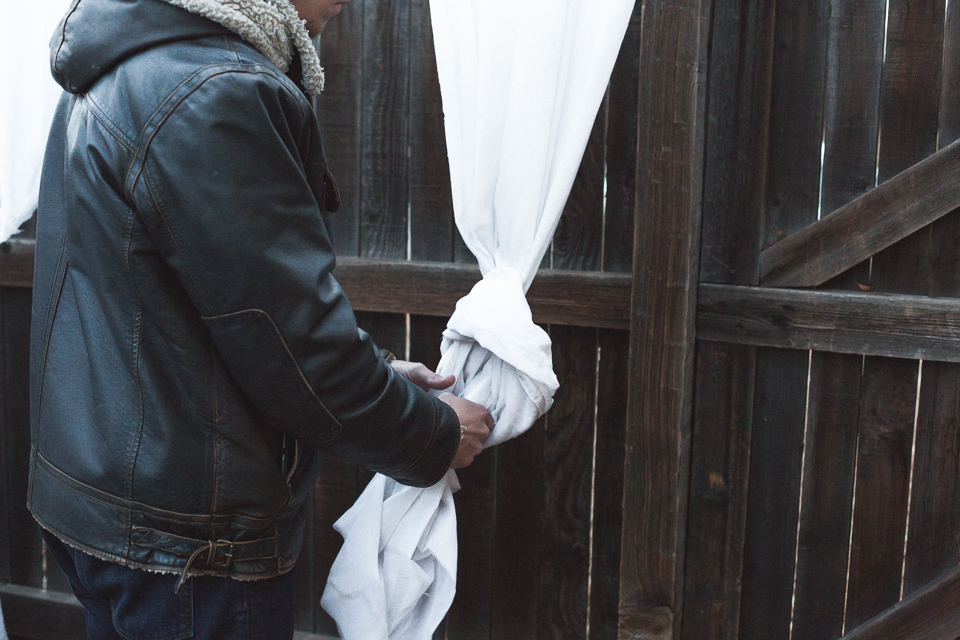
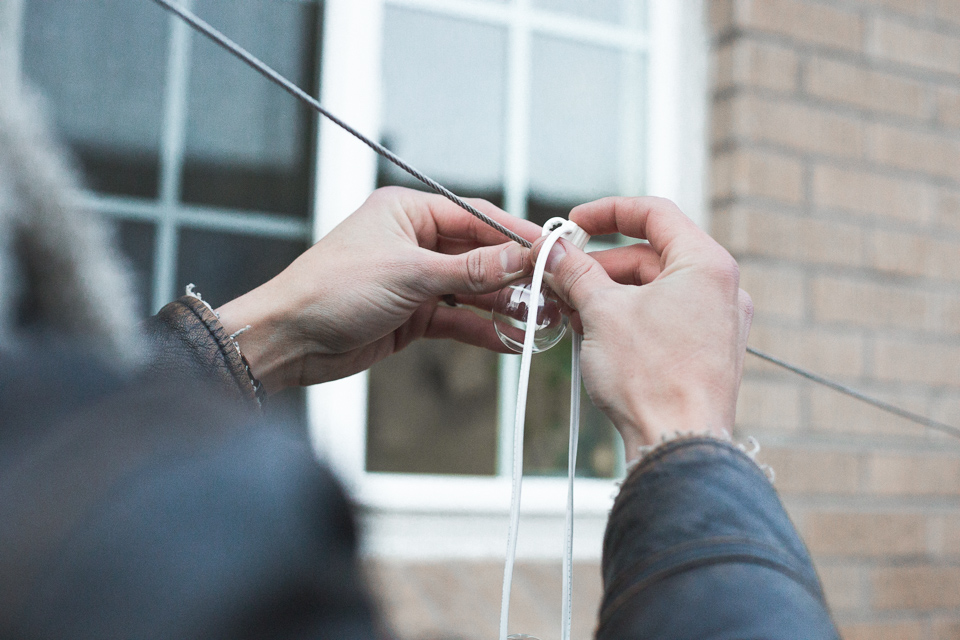
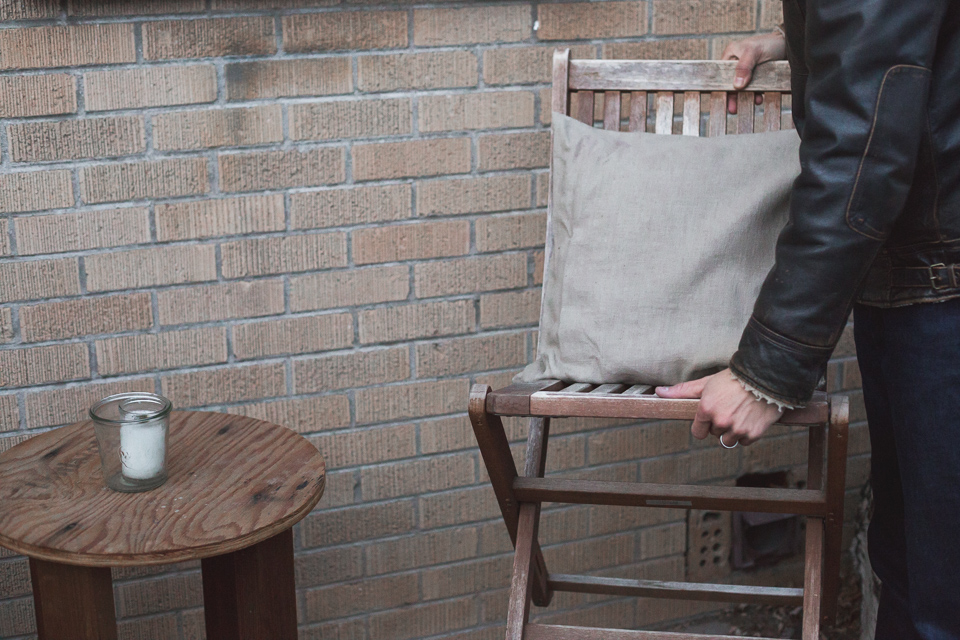
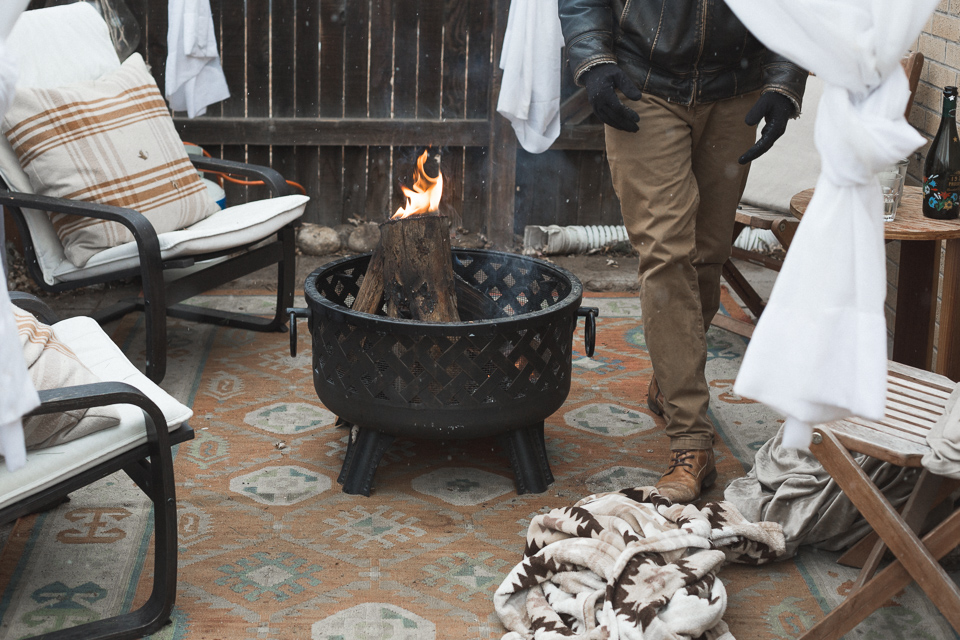
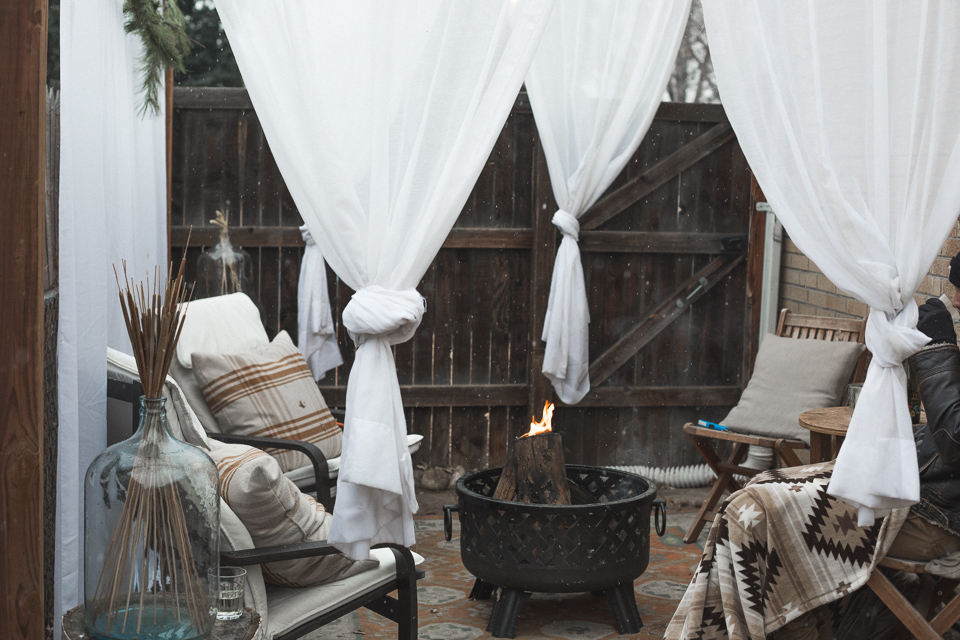
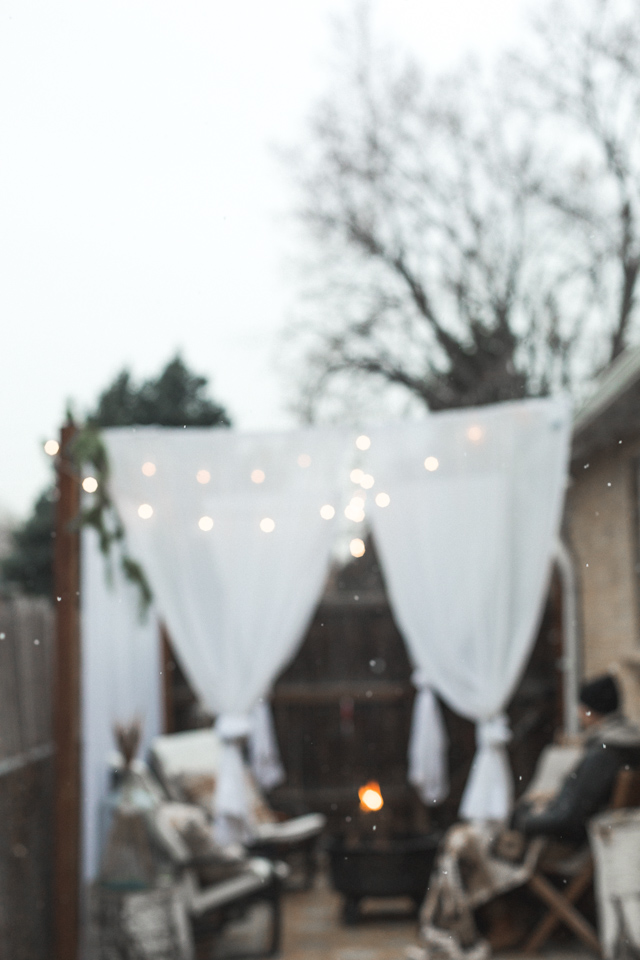
Next up, hang those curtains! The final task was finishing touches. We chose to add some globe lights, a thrifted woven rug, chairs, & a fire pit of course. I truly love the final look & cozy feel. Our side-yard went from a hodgepodge storing area to a homey nook to relax in, thanks to some creativity & Blinds.com curtains! I'll be taking over the Blinds.com Instagram this week, so follow along to get a chance at winning a $100 gift card! Use the code abigailgreen to get 20% off your order until 2/28.
As always, thanks for reading. May this project inspire you to make the most out of your small spaces too.

